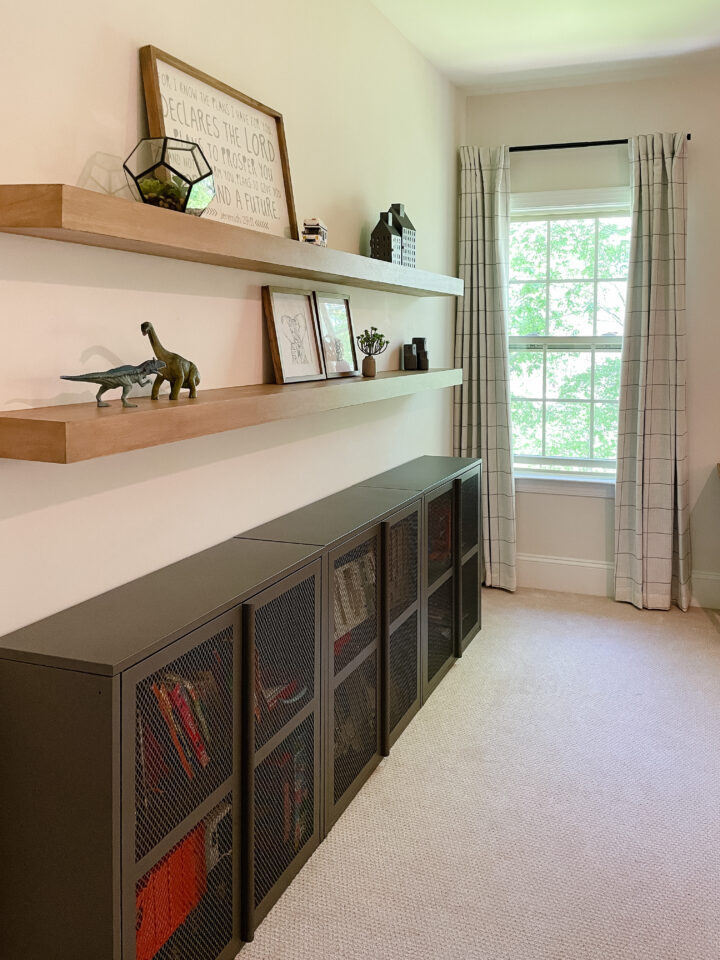
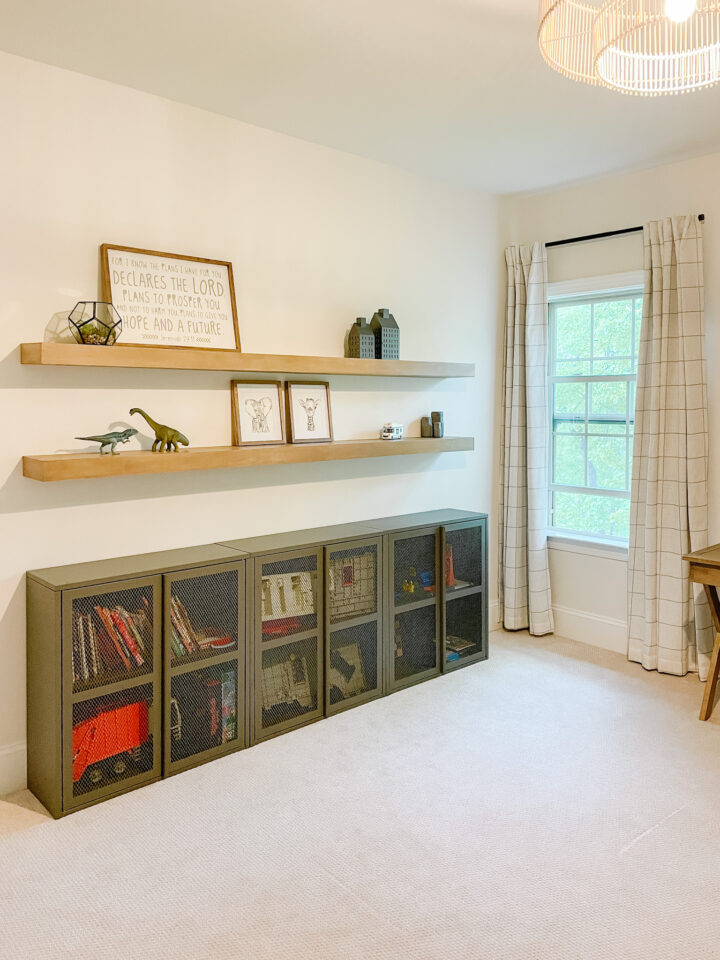
Wood floating shelves are a practical and stylish storage solution that can help you make the most of your space, they can serve as a storage as well as a decorative statement. In this post, I will share step by step tutorial of how we built our wood floating shelves and all the tools and materials we used, and the mistakes to avoid.
Table of Contents
Power tools you will need to DIY wood floating shelves
- Table saw to cut the plywood lengthwise (you can also ask to cut your plywood at the place of purchase)
- Miter Saw
- Brad Nailer
- Handheld sander
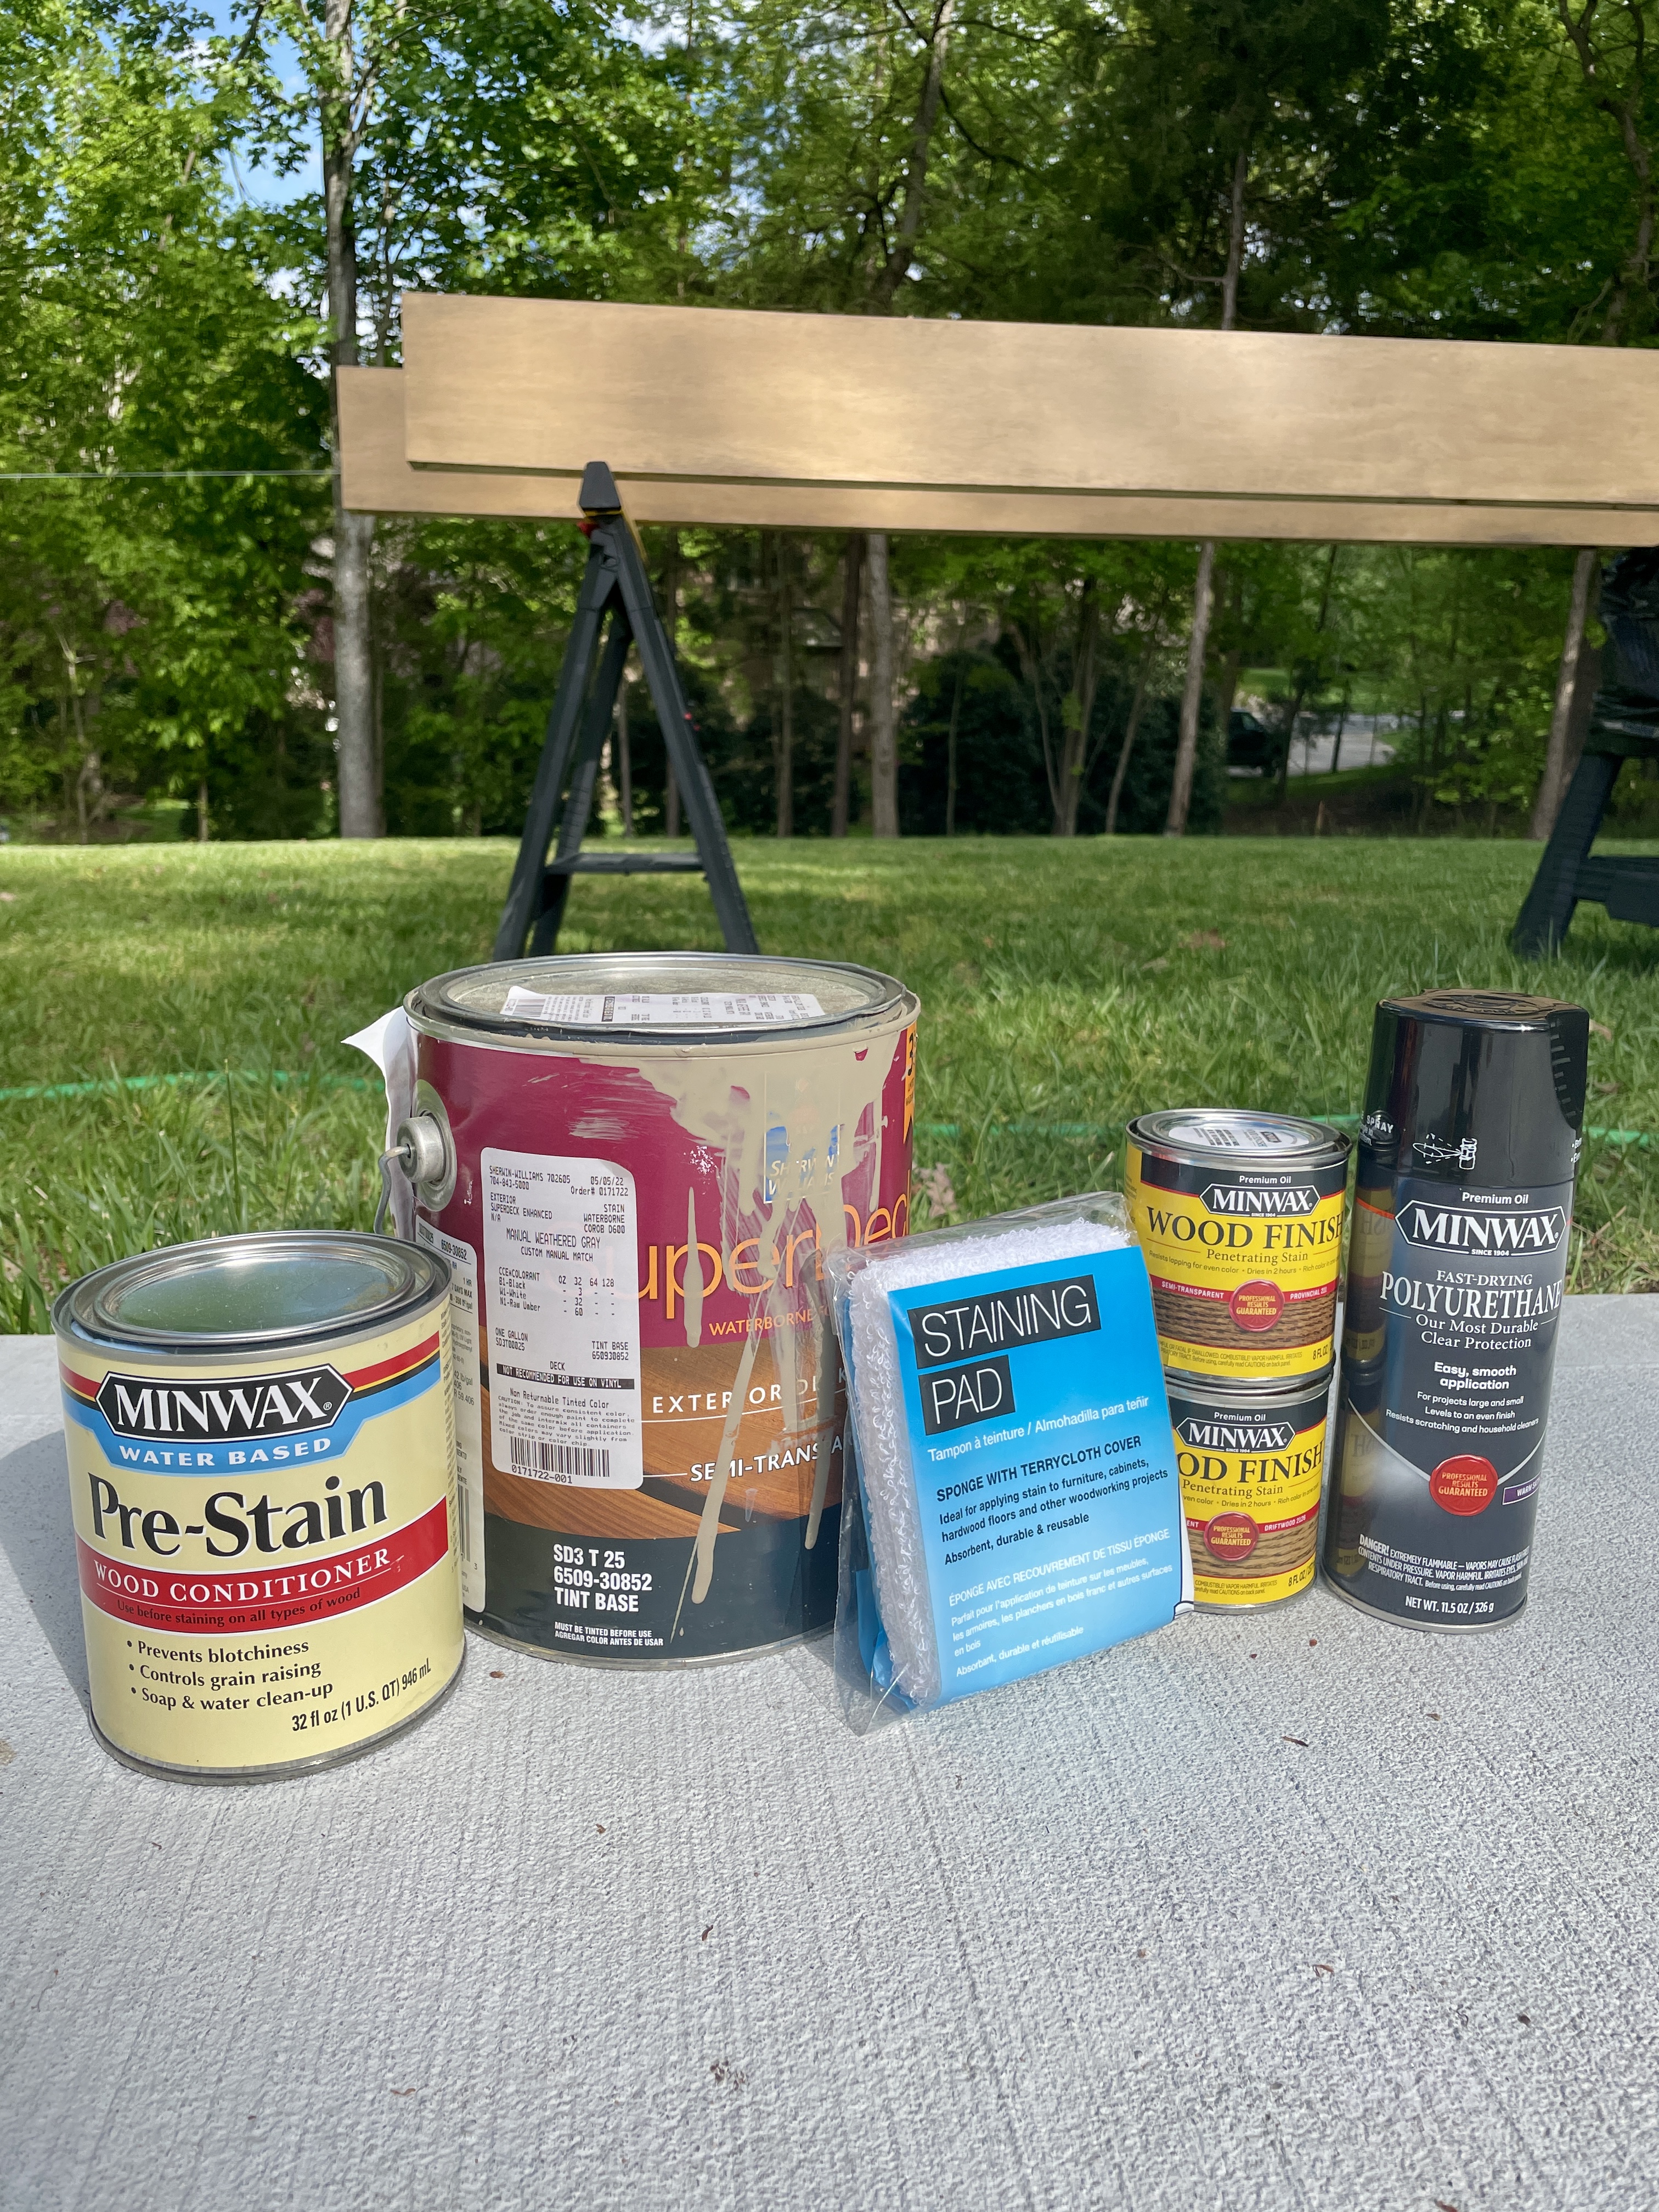
Materials for building floating shelves
- 1-Inch Brad Nails
- Stainable Wood filler
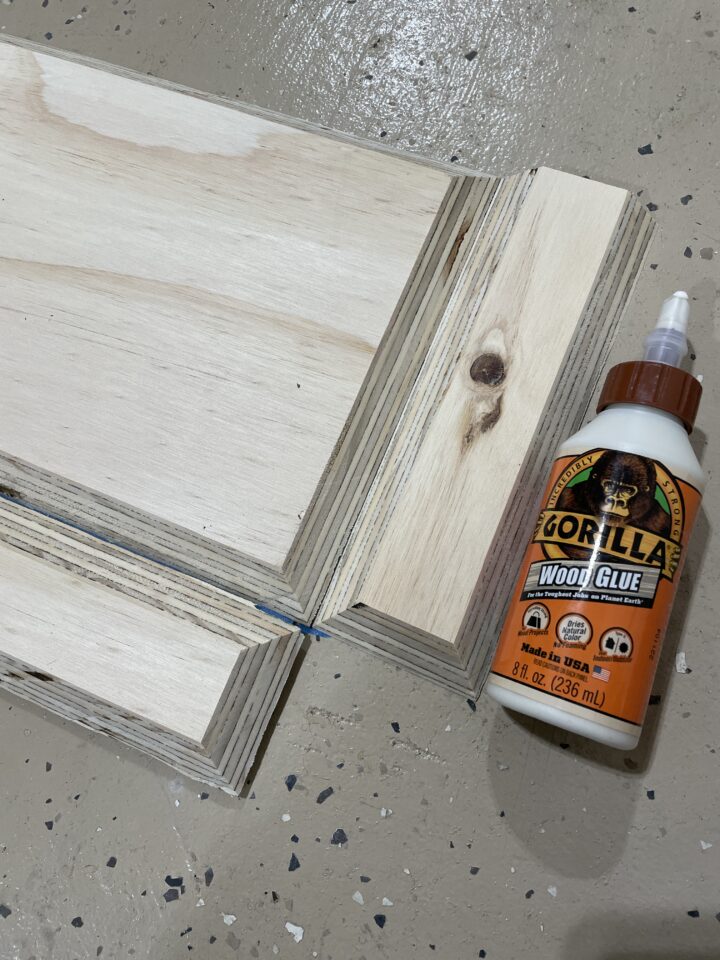
- Wood glue
- 120-Grit Sandpaper
- 180-Grit Sandpaper
- 2 1/2-inch wood screws
- Wood conditioner
- Stain
- Polyurethane
How to build a DIY floating shelf
Determine the measurements of your shelf
First, you need to decide on the measurement for your shelf: shelf depth, length, and width. A good shelf depth is between 9 and 14 inches
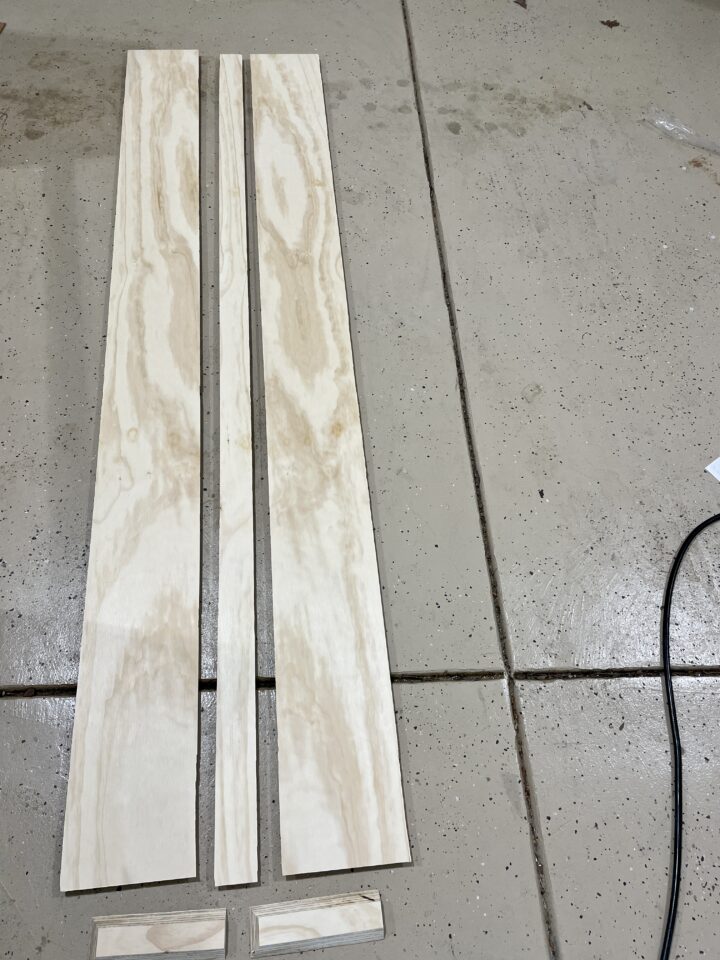
Calculate the material
To determine the amount of plywood you will need keep in mind that you would need a top and a bottom piece, 2 side pieces, and 1 front piece for each shelve.
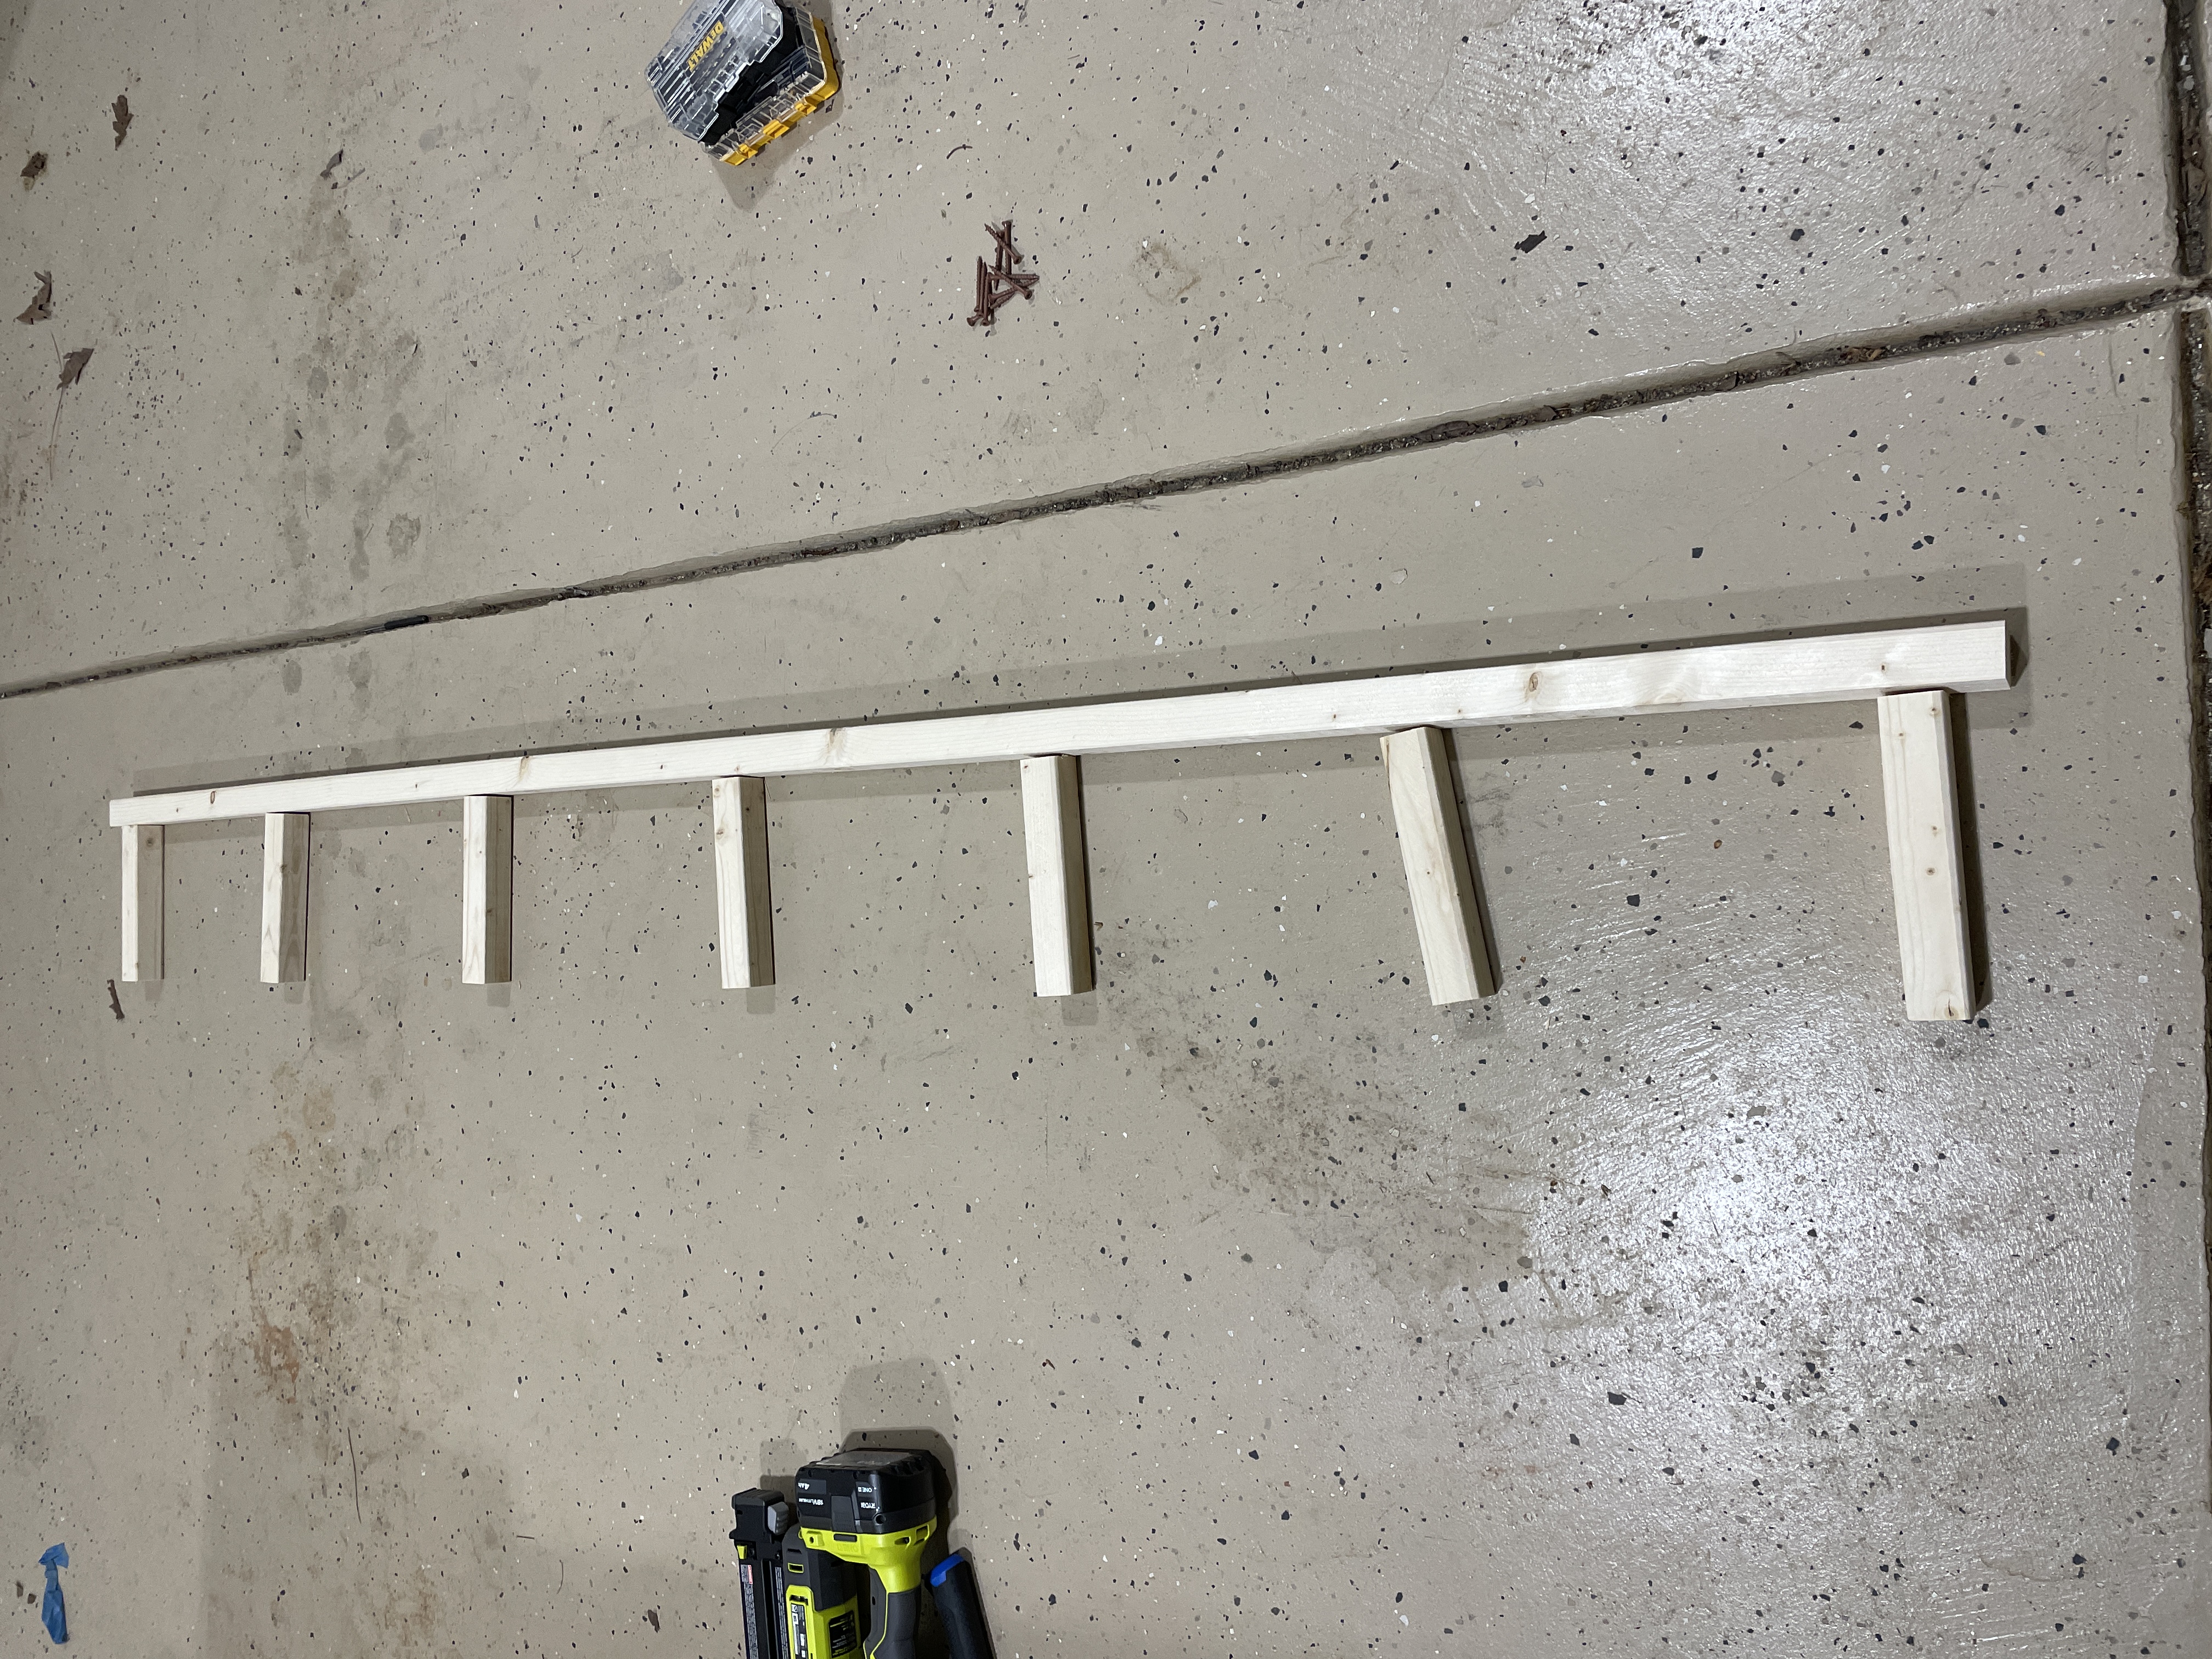
Also for each shelf, you will build a shelf support that will be attached to the wall.
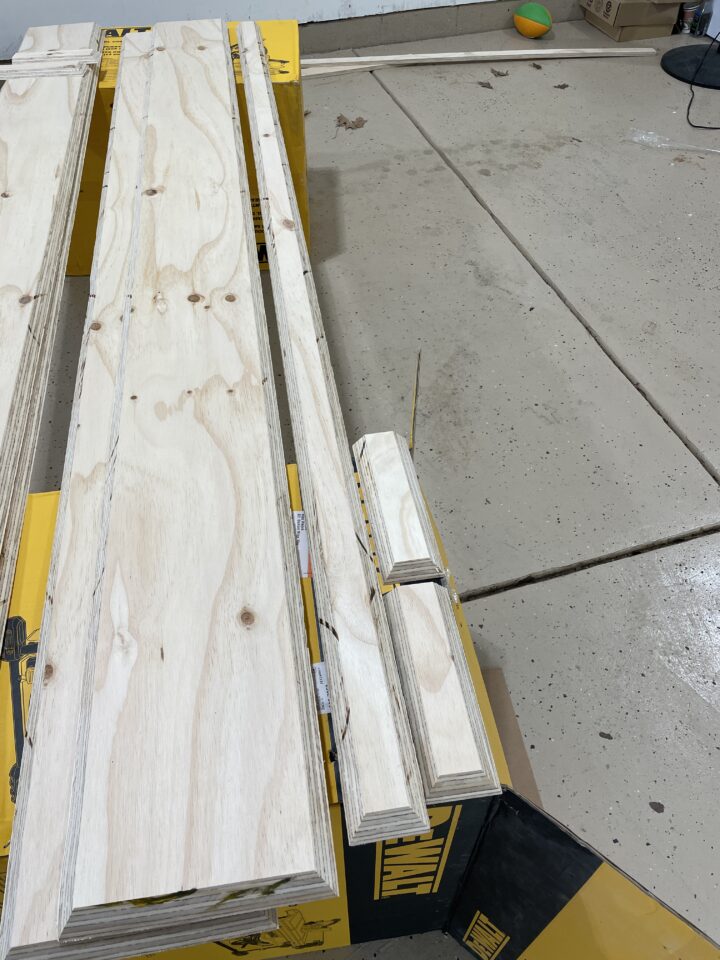
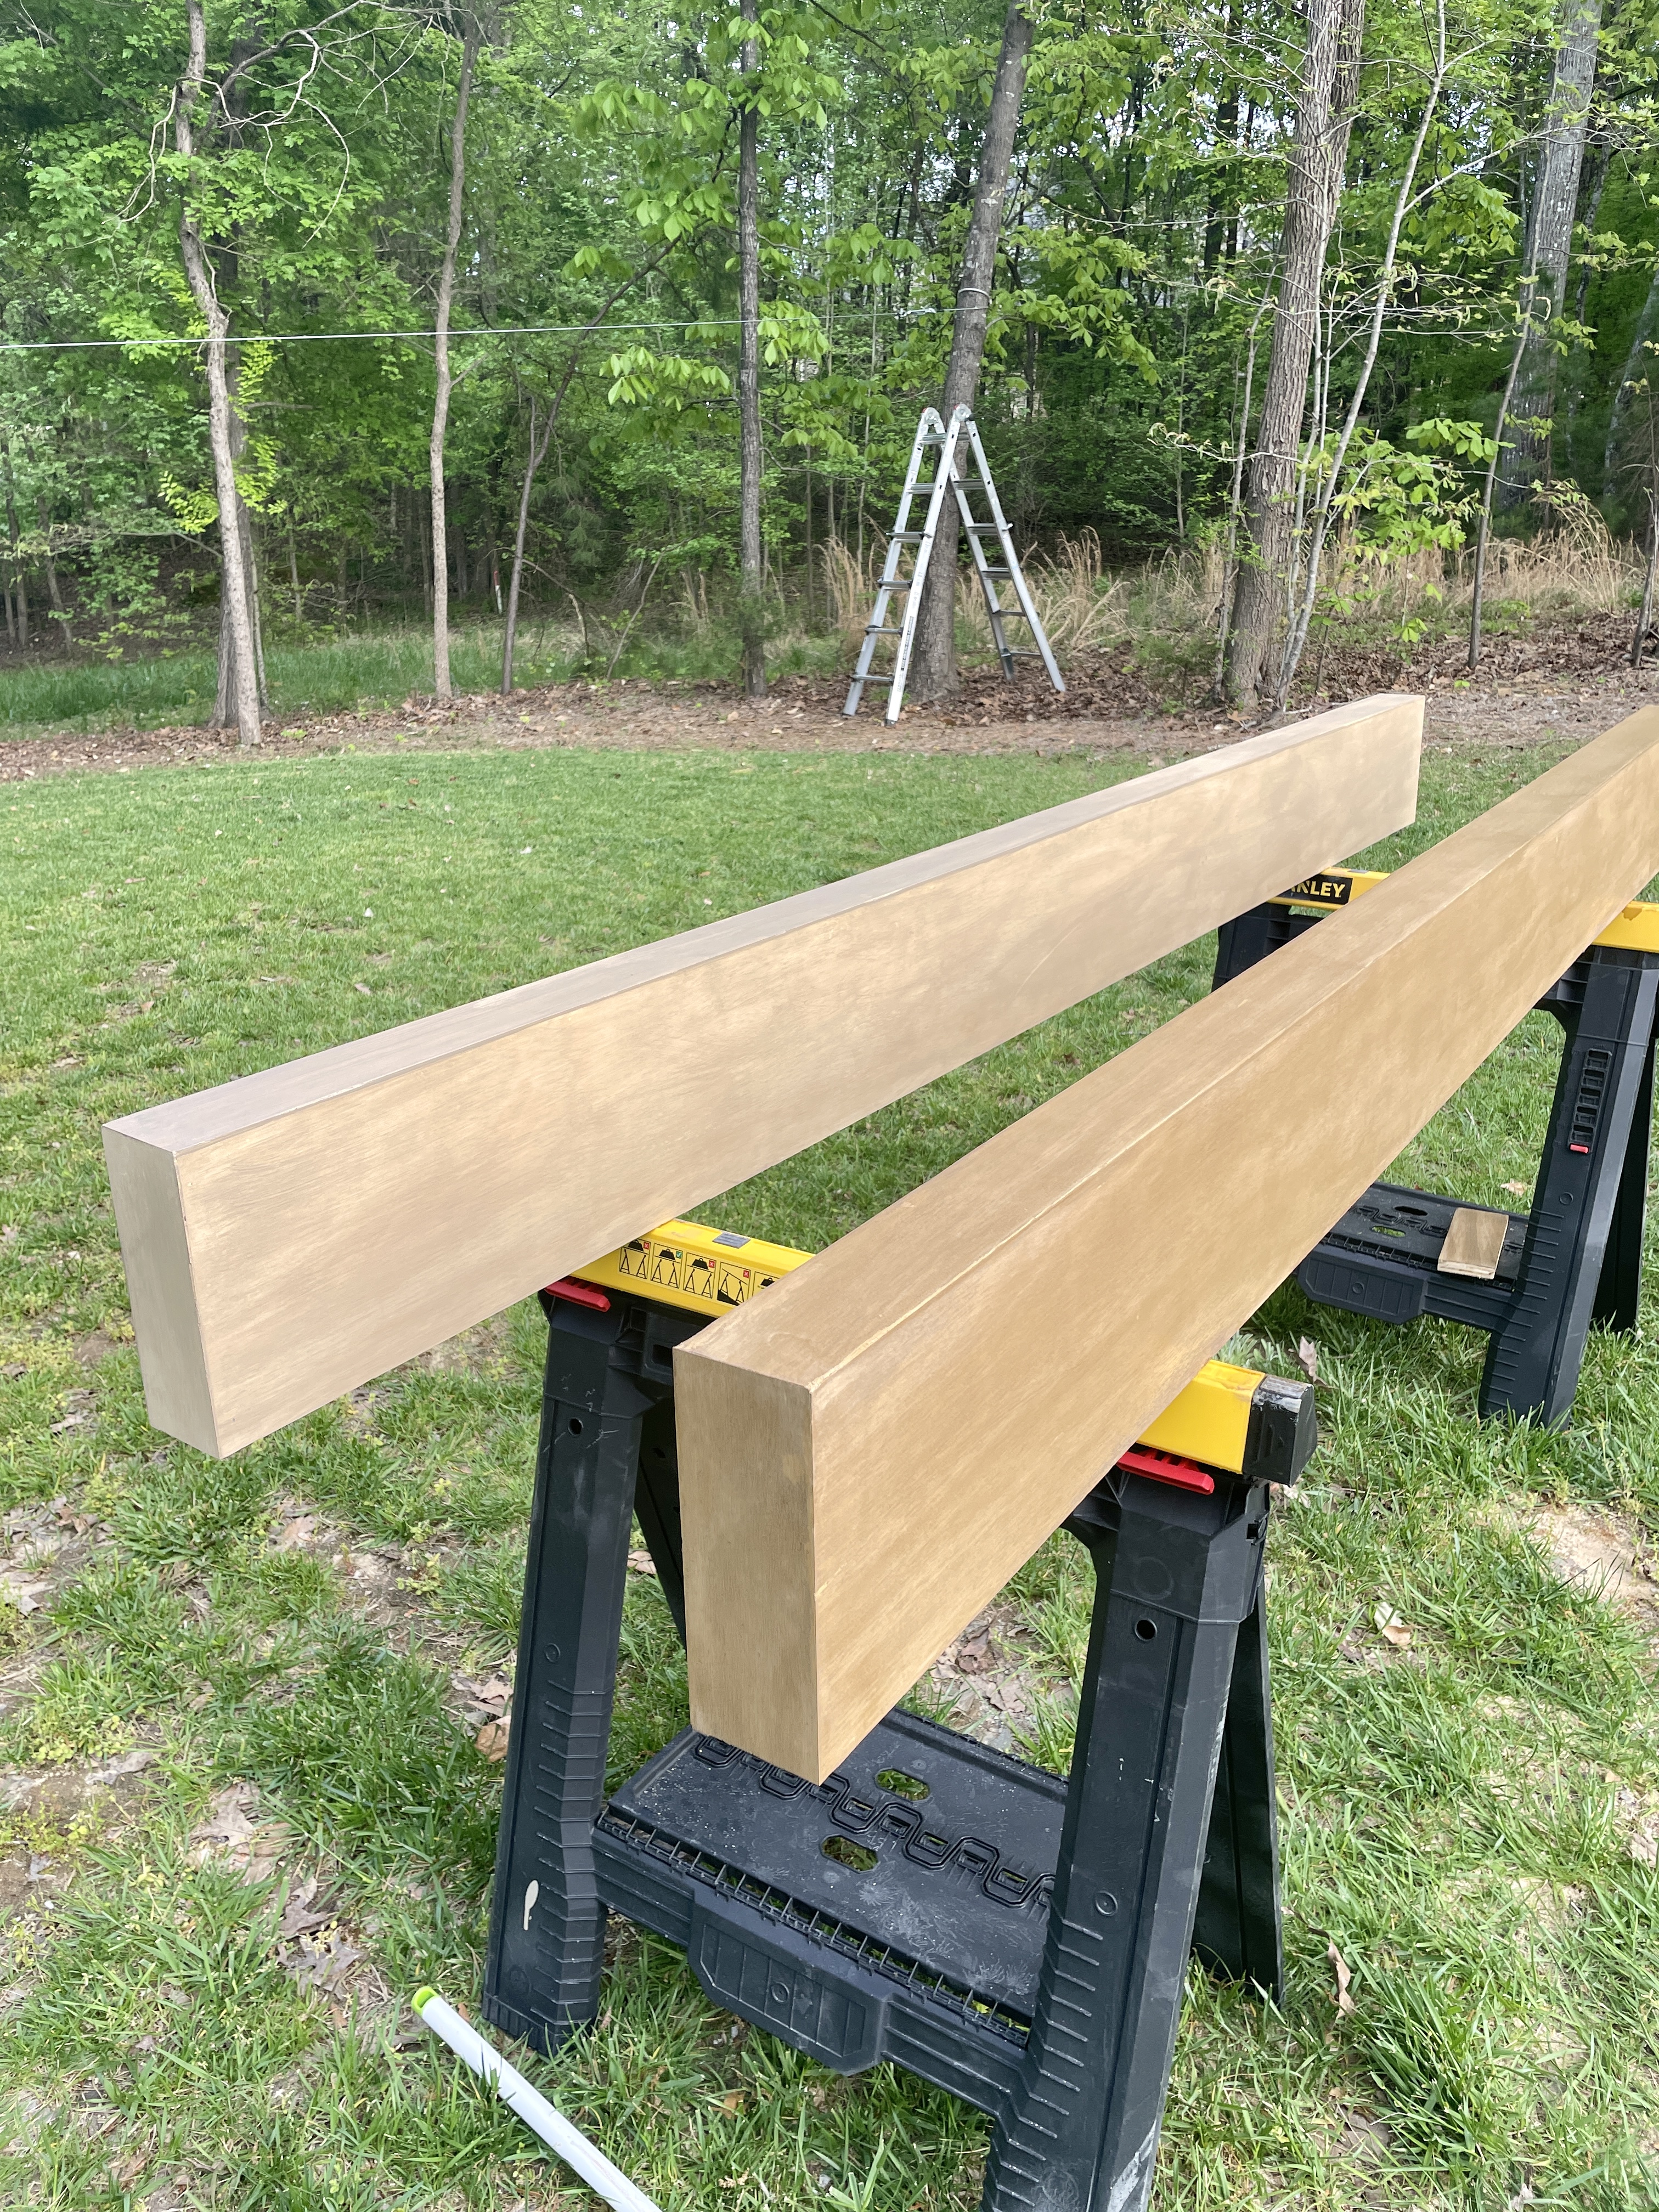
Cut wood
Each piece of wood needs to be cut at a 45-Degree Angle on 3 sides to create a box. The front piece will need to be cut at a 45-Degree Angle on all 4 sides.
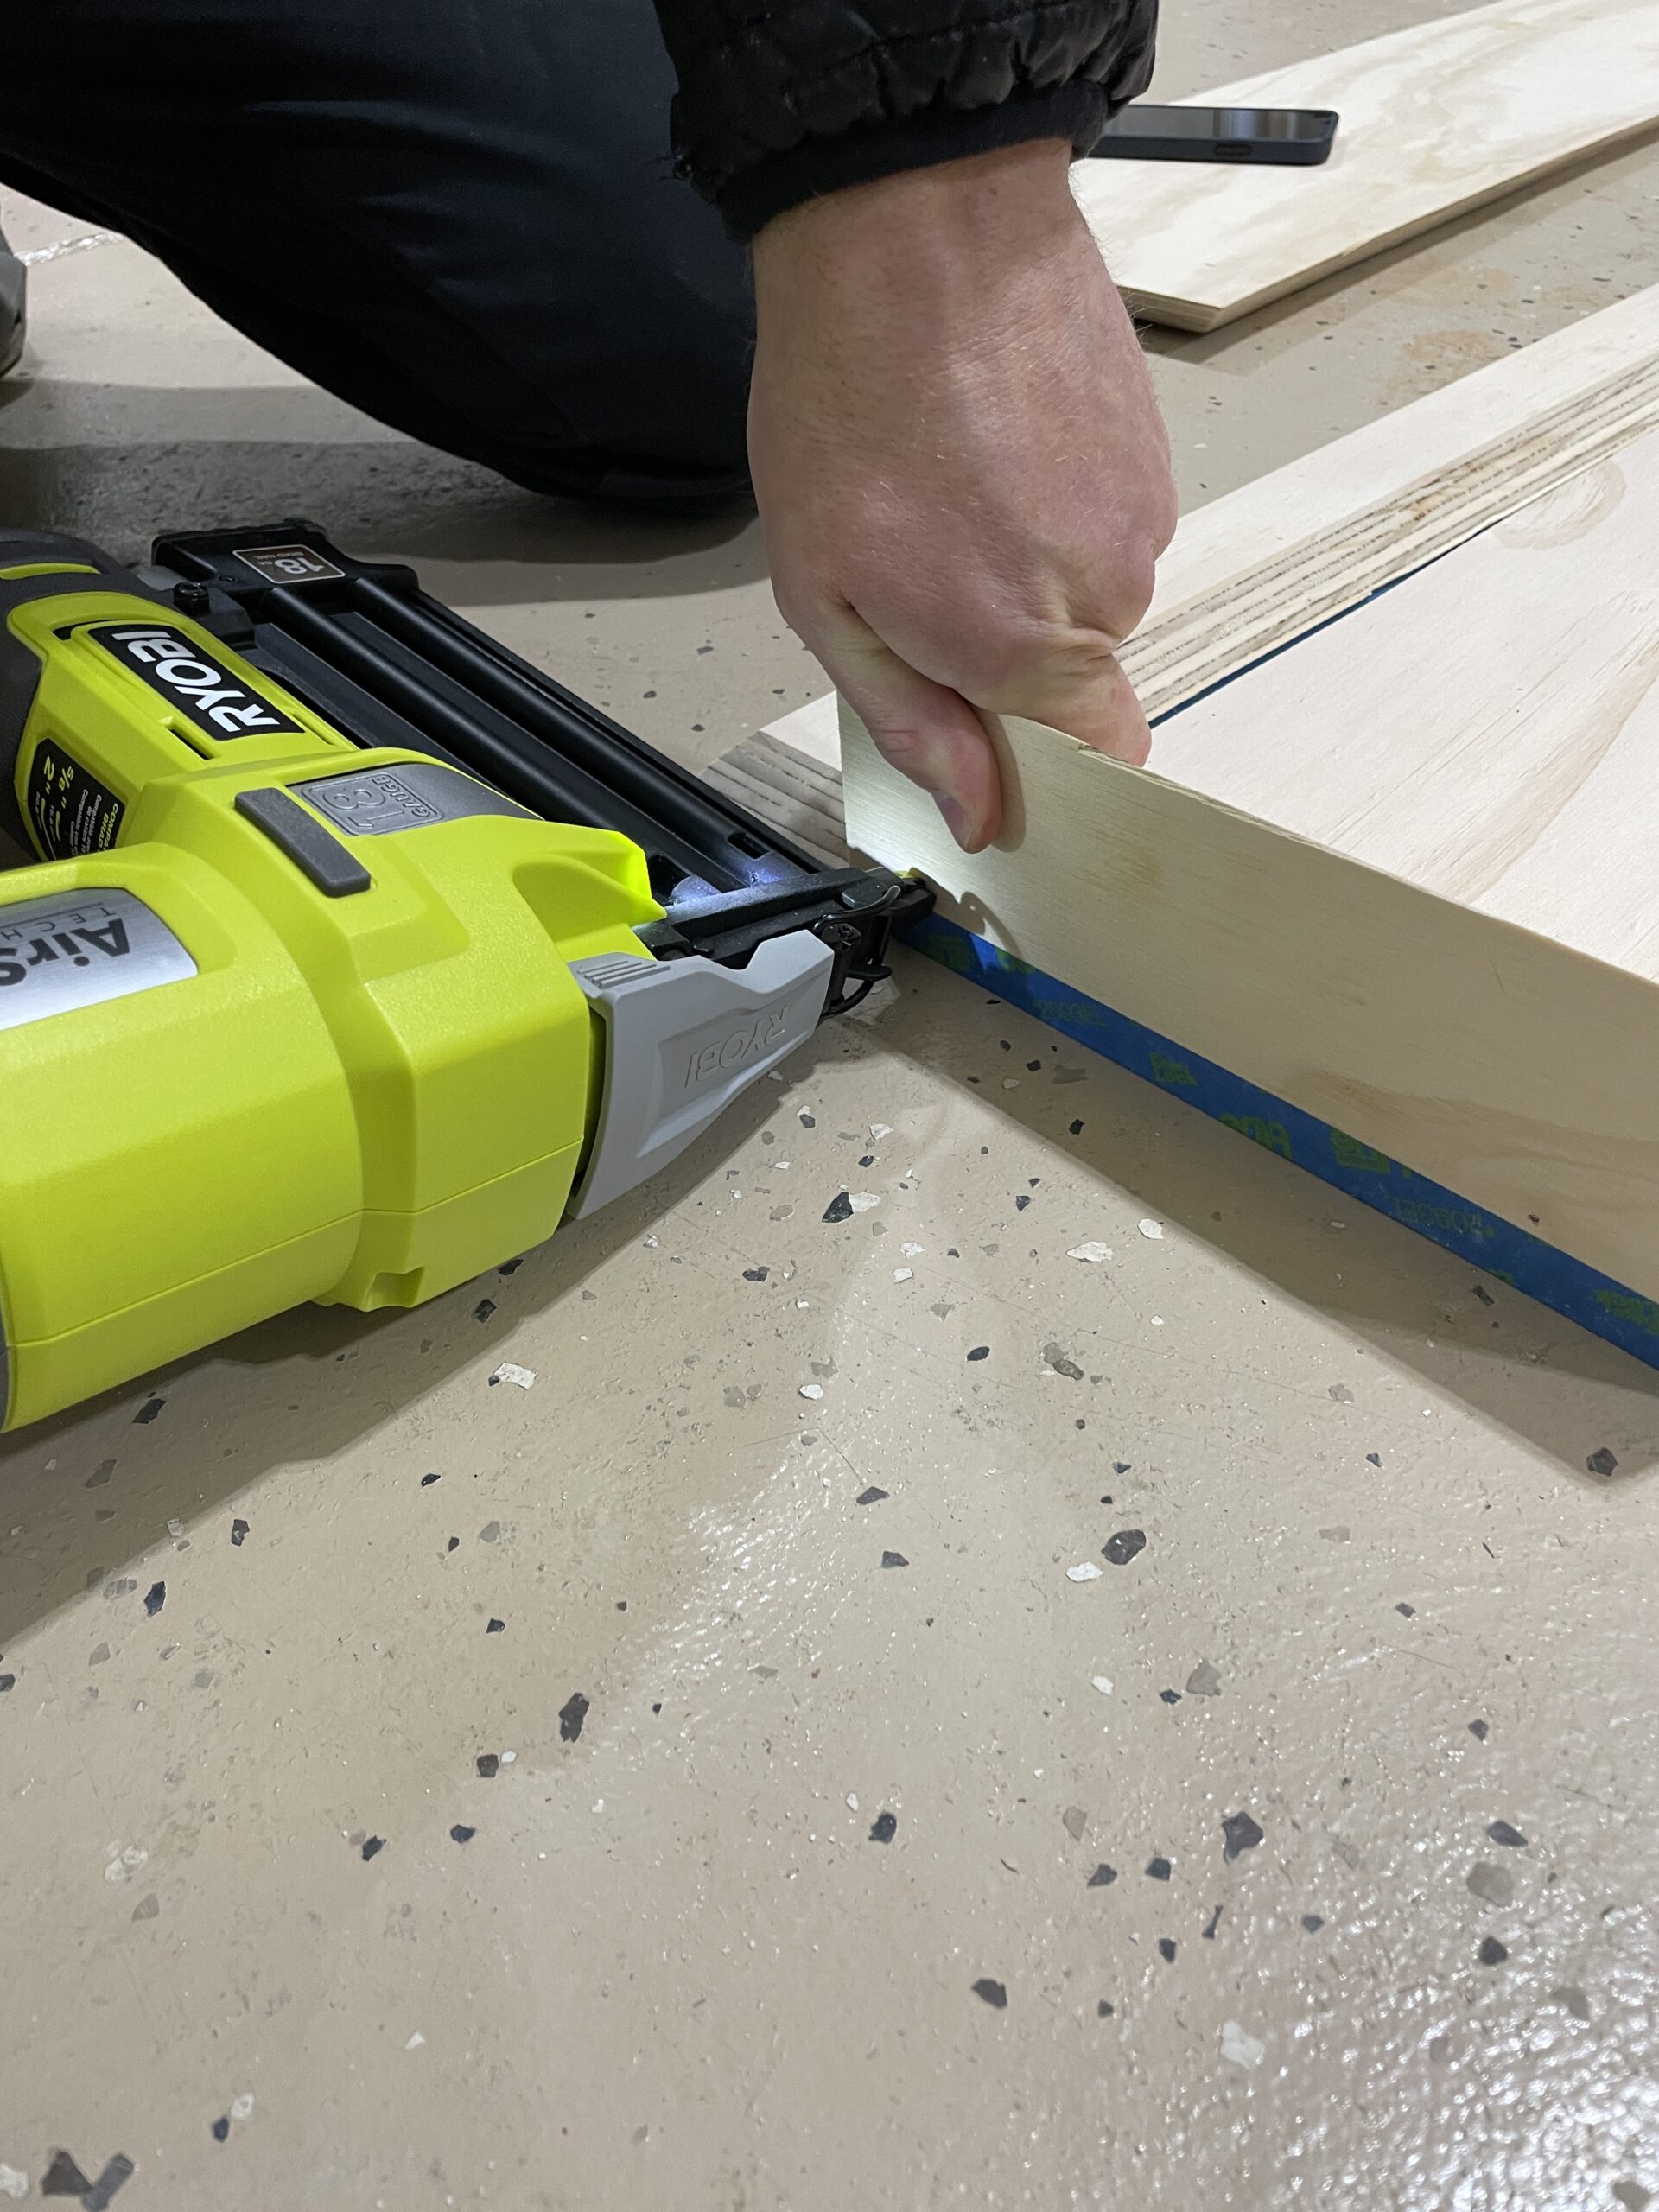
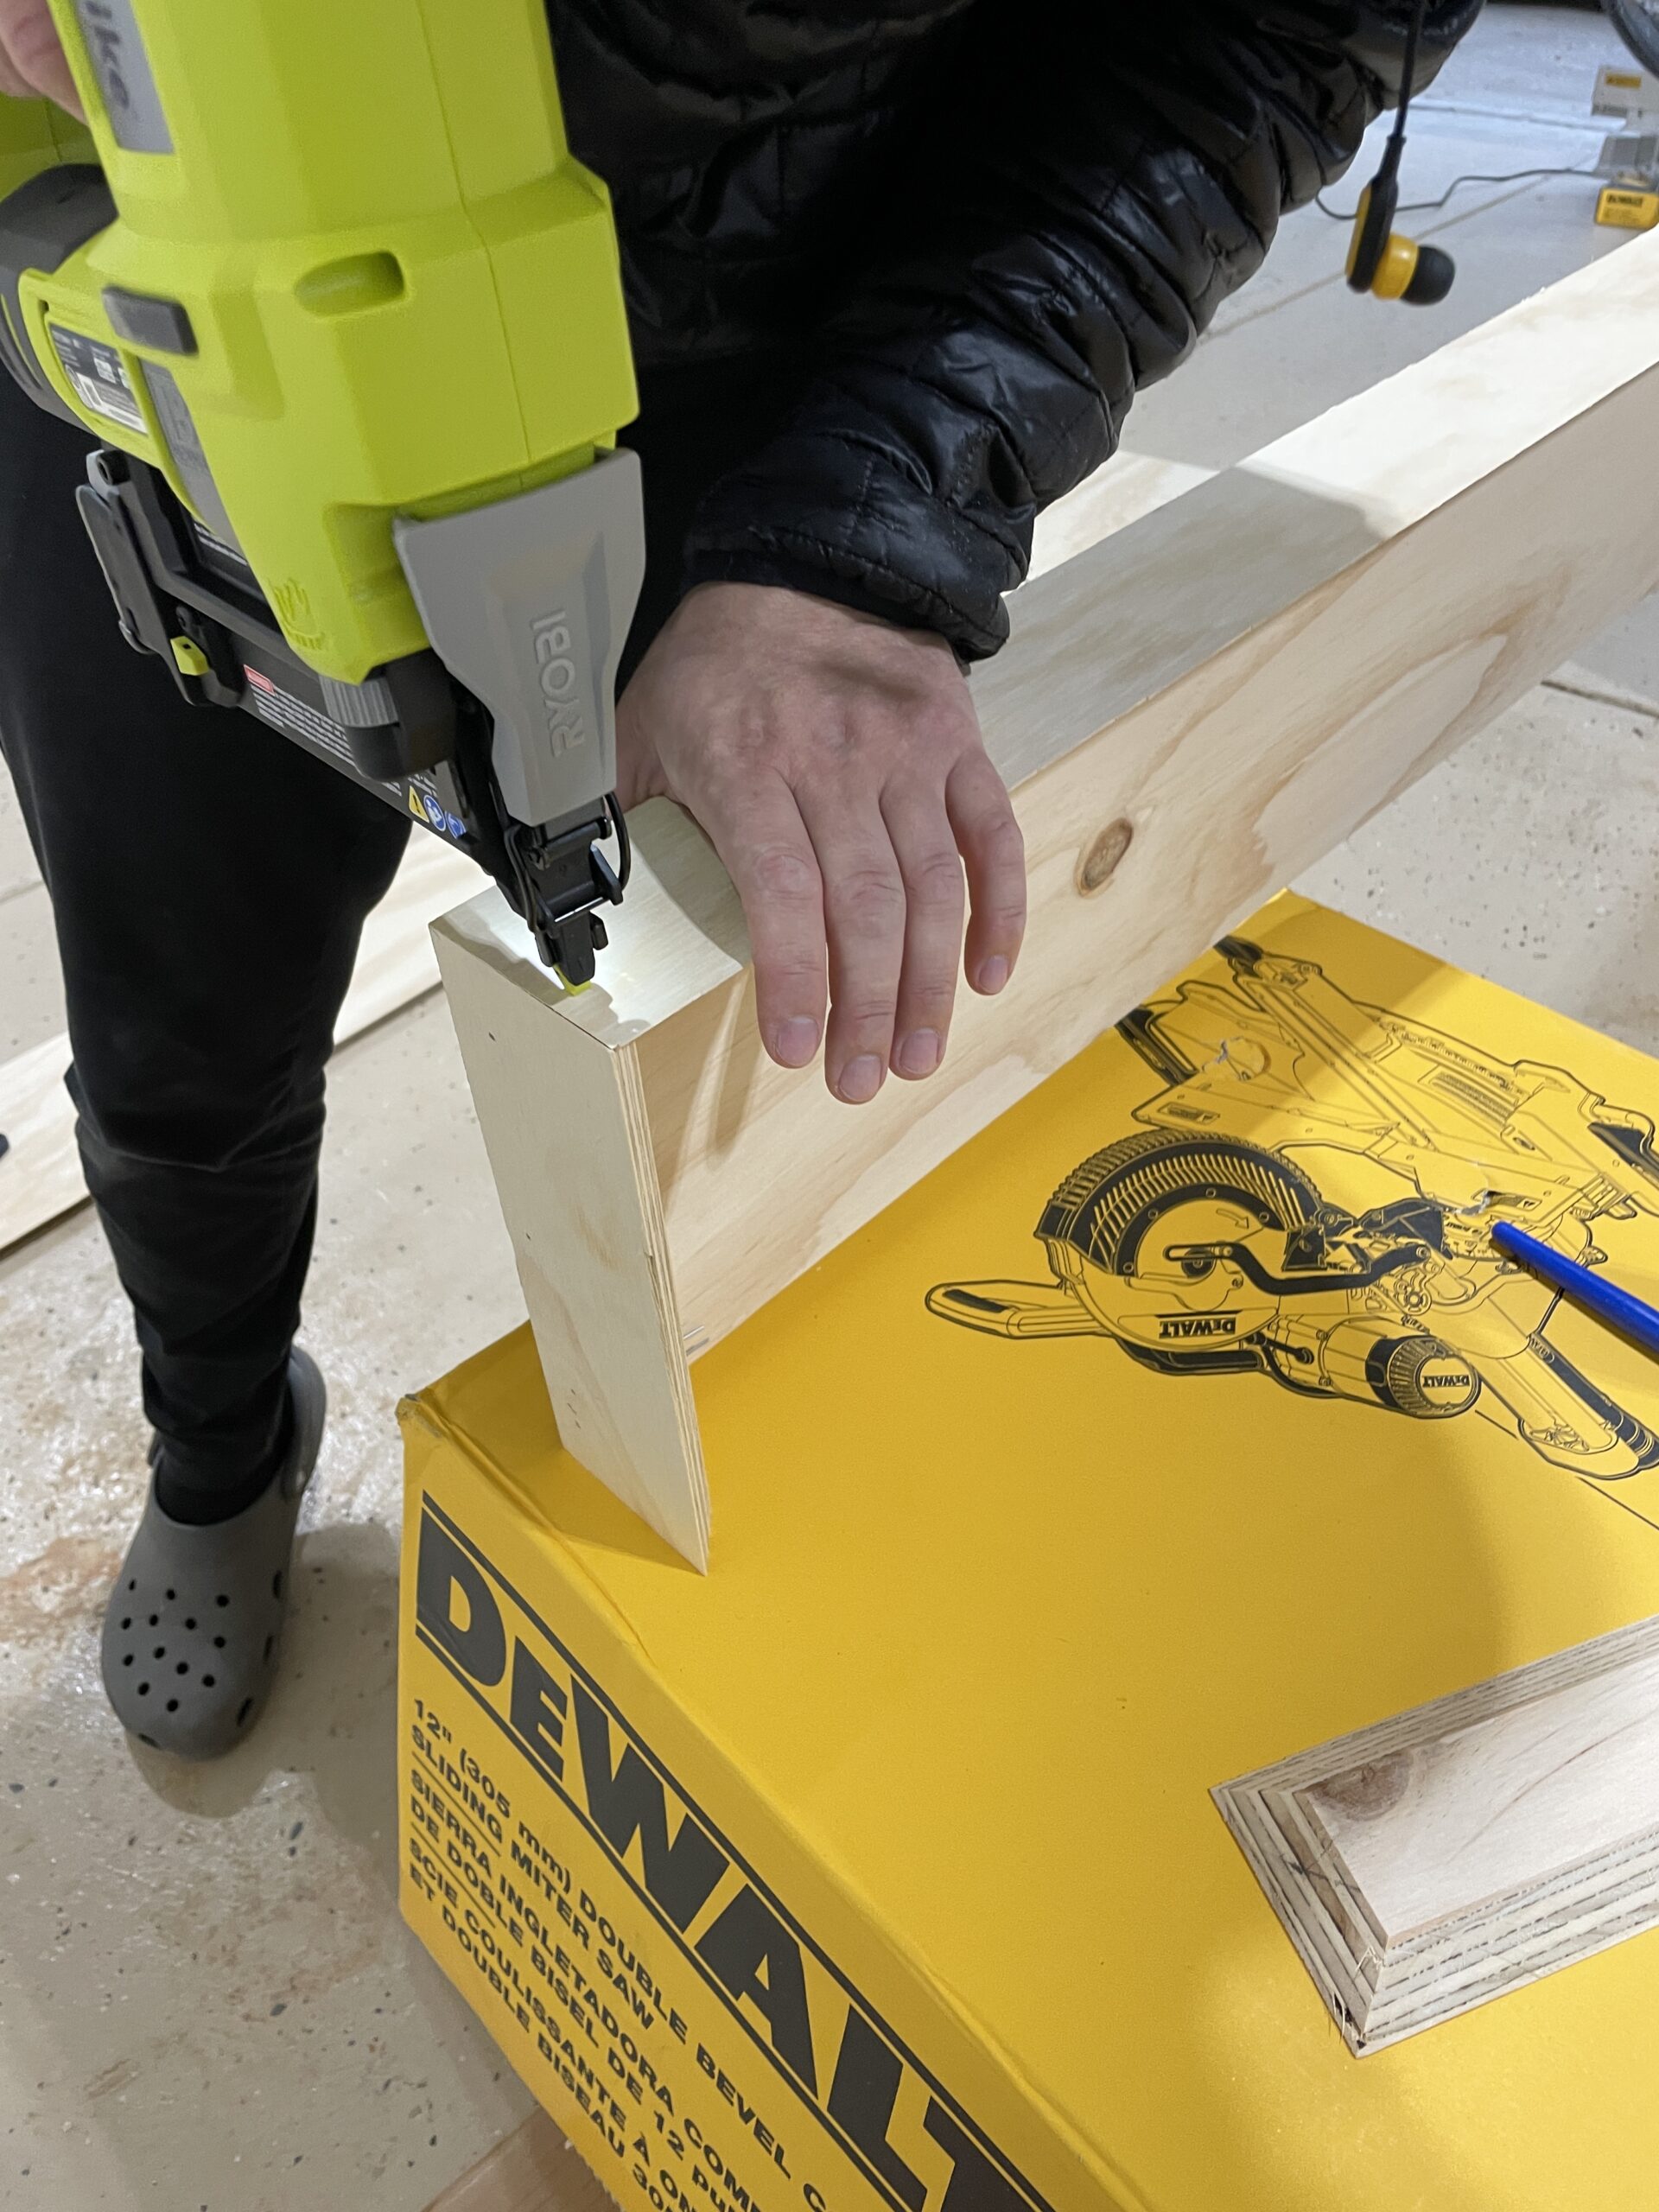
Make a shelf box and a shelf support
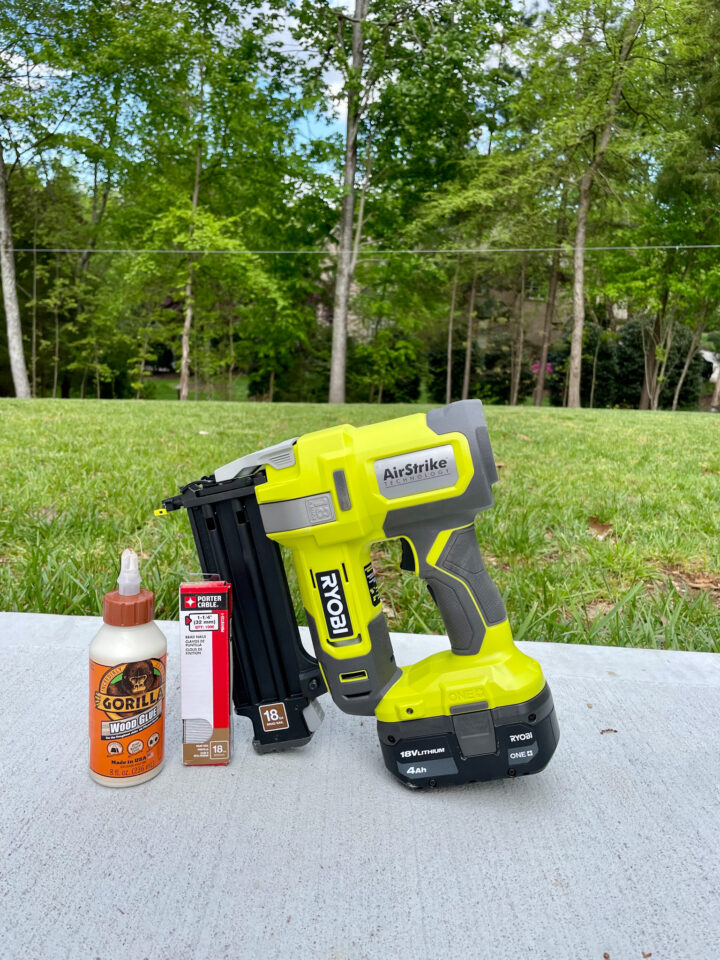
Attach the sides with wood glue and brad nails, using the nail gun.
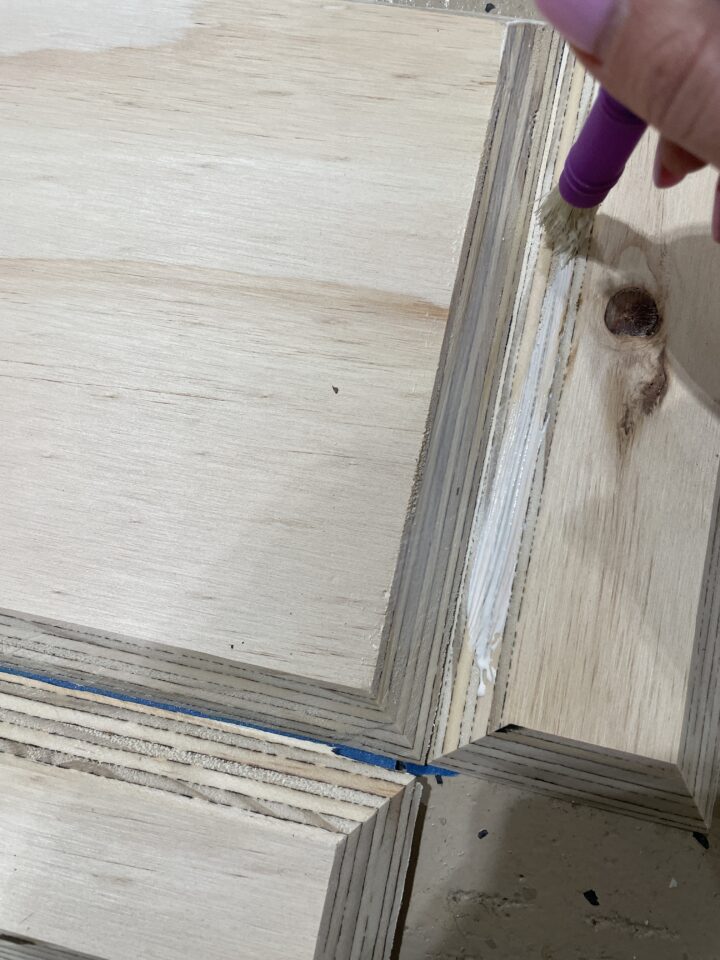
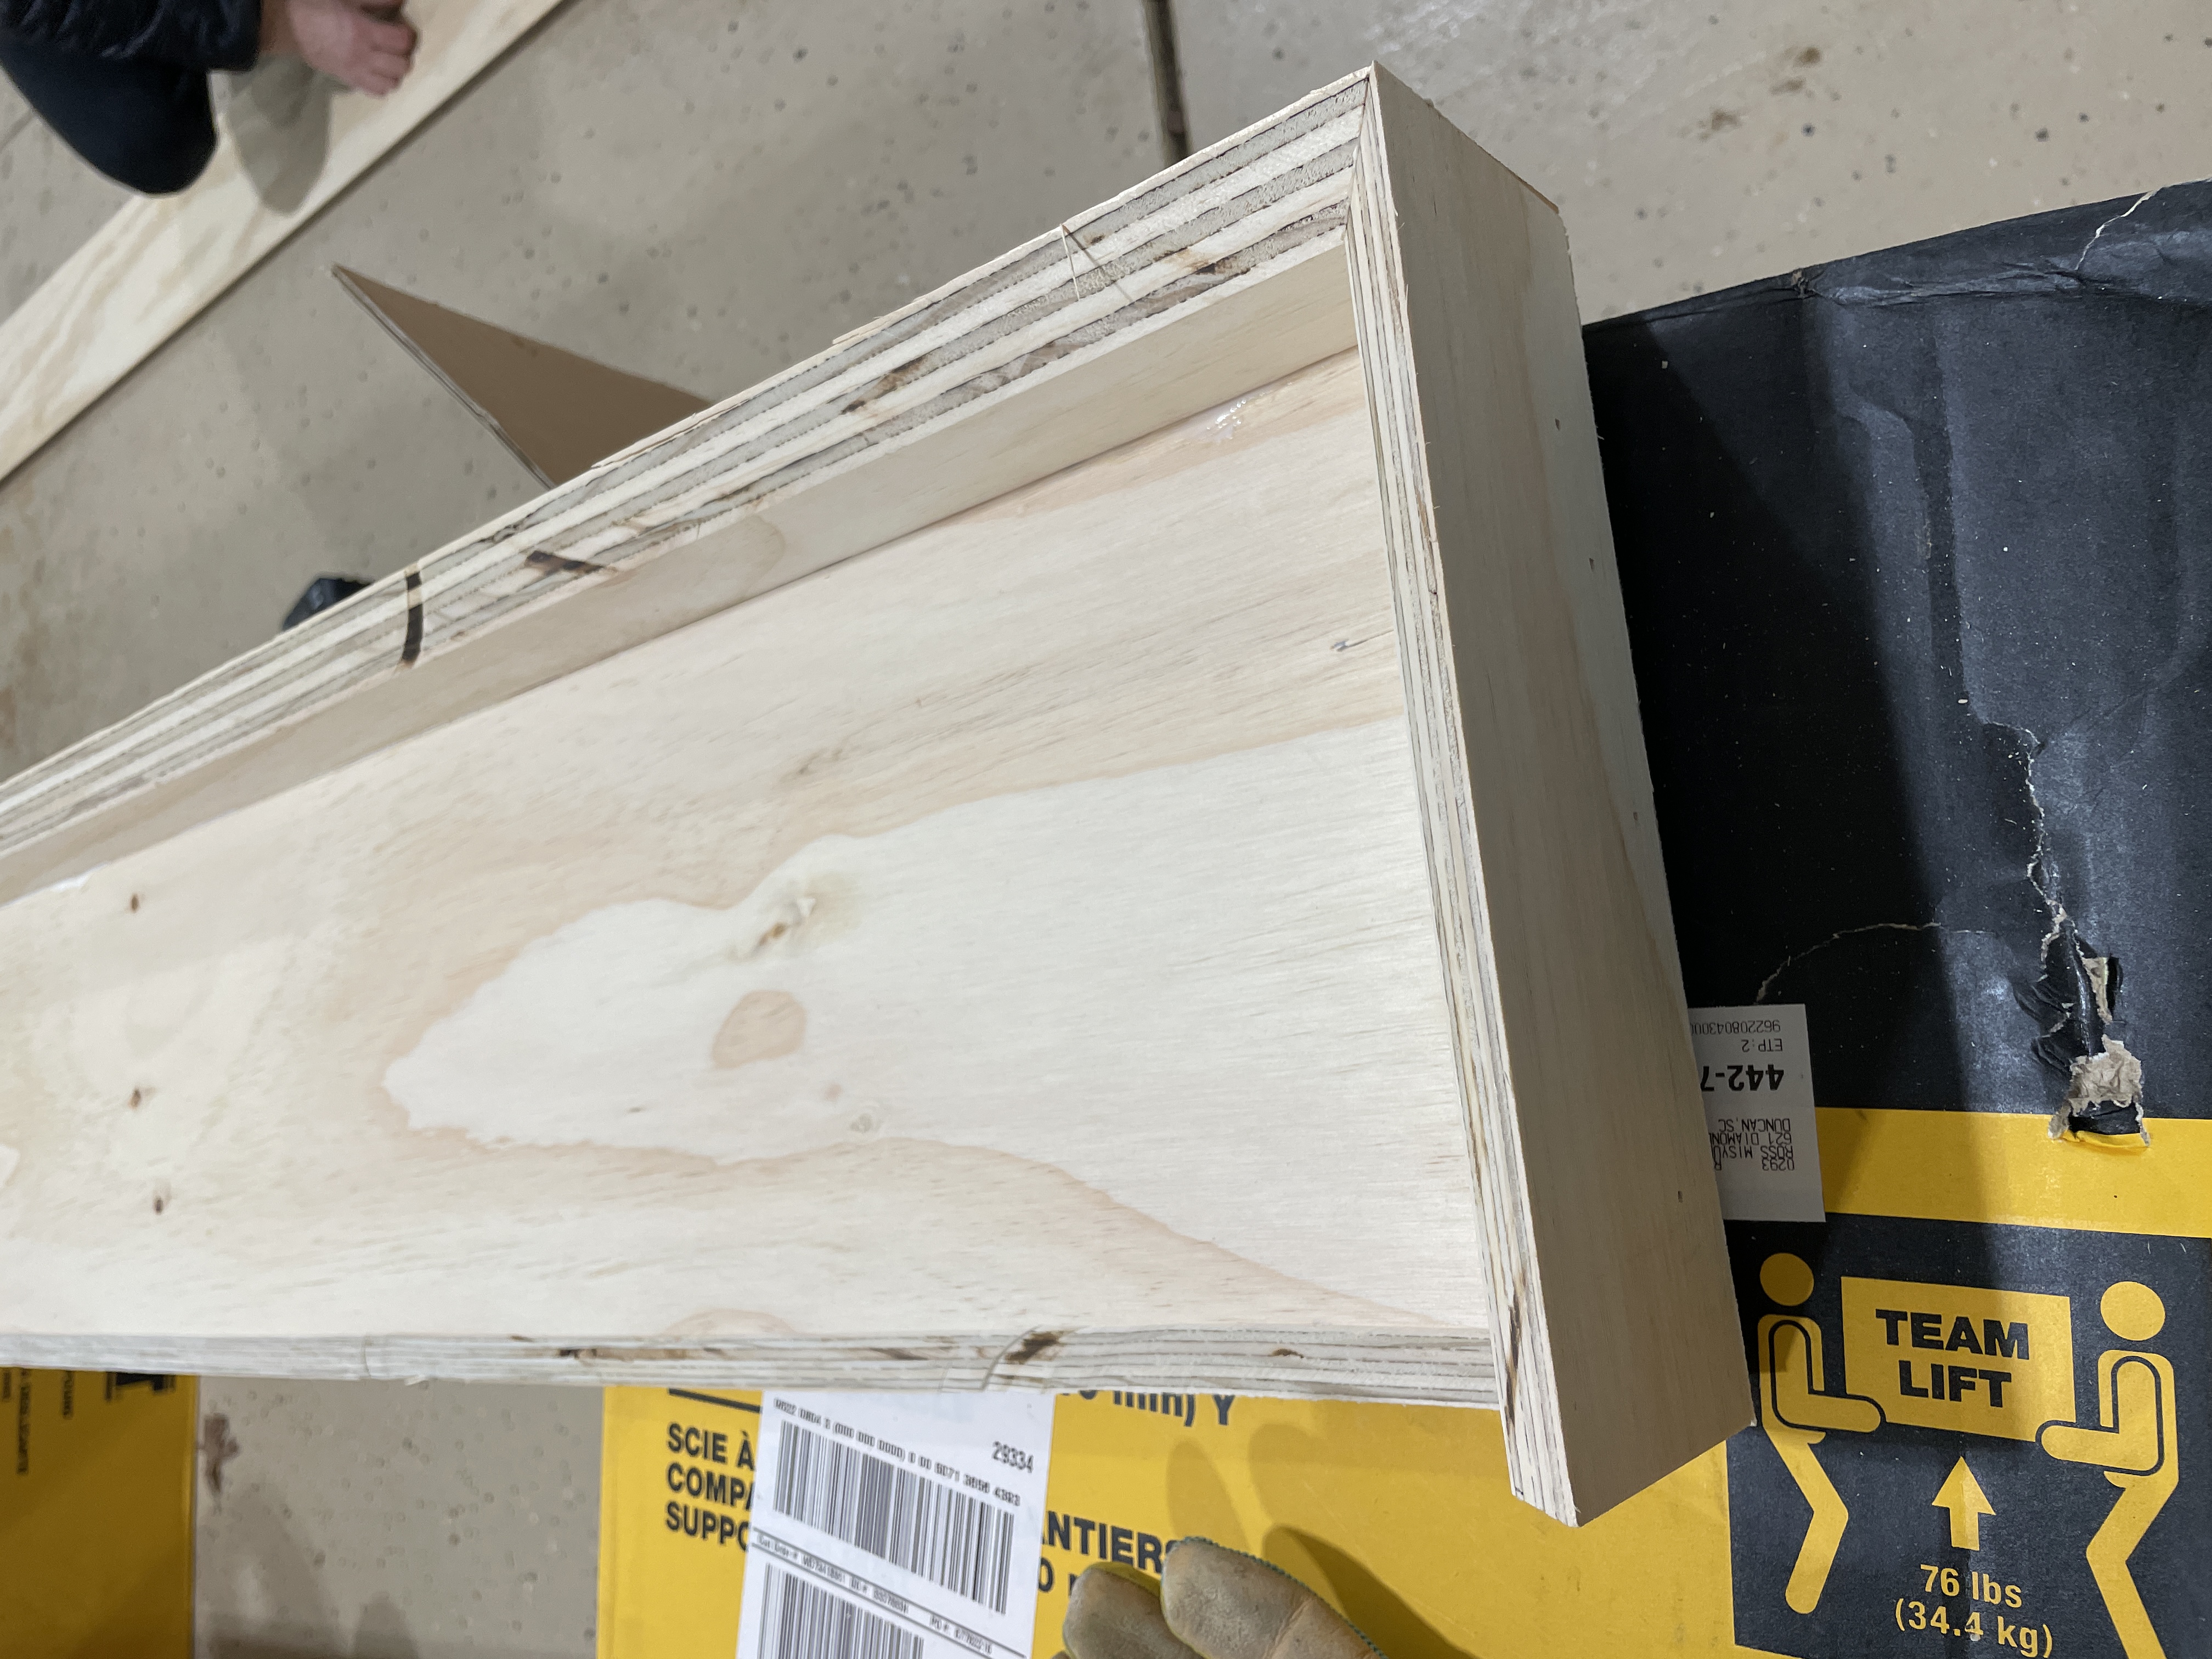
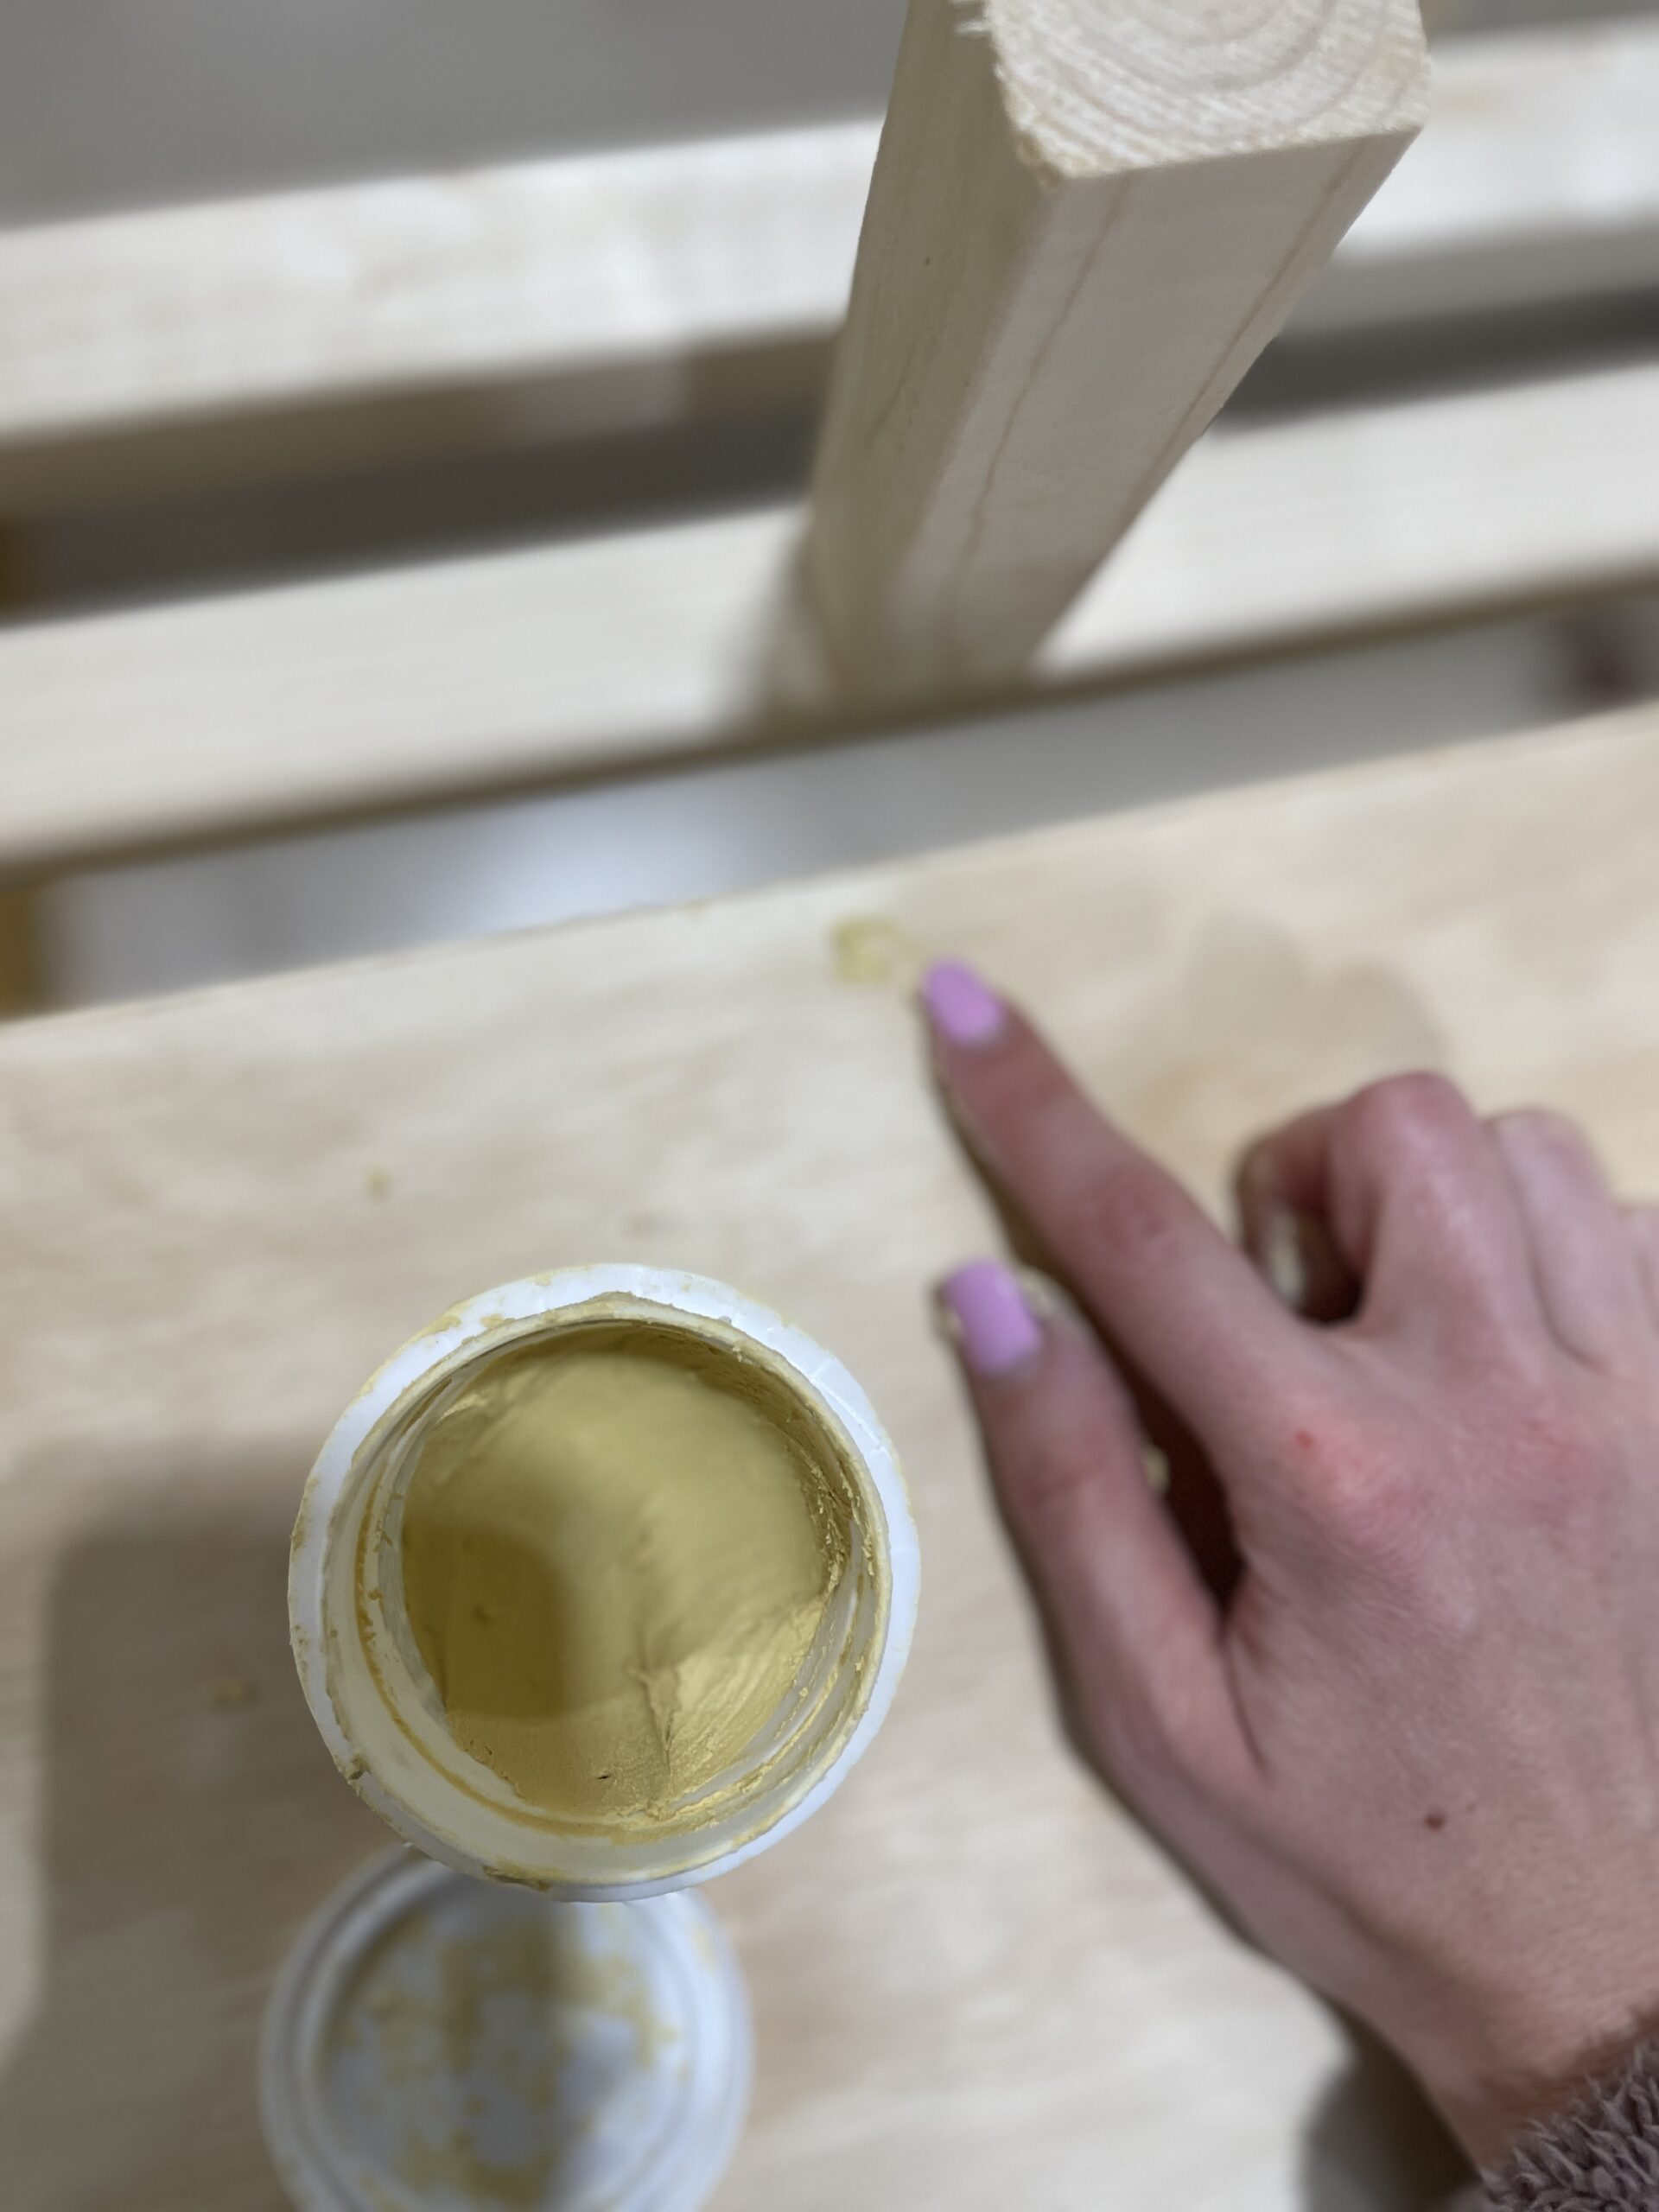
Caution
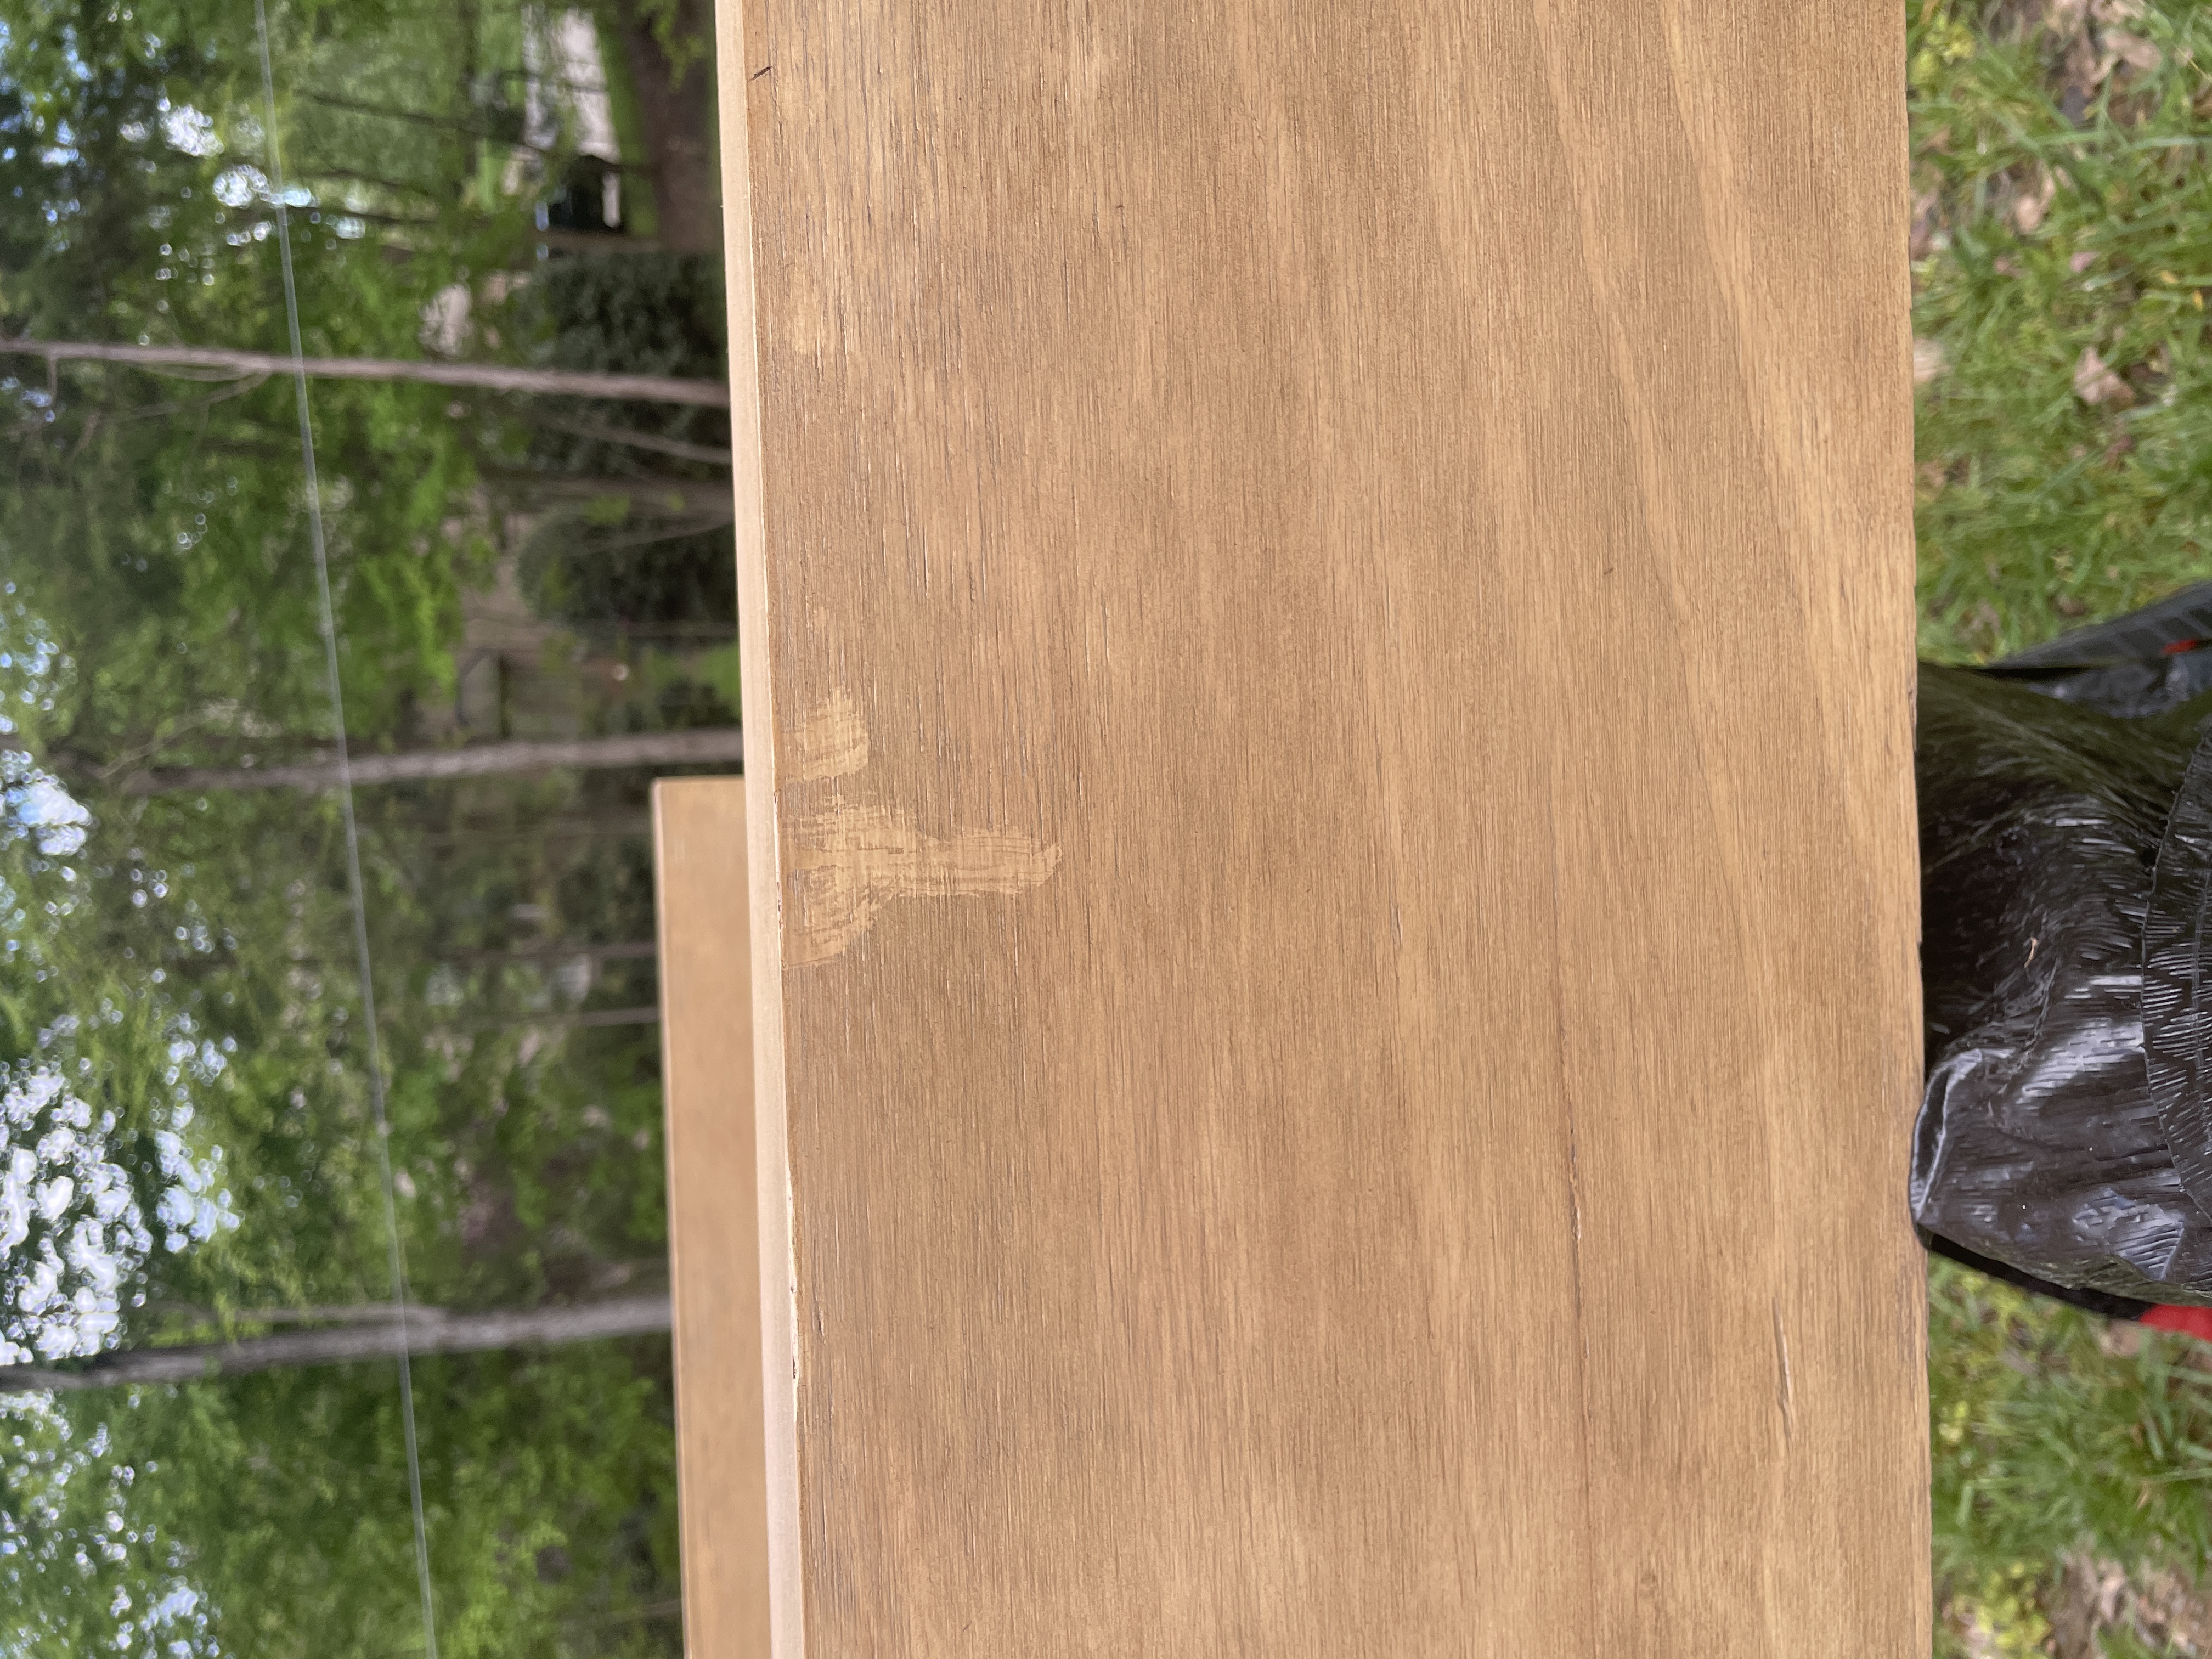
It’s important to wipe the glue up if it gets on the exterior side of the shelf box. If you don’t wipe it clean right away, make sure you sand it down, because the glue doesn’t get stained and it will have a different color (see photo below)
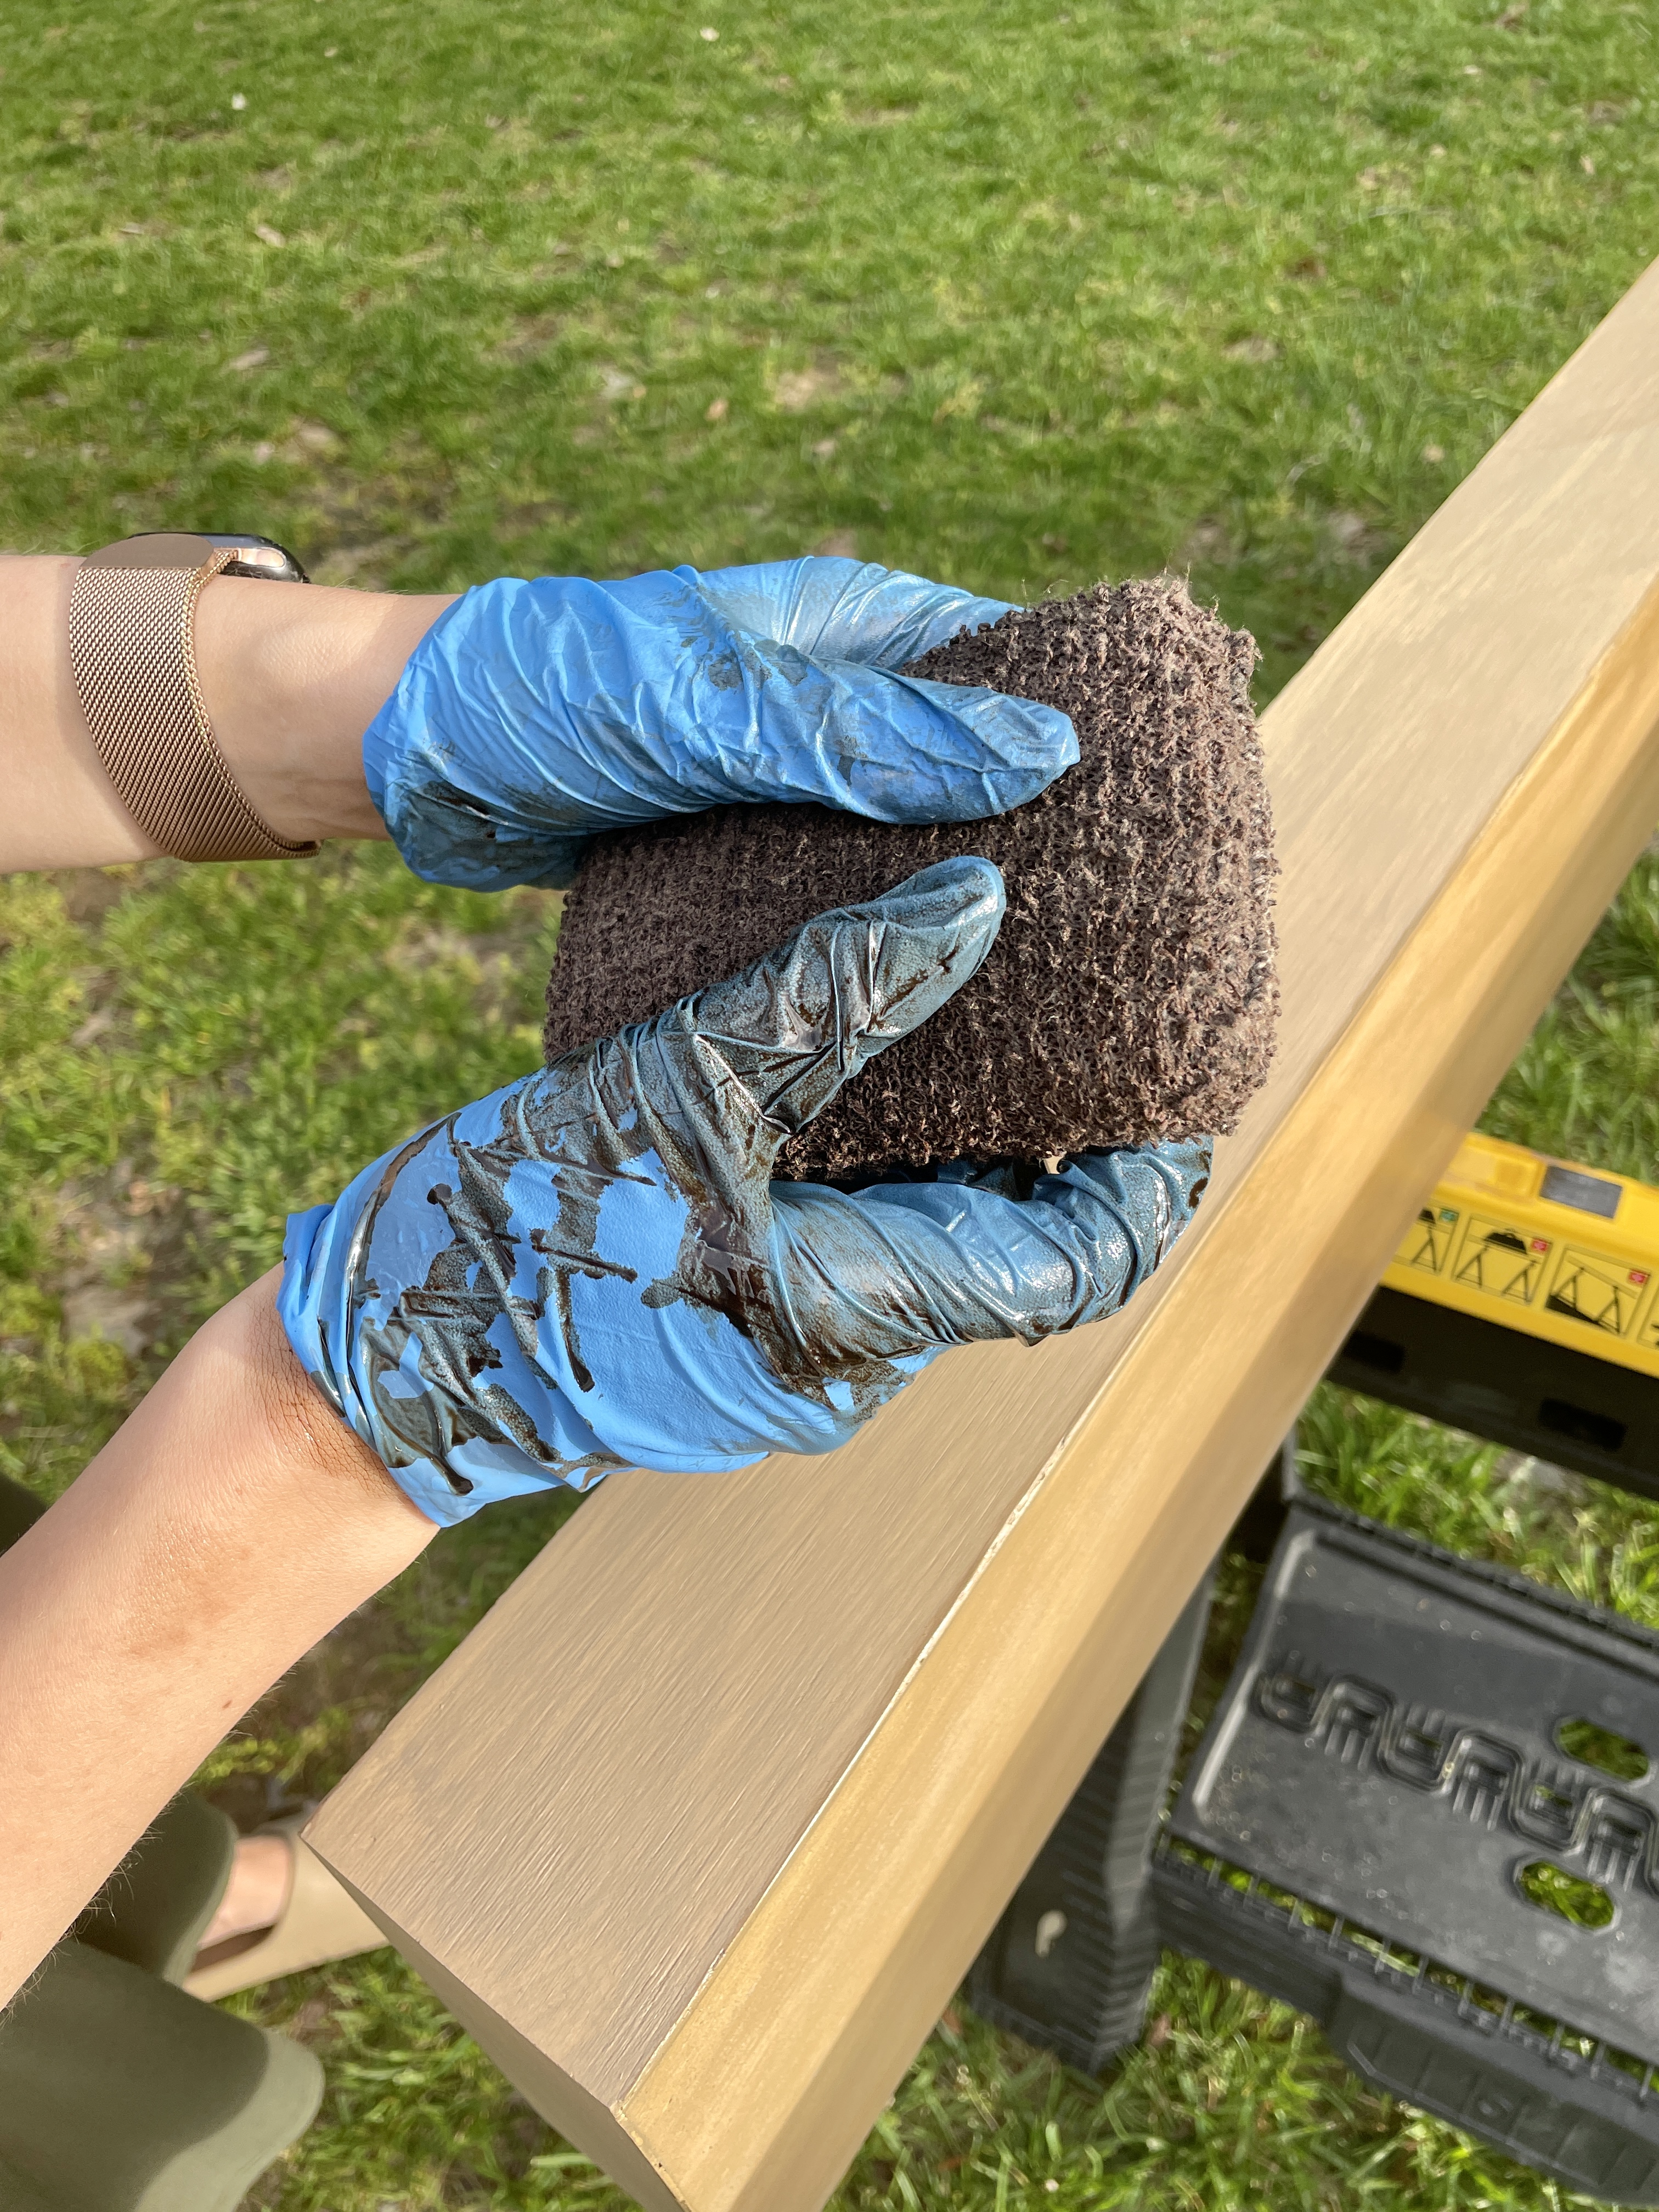
Prepare the shelves for staining
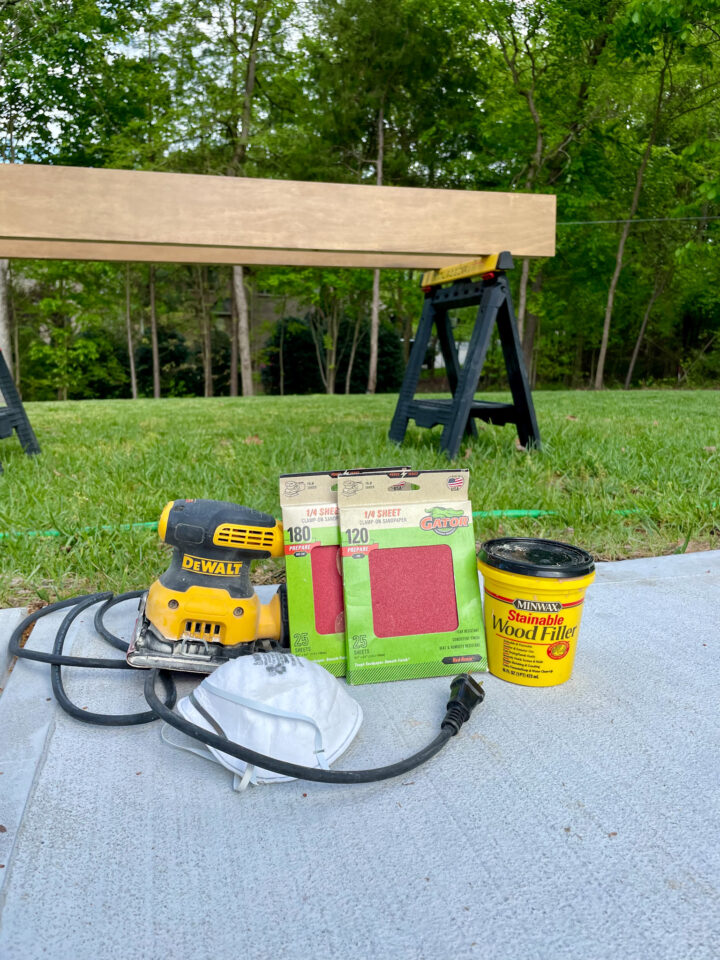
To prepare the shelves to be stained, fill the visible nail holes and sides with a wood filler and let them dry for 15 min to 2 hours.
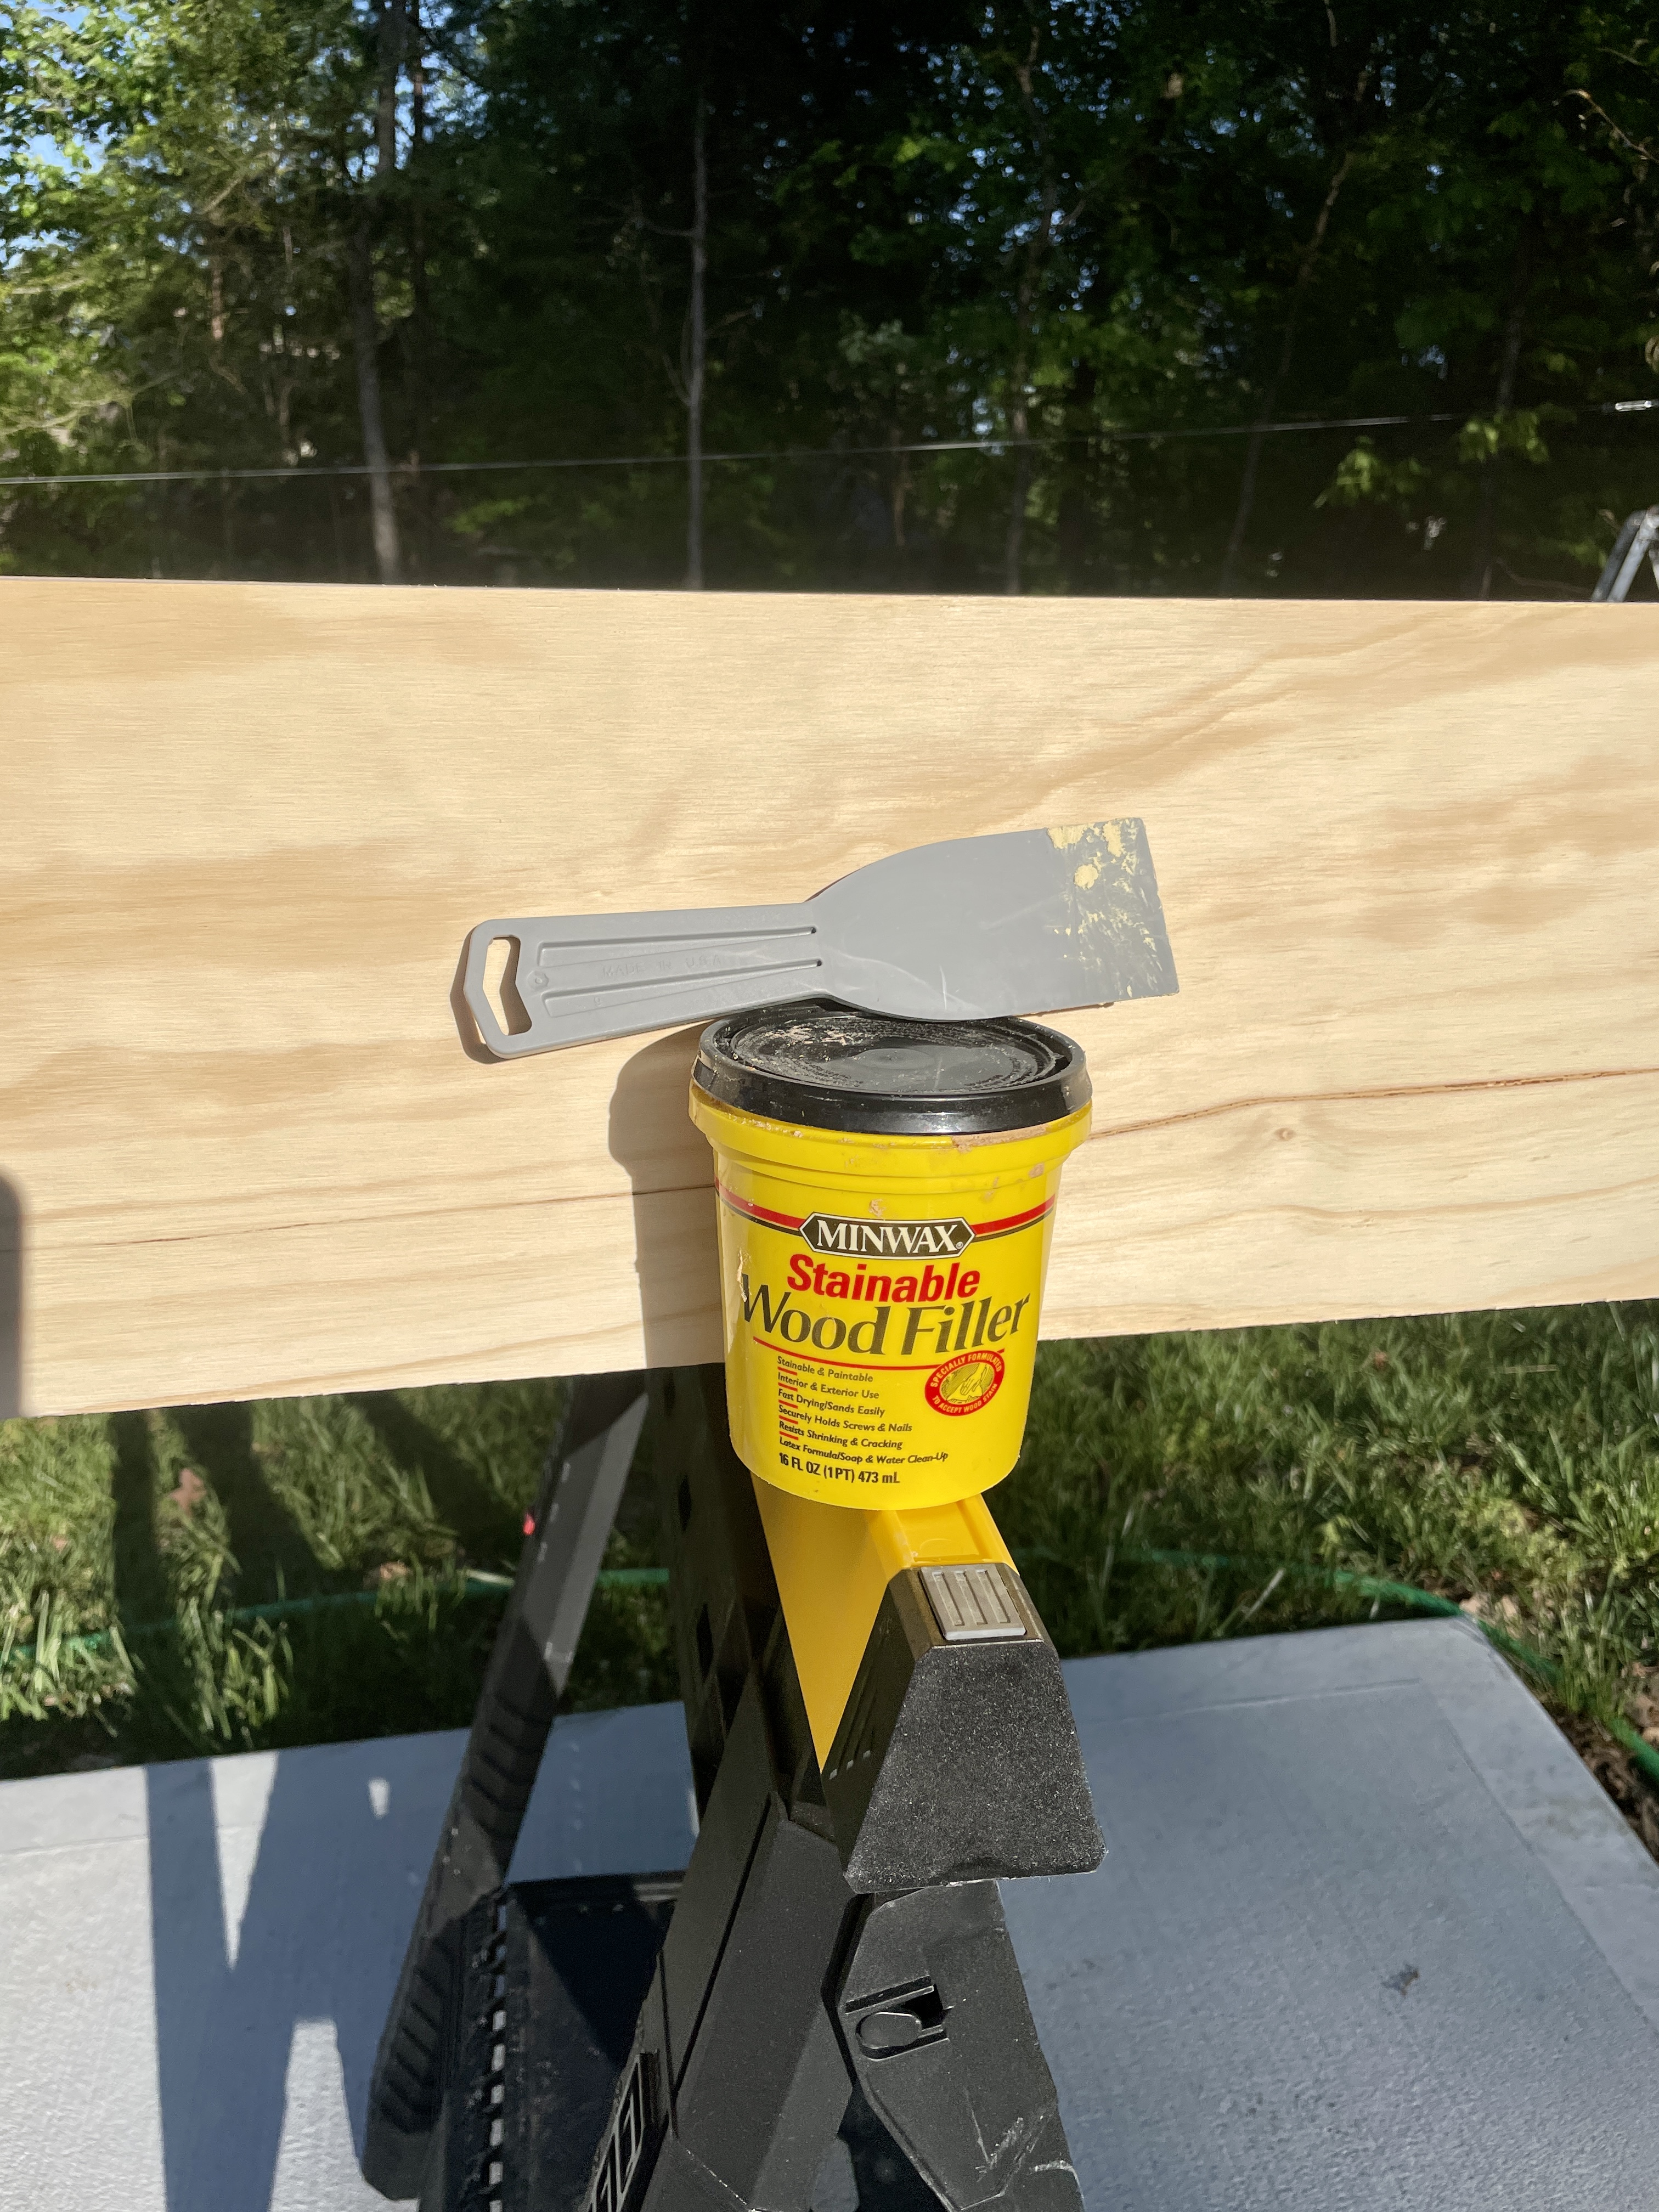
Once the wood filler dries, the shelves are ready to be sanded down. Use 120-Grit sandpaper to sand the wood filler and rough edges, then repeat with 180-Grit sandpaper for a finer finish.

How to stain floating wood shelves
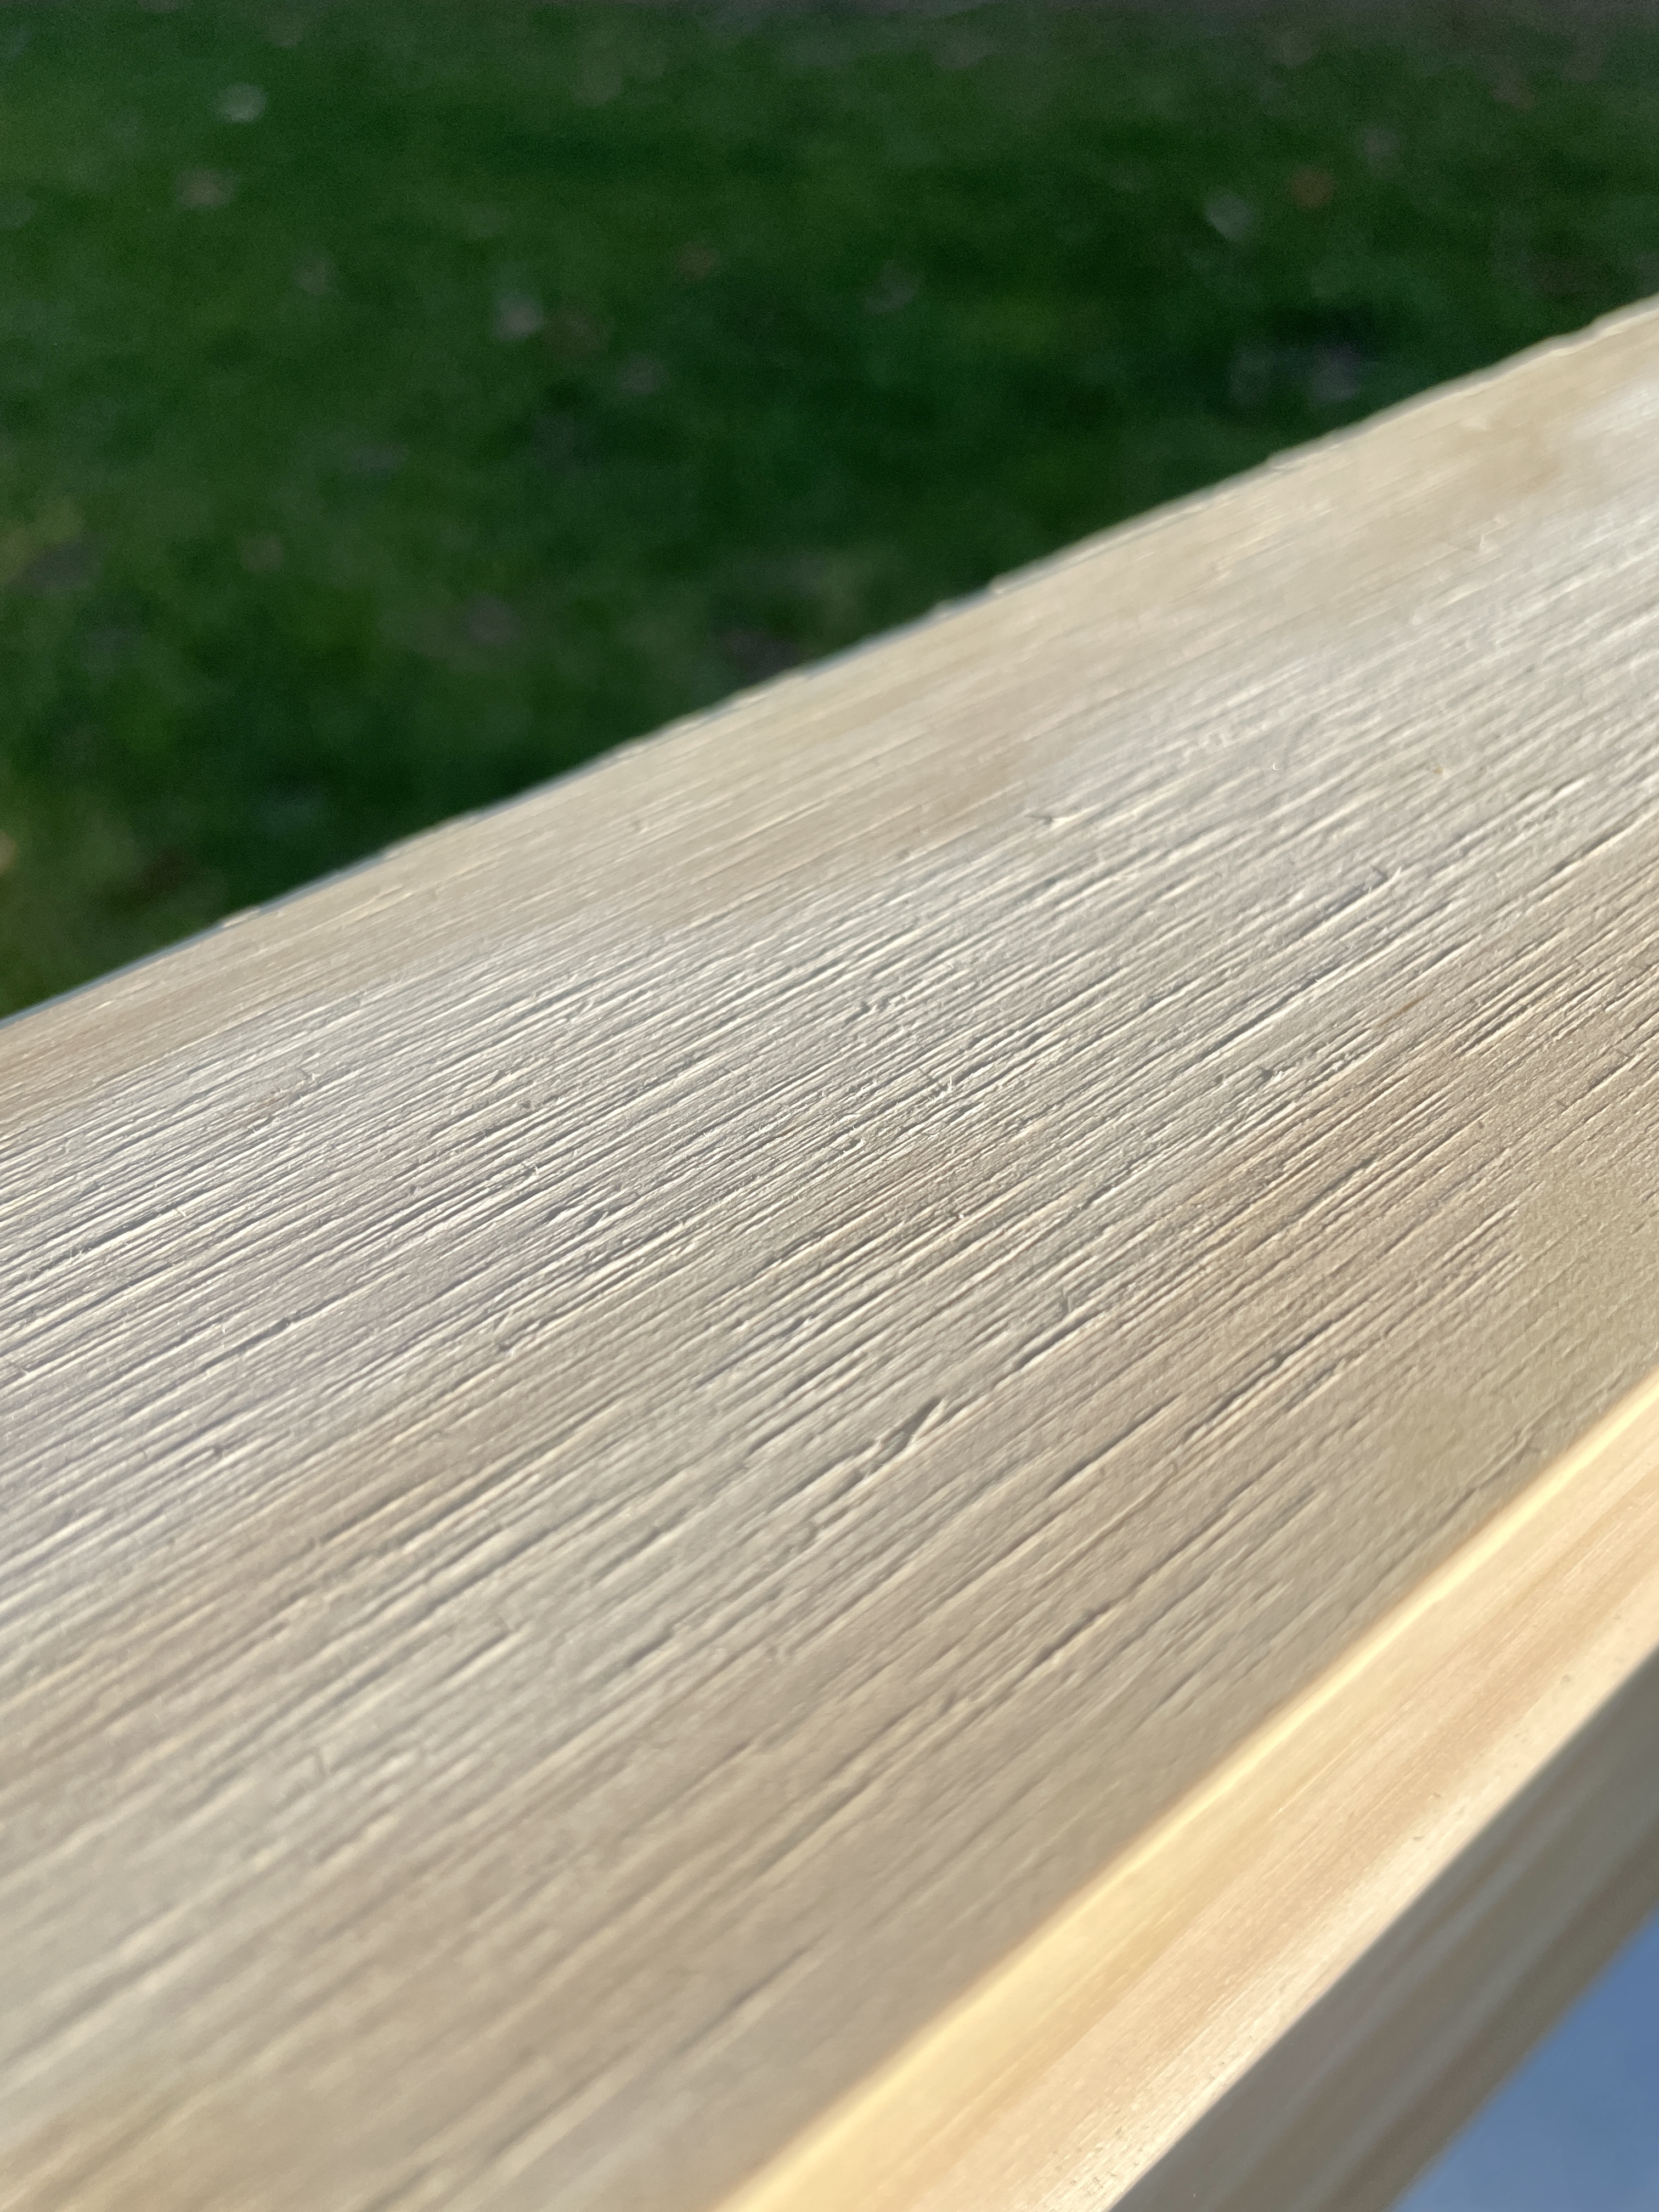
First, you need to condition your wood for stain. Apply pre-stain with a rug to dry and clean wood, free of any sanding dust. Apply the pre-stain with a rug and wipe off the excess within 1-5 minutes. Using pre-stain will raise your wood and make it feel rough to touch. Let it sit for 15 minutes and lightly sand again with 180-Grit sandpaper.
Caution
Be careful not to miss any spots when applying the pre-stain, or the wood will appear darker and more blotchy.
My wood stain formula
Choosing wood stain is tricky, so make sure to always test it on scrap pieces of wood. Follow the same process, precondition the wood first, and then apply the stain you want.
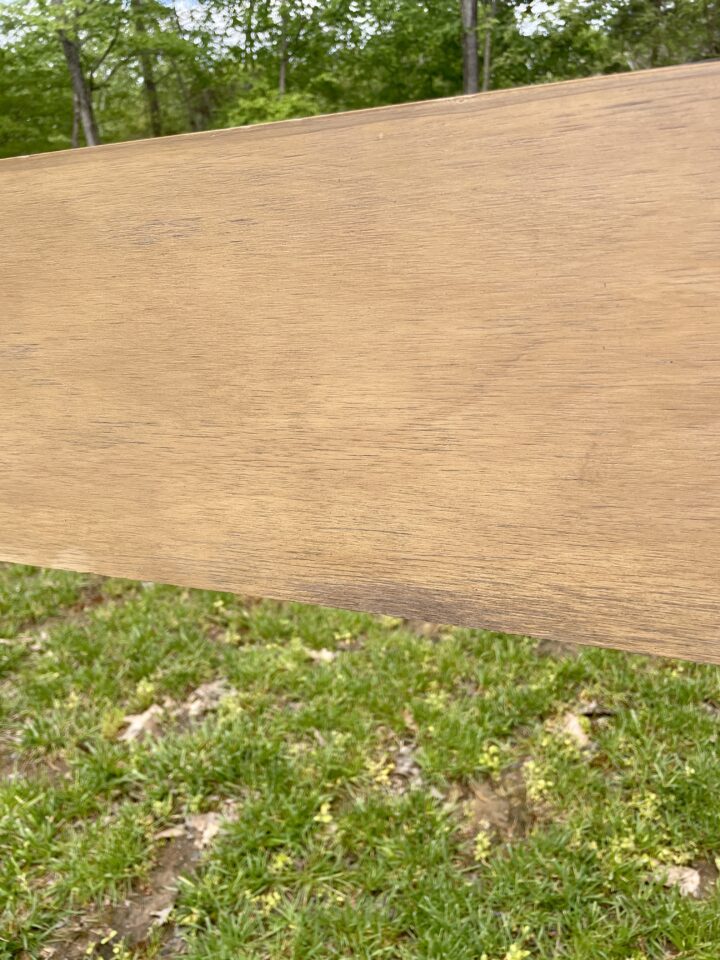
When choosing the stain color for my shelves, I wanted the stain to match or be similar to the exciting wood desk in the room. I wanted a warm yellow wood tone, with subtle gray undertones.
First I applied the SW Mountain Ash stain that I had leftover from this project. SW Mountain Ash gave it the gray tone. That color was beautiful on its own and can be used as a stain option.
However, because I wanted to warm the wood tone, I then mixed Mixwax Driftwood 2126 and Provincial 221 about 50/50 and applied with a rug in even strokes that go along the wood grain.
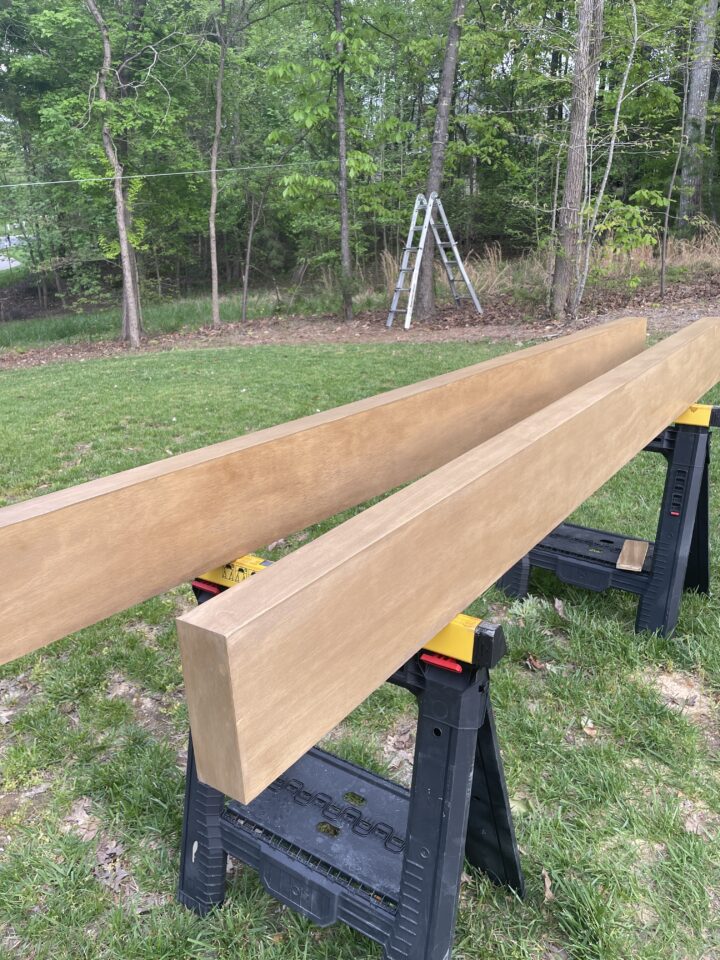
Let the stain dry for 2 hours.
Once you have achieved the stain color you want, apply Polyurethane for protection. Polyurethane is resistant to water and will protect your shelves from damage.
I used the one in a spray can. Shake the spray can for 2 minutes before use. You need to apply a minimum of 2 layers, so make sure to apply in a thin later. Once you are done using the spray can turn it upside down and spray away until only clear gas comes out. This will prevent it from clogging.
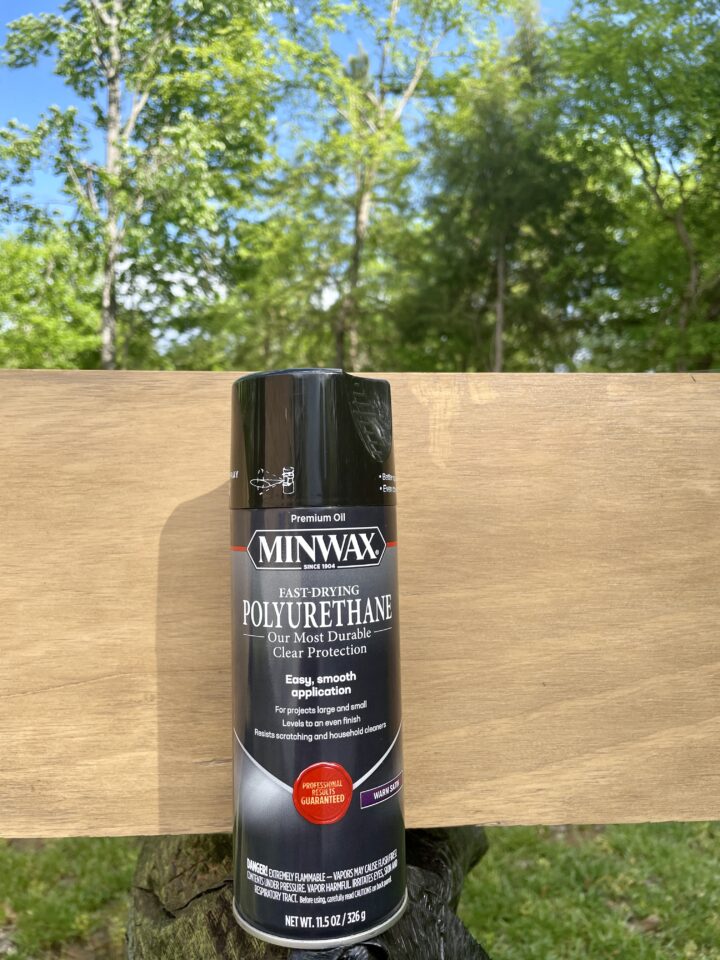
Let it dry for 24 hours.
Installing the wood floating wall shelves
First install the shelf support piece, screwing it into the wall studs. Use a stud finder to determine the stud locations on the wall.
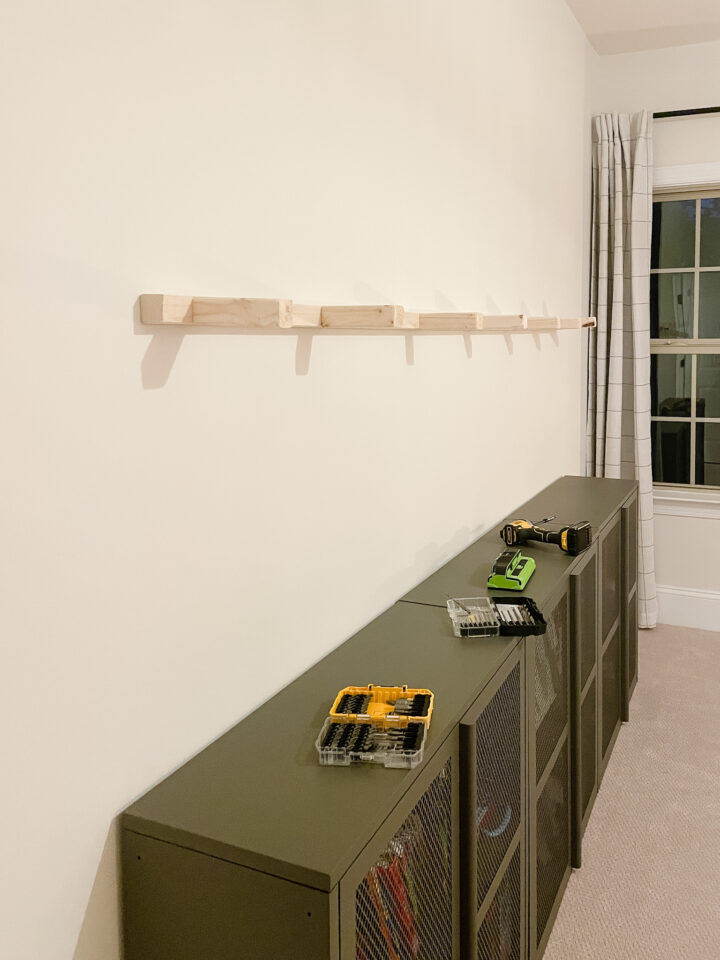
Now, slide the finished shelf on the shelf support. It should fit snuggly. Optionally you can secure it with a couple of brad nails.
Easy DIY Floating shelf with metal brackets
In this post, I’ve shared how to DIY floating shelves, by building a box, but if you are not ready to commit to a project of that size, doing floating shelves with brackets would simplify your project by a lot.

For that, you would need to buy shelf brackets and wood board cut to size (you can ask Home Depot to cut them for you).
Then you would install the brackets, lay the wood boards on top, and attach them with screws to the brackets. Viola! The floating shelves are done.
Conclusion
Adding wood floating shelves to your home can create additional storage or can be used to display travel mementos and favorite decor pieces. Follow this step-by-step plan to create your own DIY wood shelf.
Discover more from Your Designer BFF
Subscribe to get the latest posts sent to your email.