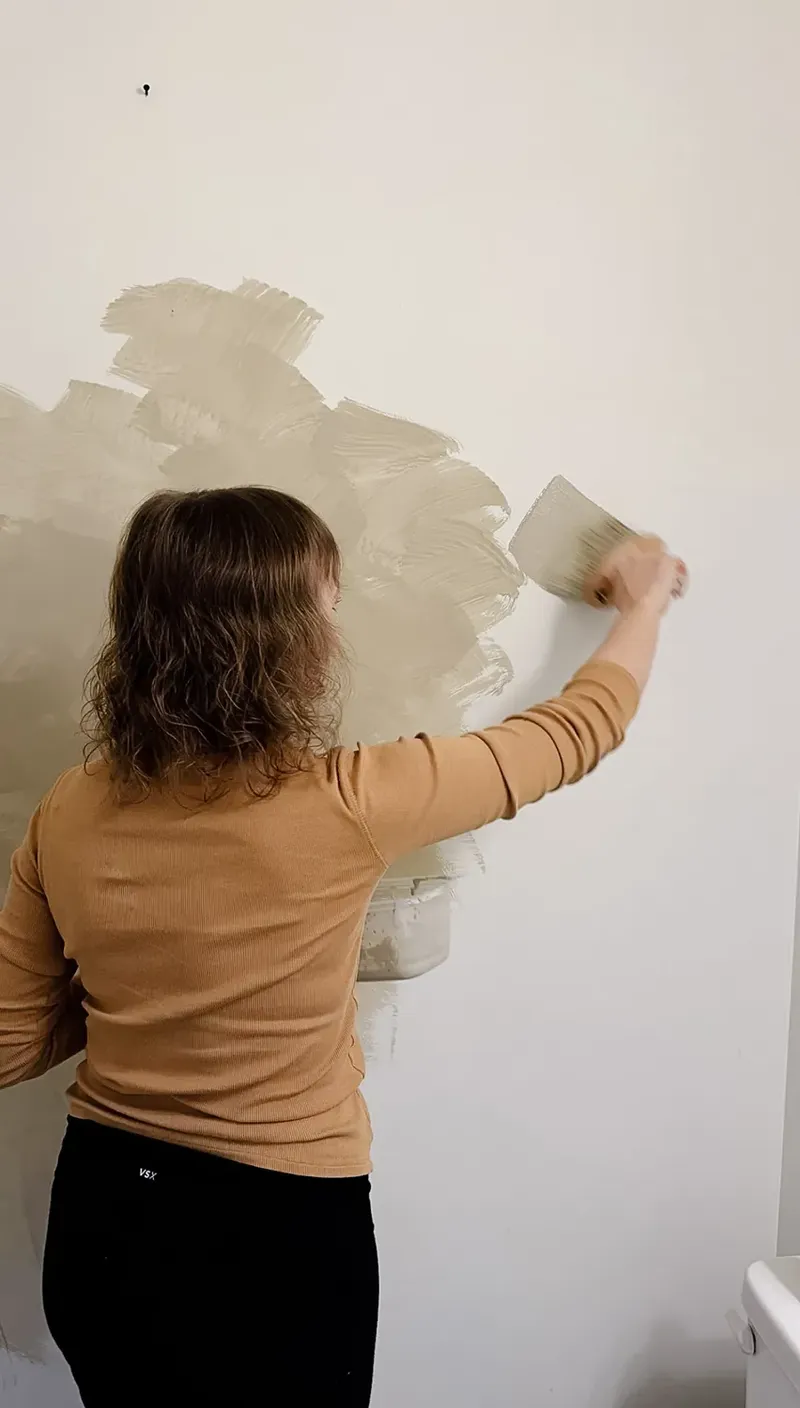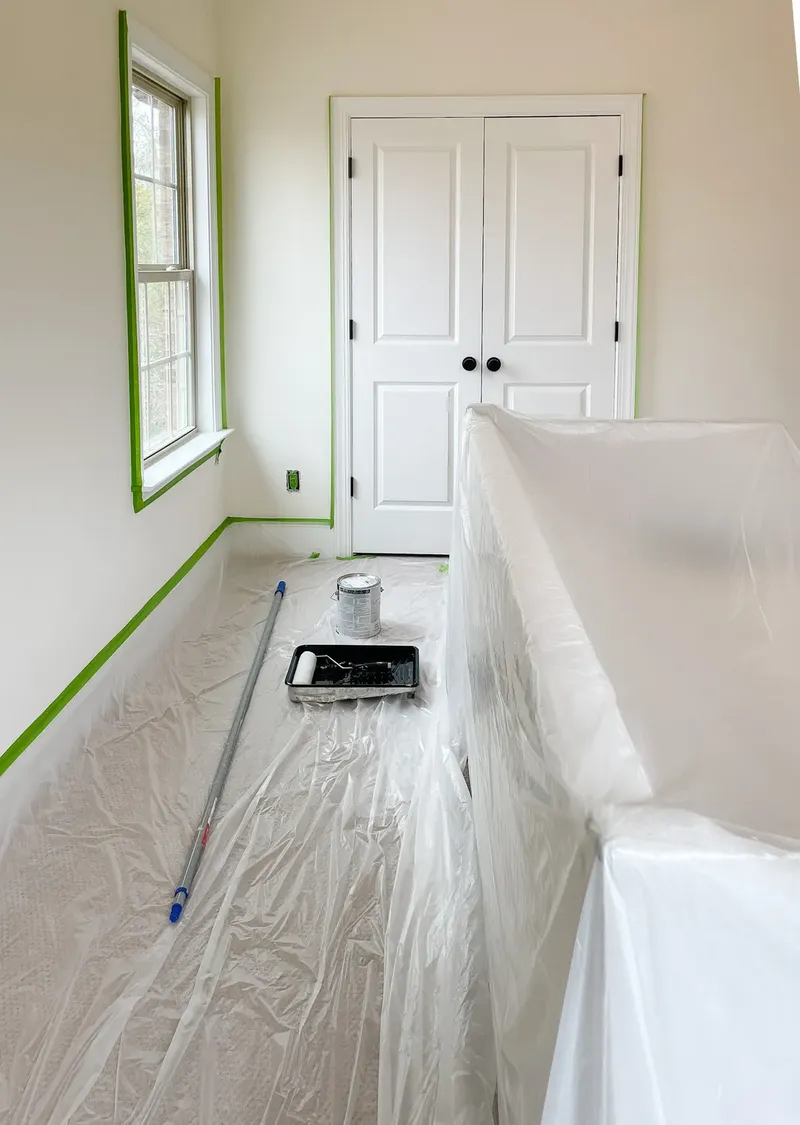
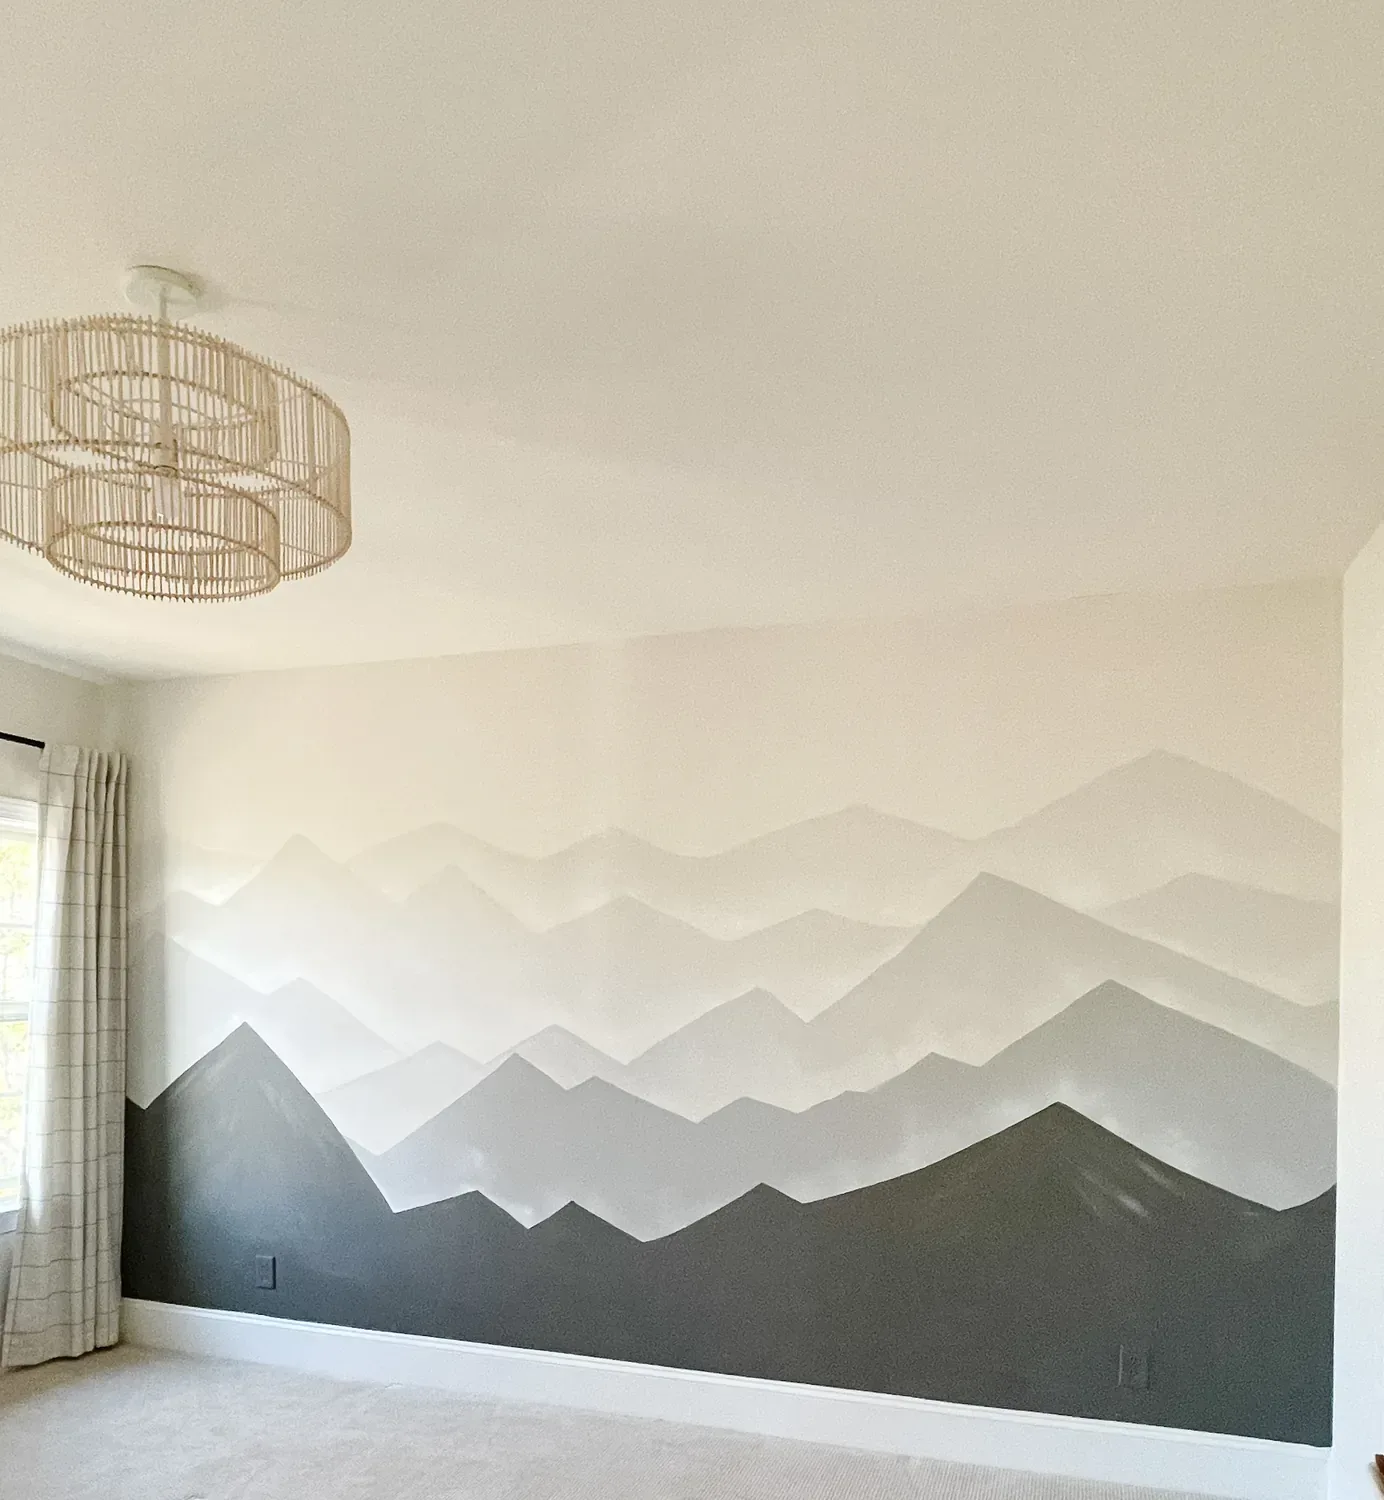
Painting a mountain mural on a kids’ bedroom wall is a simple way to make an accent wall and bring the beauty of nature inside. In this post, I will share step-by-step how to paint a wall mural.
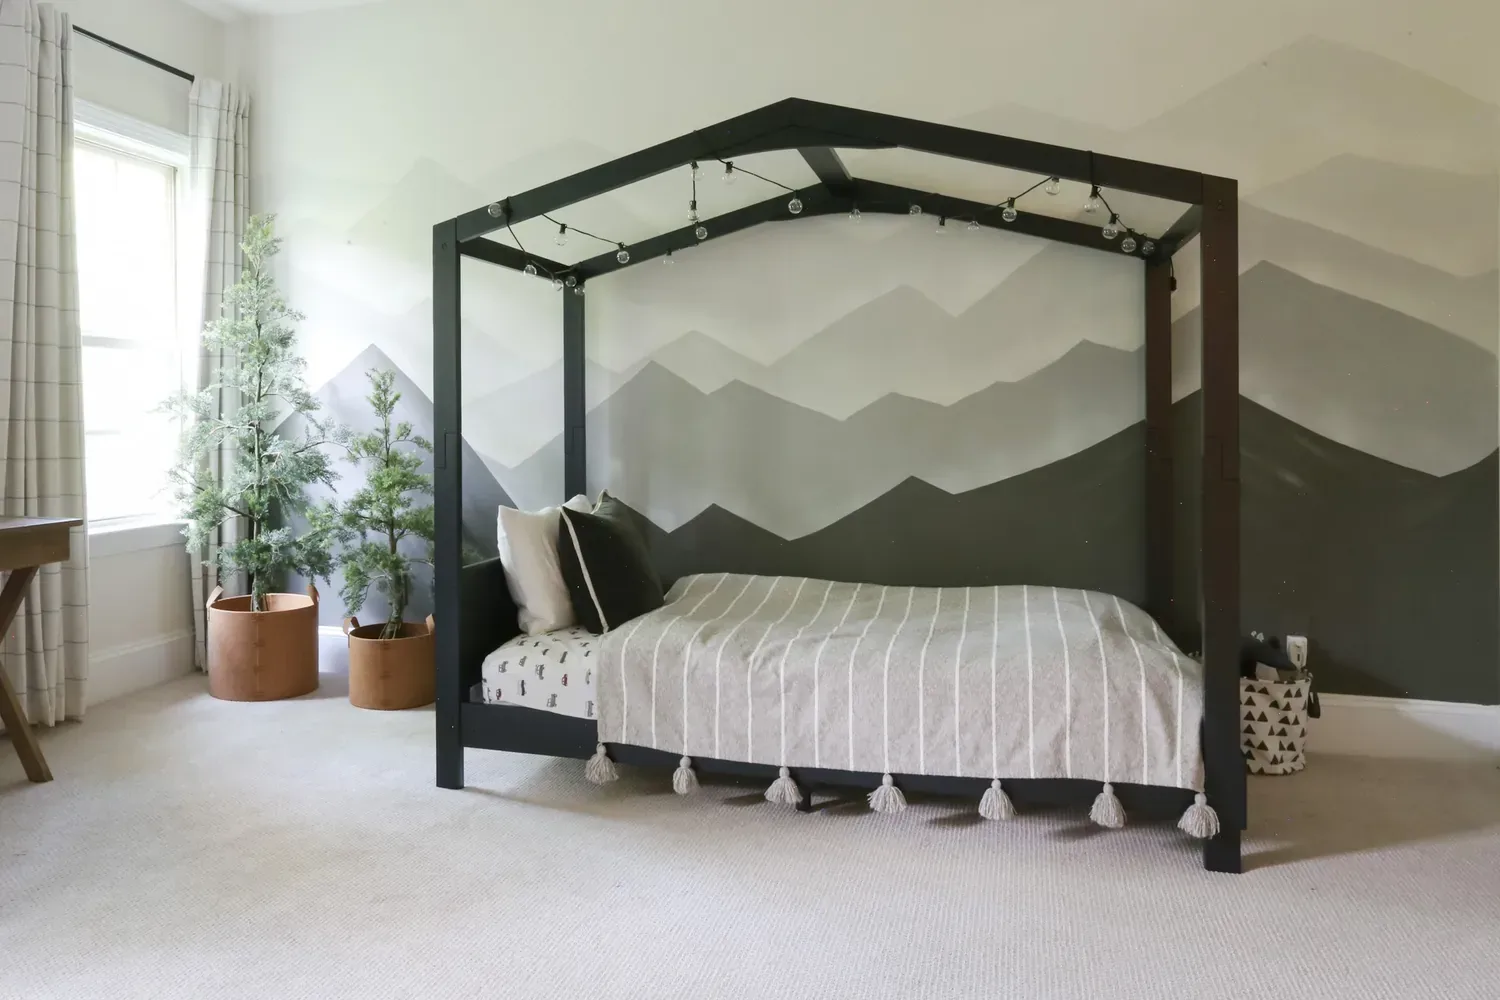
Products used in this photo
Delta Children Poppy House Wood Twin Bed, Platform Bed
Birdcage Bamboo and Rattan 25″ Kids Ceiling Light by Leanne Ford
Faux Leather Storage Bin Camel Brown
You can do a wallpaper mural or a painted one, at first I considered a wallpaper mural for my son’s bedroom, but the cost was more than I was willing to spend. I was quoted $960 for the mountain wallpaper (without installation) plus the shipping cost. This was out of my budget, so I decided to do it myself.
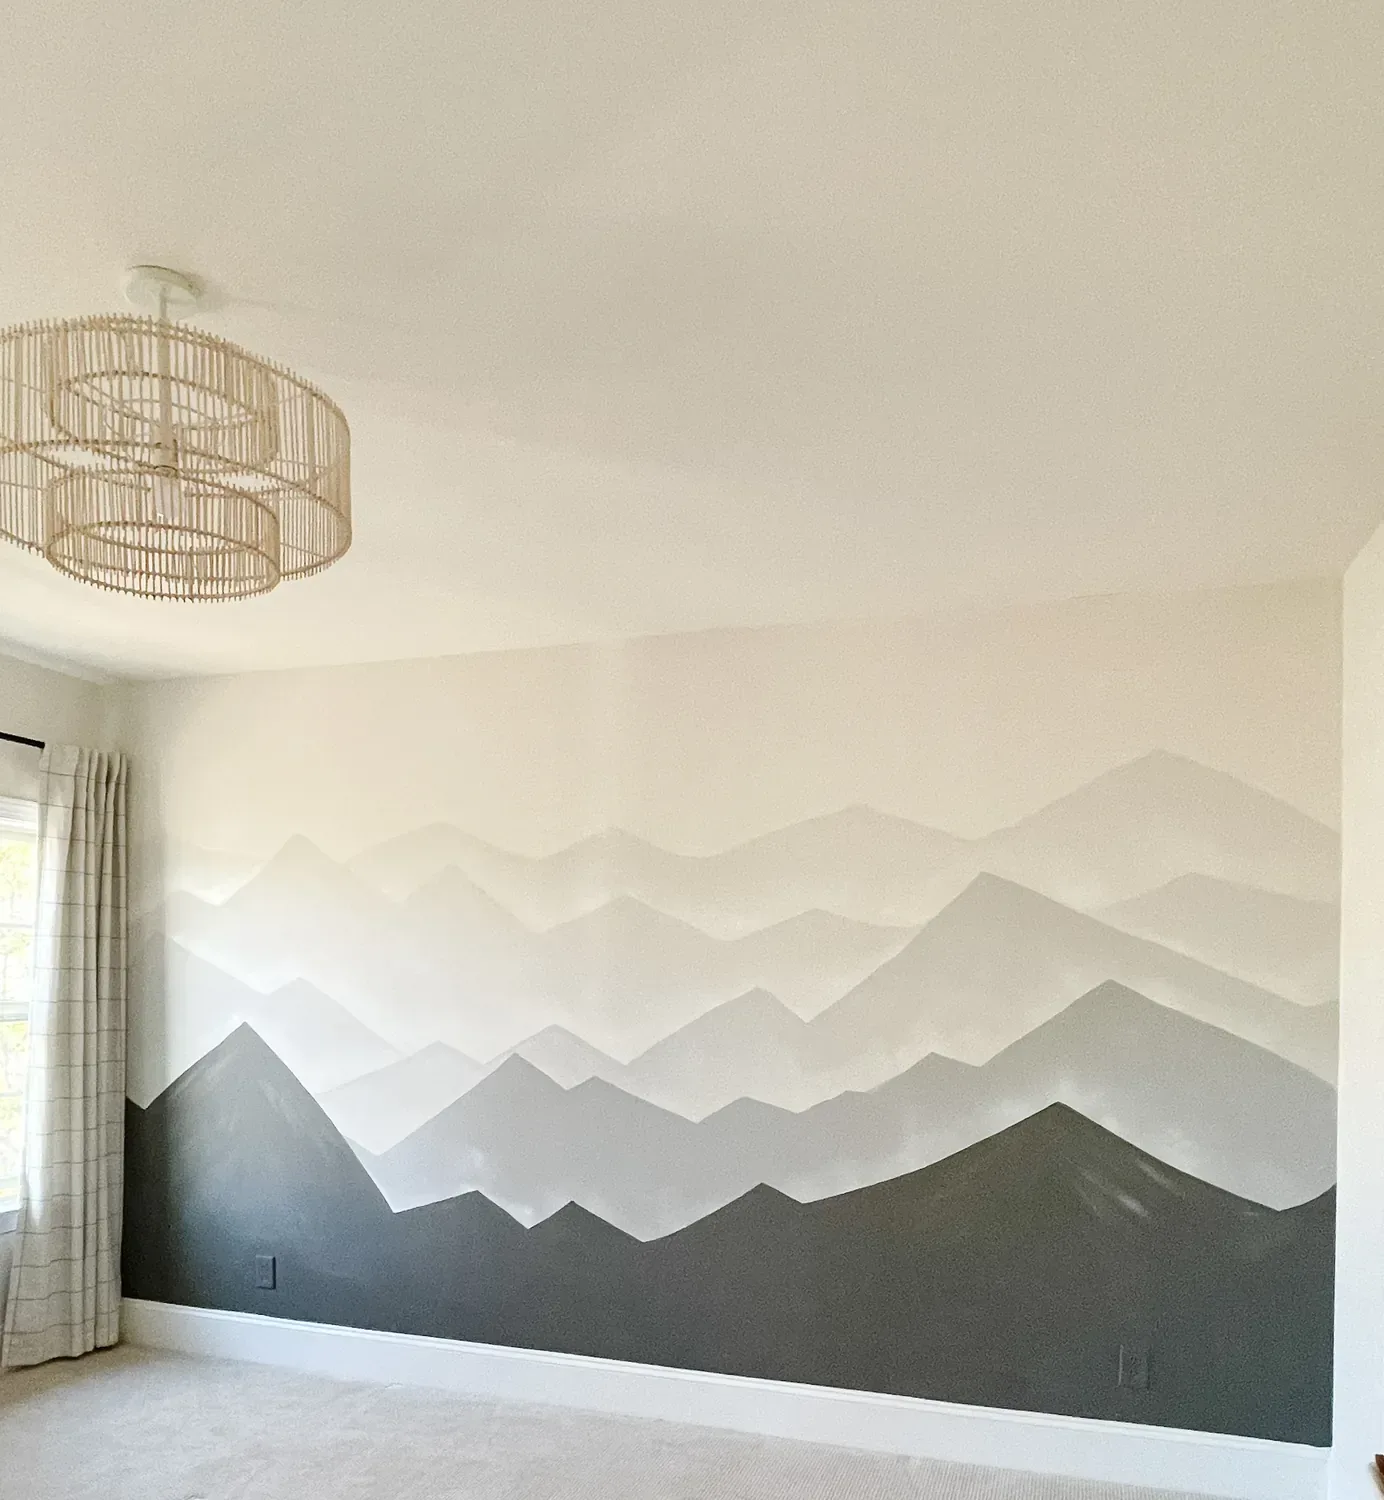
Birdcage Bamboo and Rattan Kids Ceiling Light link
Plaid Blackout Window Curtain, Living Room and Bedroom Drape with Rod Pocket Tabs
As a disclaimer, I was to say that I never had painted anything of this sort and I don’t consider myself especially gifted in drawing or painting. So if I was able to do it, you can too.
Tutorial: how to paint a mountain mural
Materials you will need
Dark and light paint
White and french cream spray paint
1. Sketch it out on the piece of paper
Imagine that the piece of paper is the wall, so sketch it out as you would on the wall. Get creative: create layers, make them overlap, and make some ridges more uniform, while adding more peaks to the other ones. Leave at least 1/4 of the space on the top blank, you don’t want your mountains to be touching the ceiling.
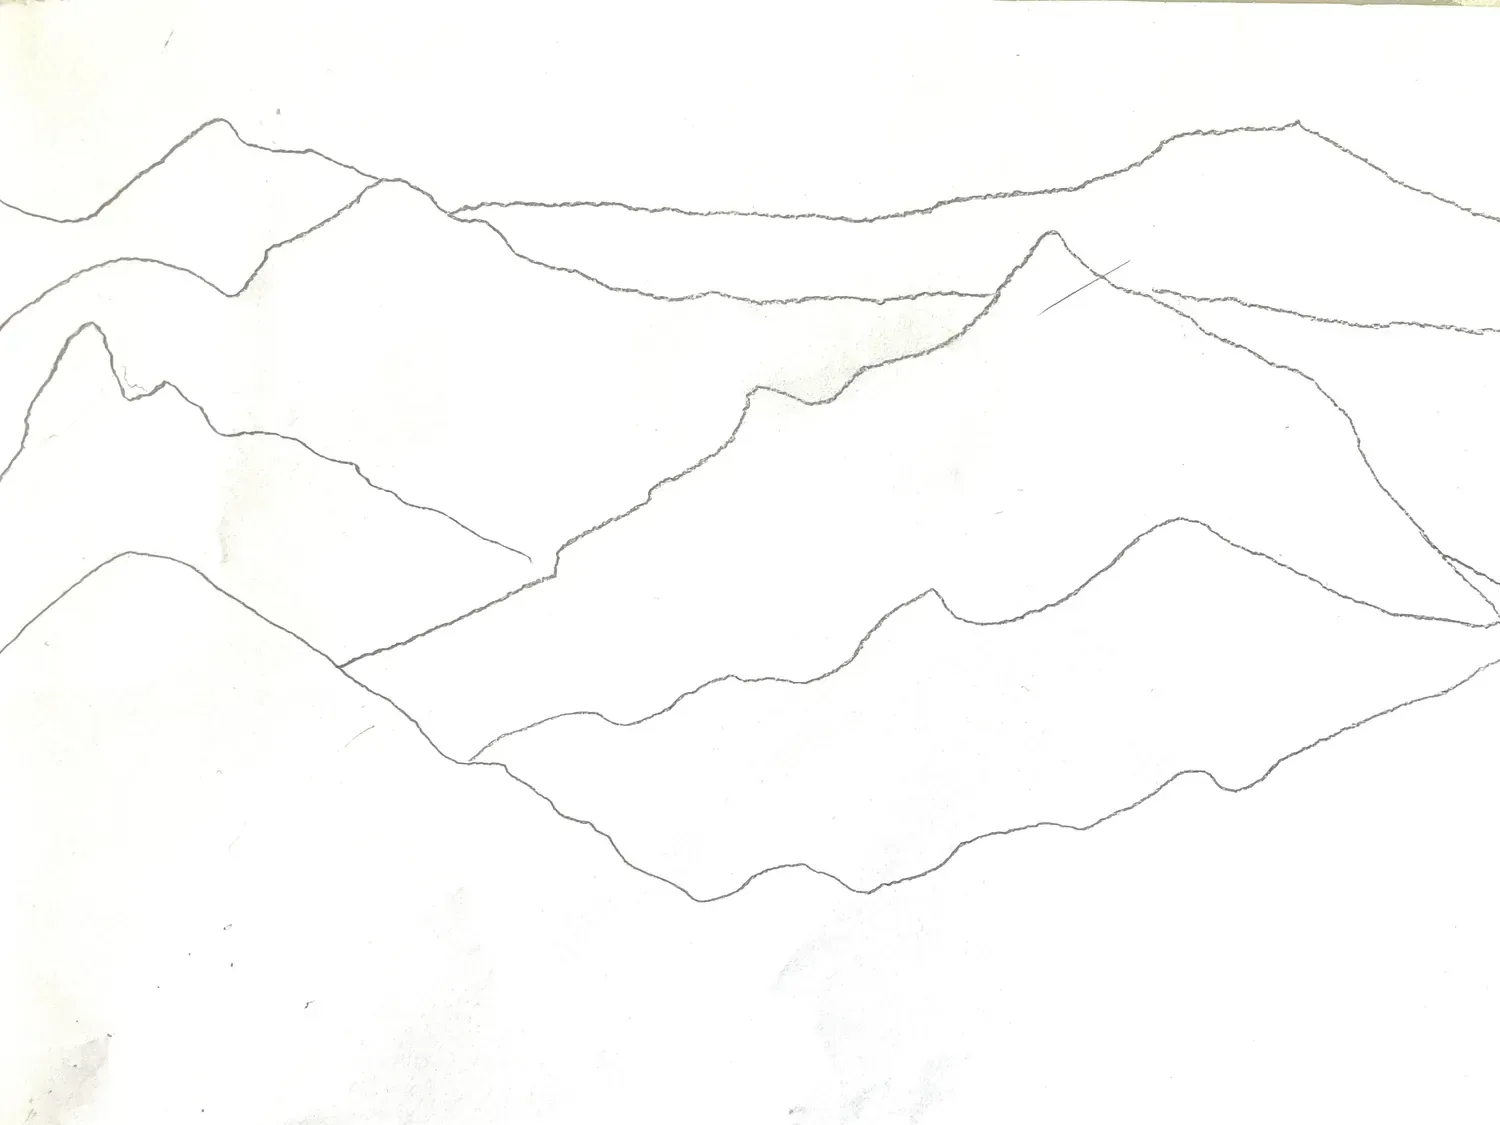
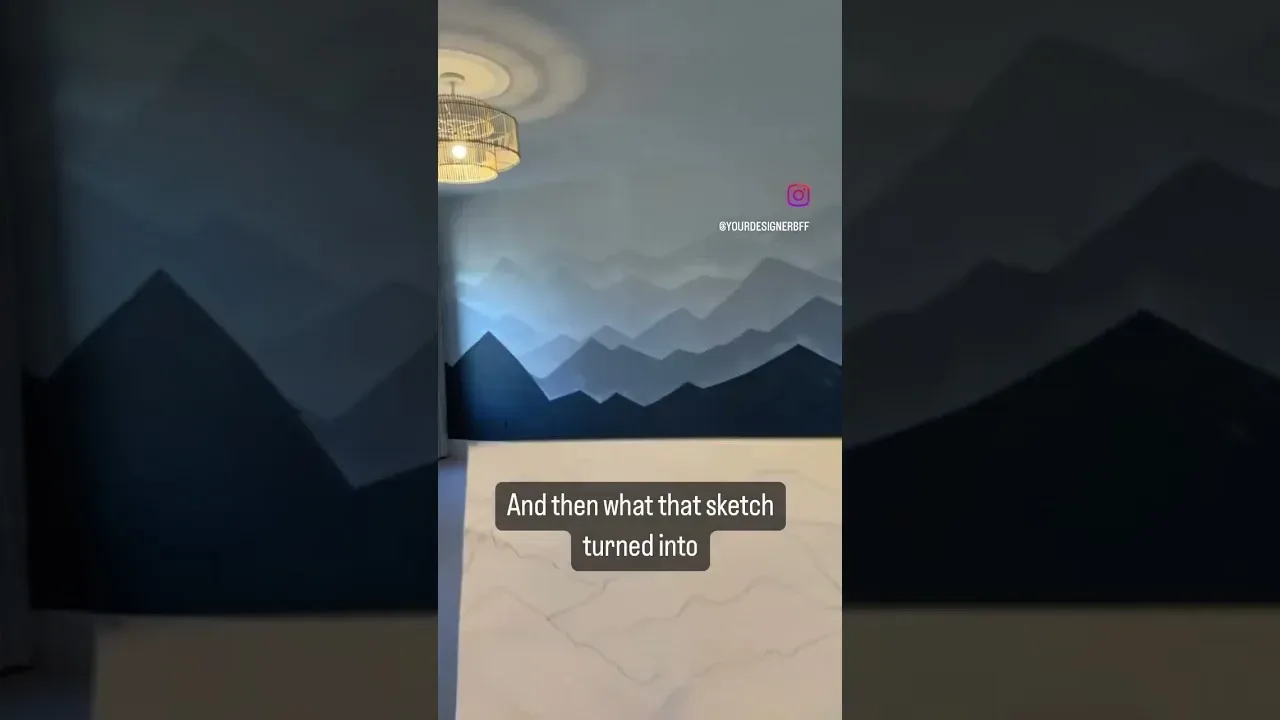
If you don’t like how it turned out, start over. Keep sketching until you are happy with the result. Here is my drawing. Feel free to copy it.
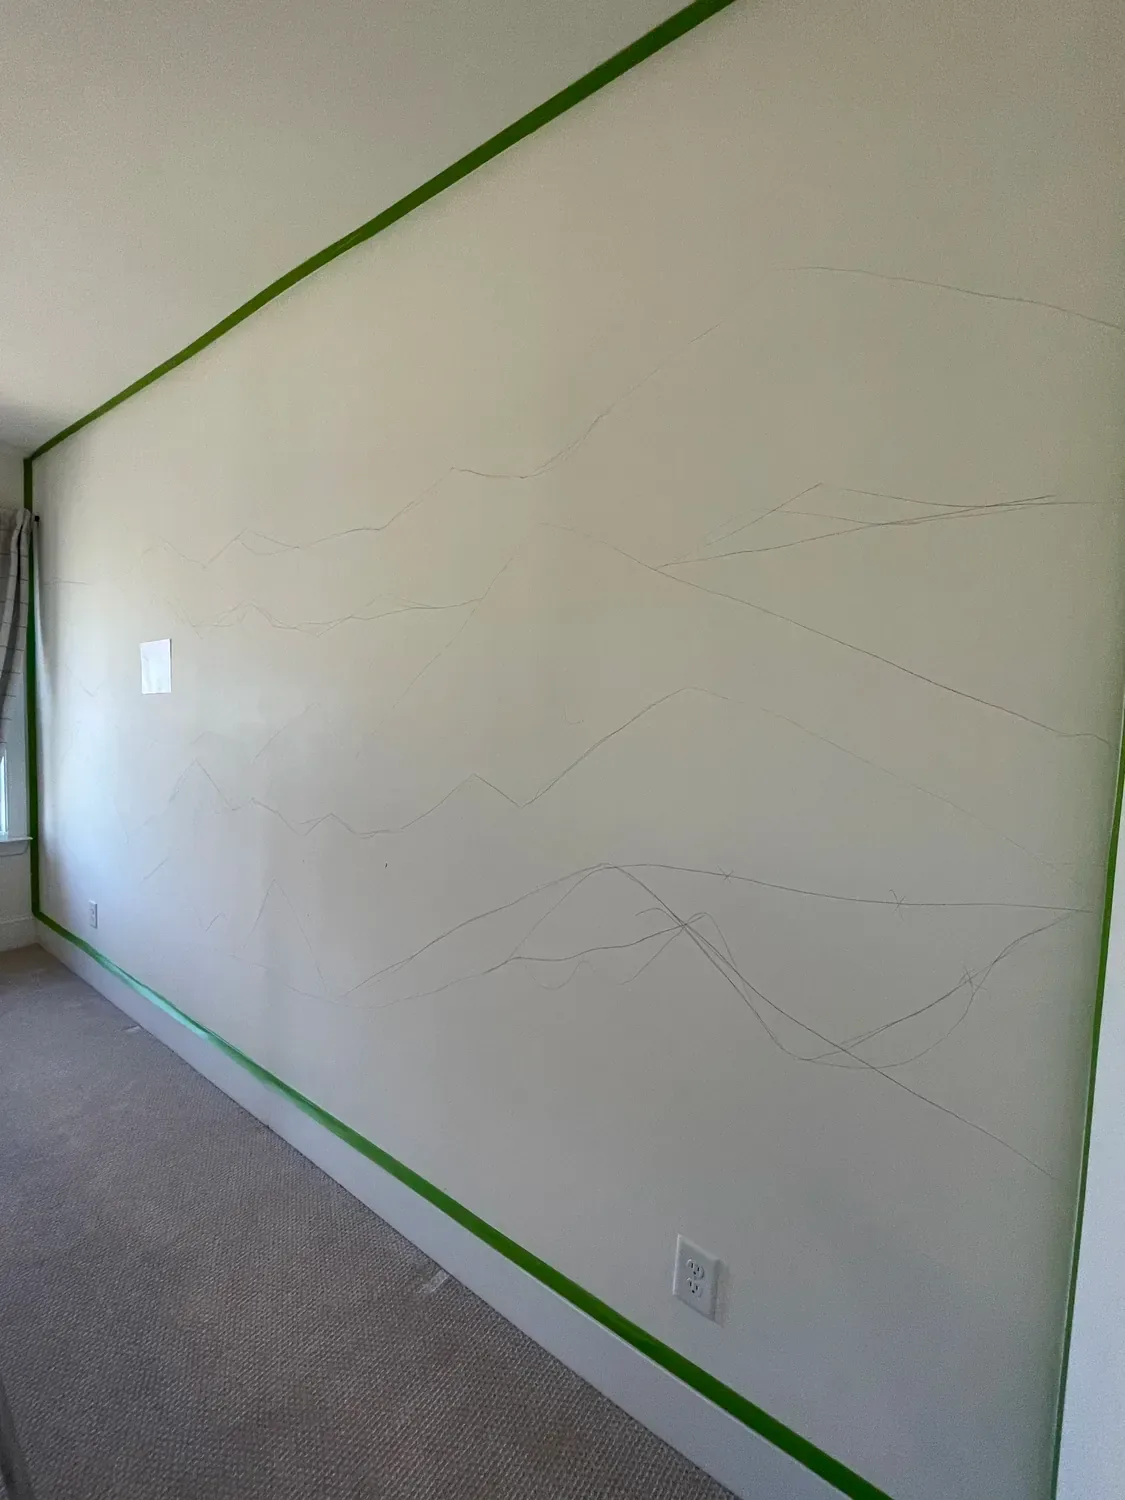
2. Transfer your sketch to the wall with a pencil.
Once you like your sketch, transfer it to the wall using a pencil. Remember about proportions, and leave 20% to 25% empty on top before drawing the first layer.
3. Choose your paint
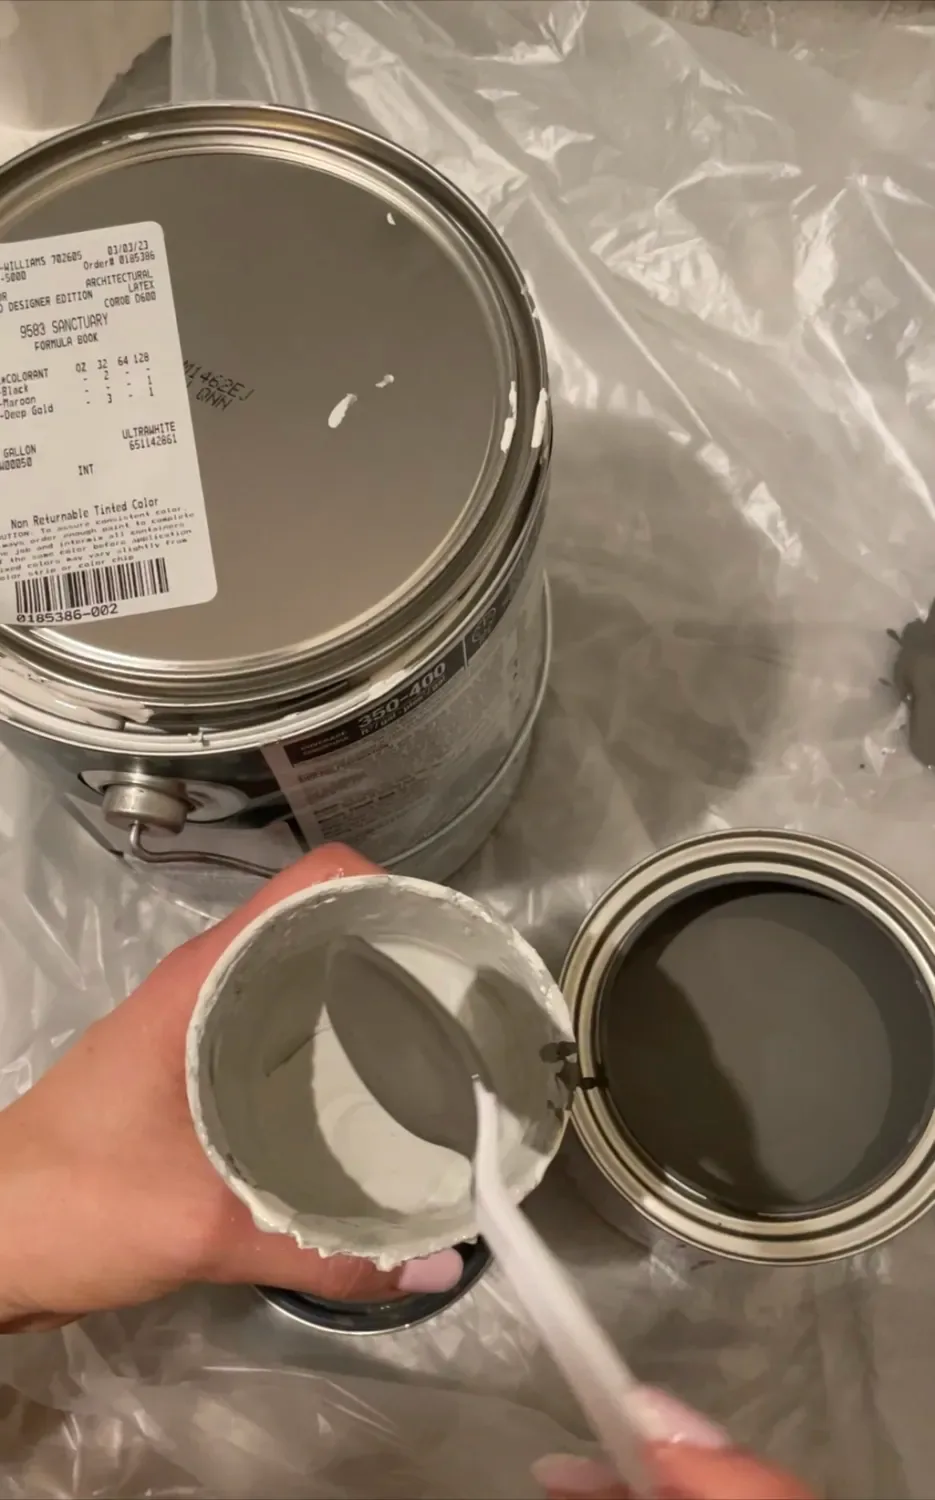
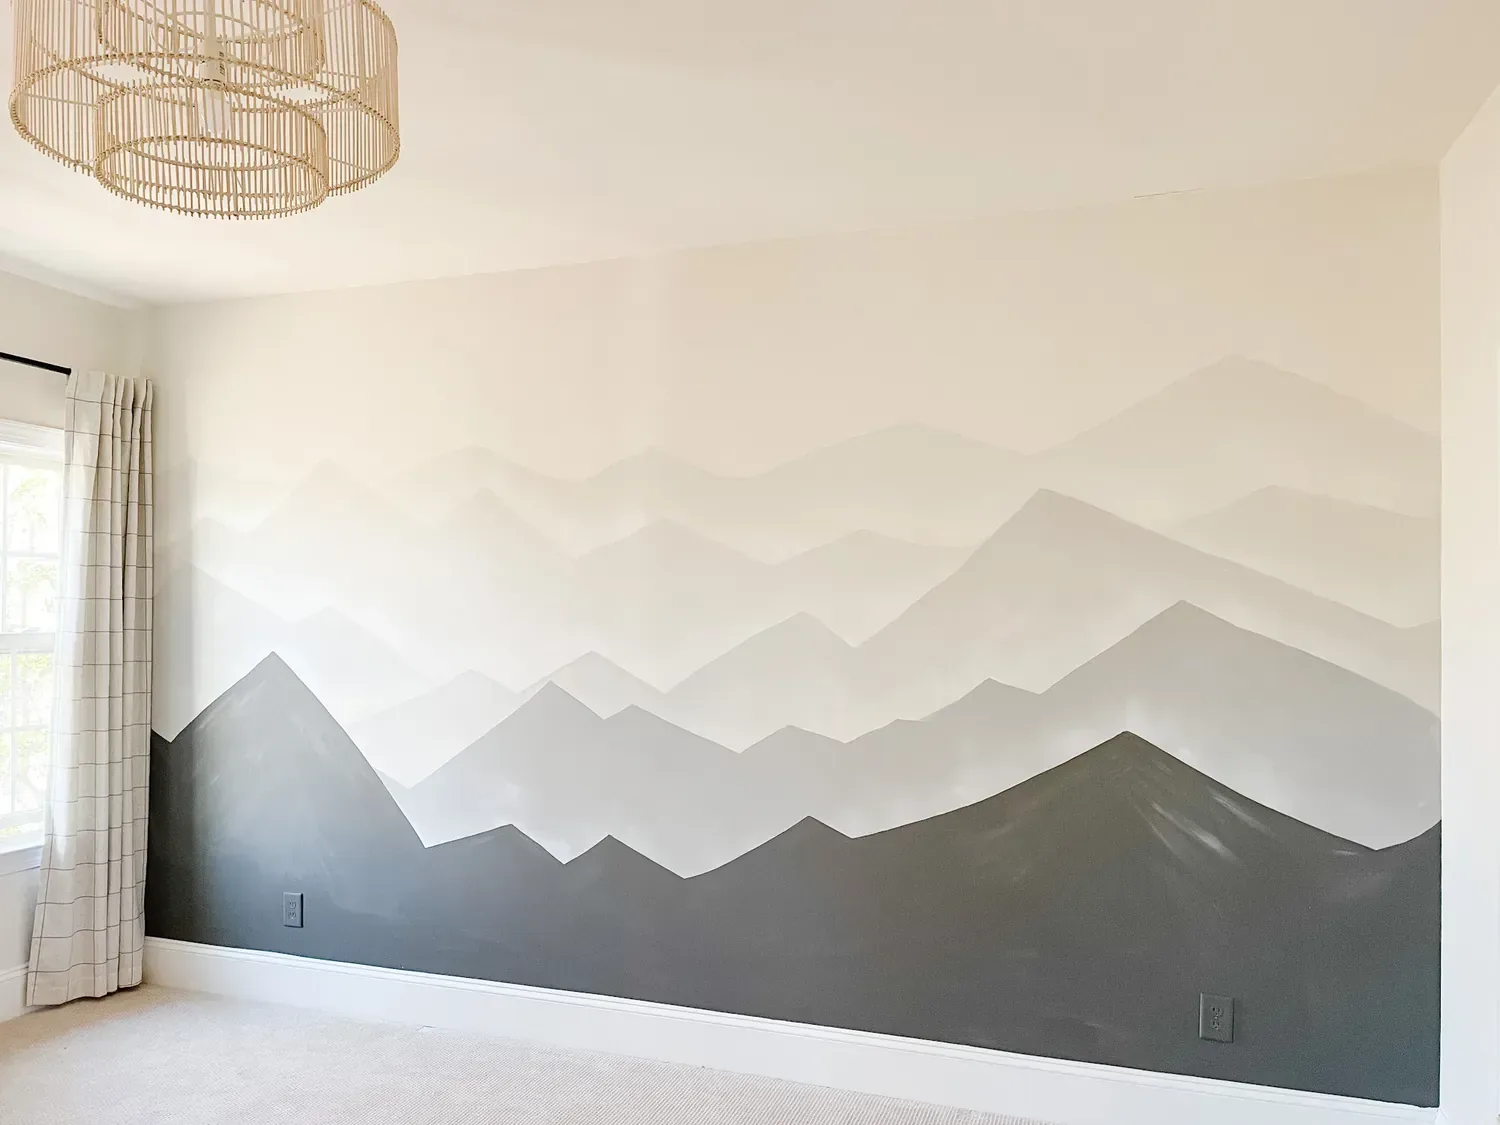
I wanted to create a monochrome mountain so I choose one light paint SW 9583 Sanctuary and one dark SW 9599 Limestone. Later, I used SW 9583 Sanctuary to paint the remaining 3 walls.
I choose designer edition paint in a flat finish.
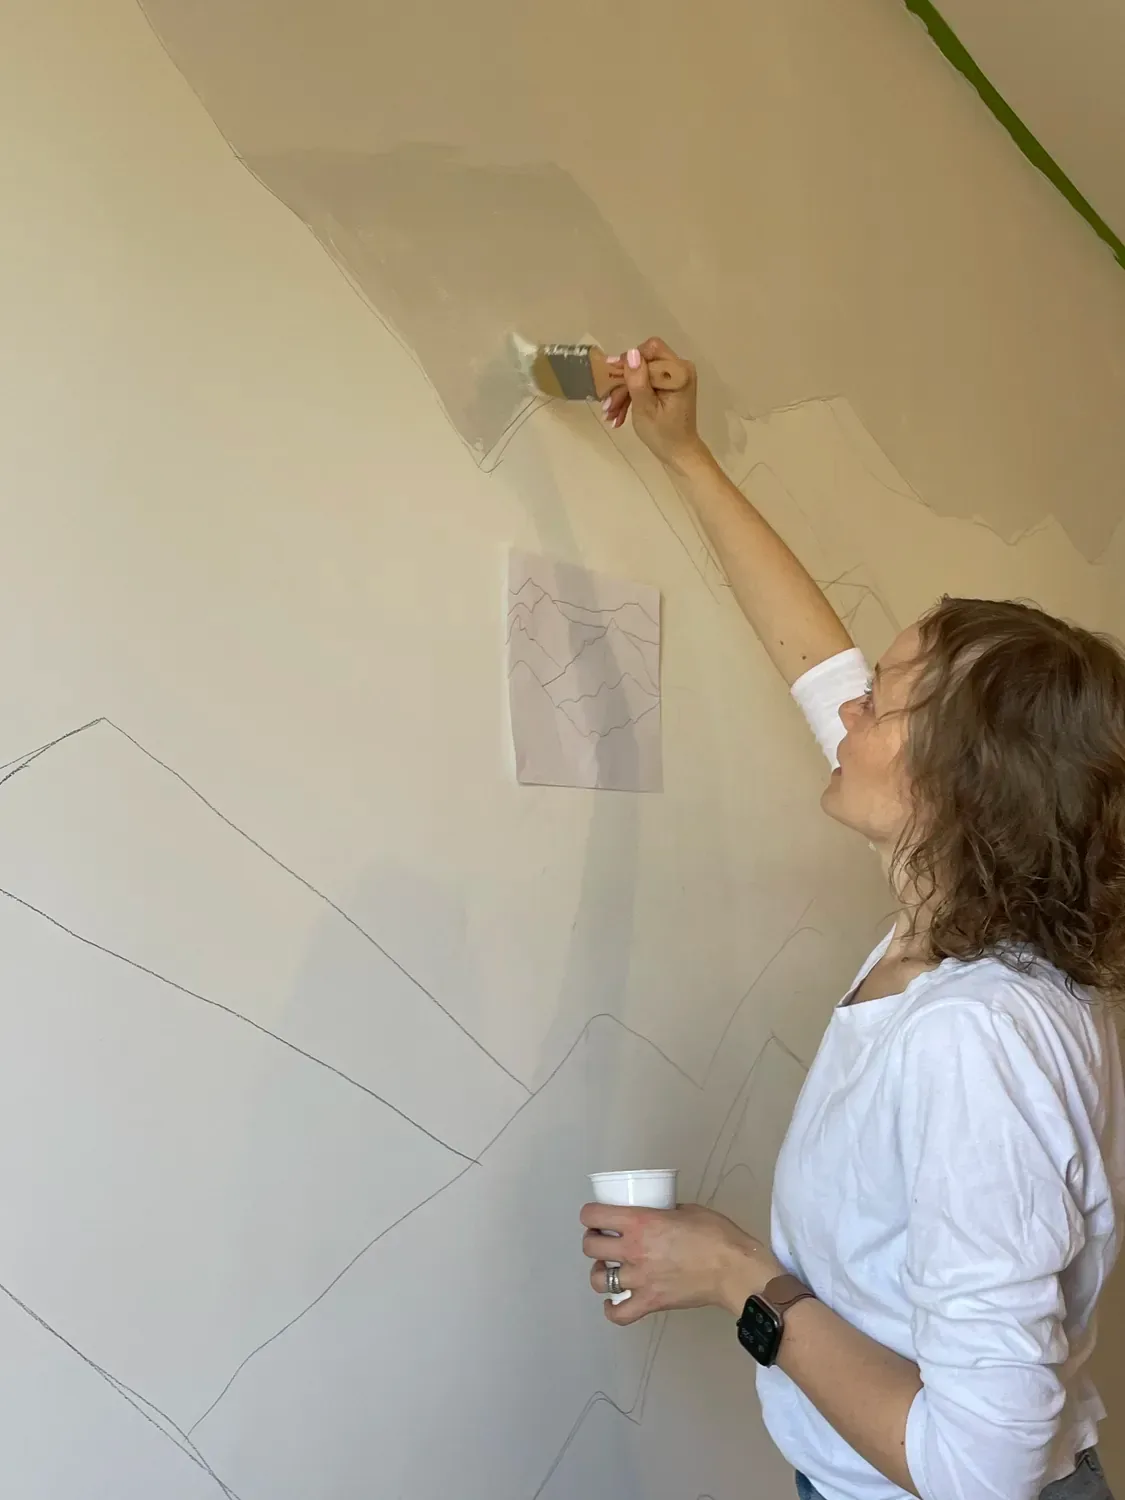
4. Paint mountain ranges in layers
Start by using your original paint light paint to paint the top of the mountains (the sky). Add about 1 teaspoon of the dark paint and paint the first layer of the mountains.
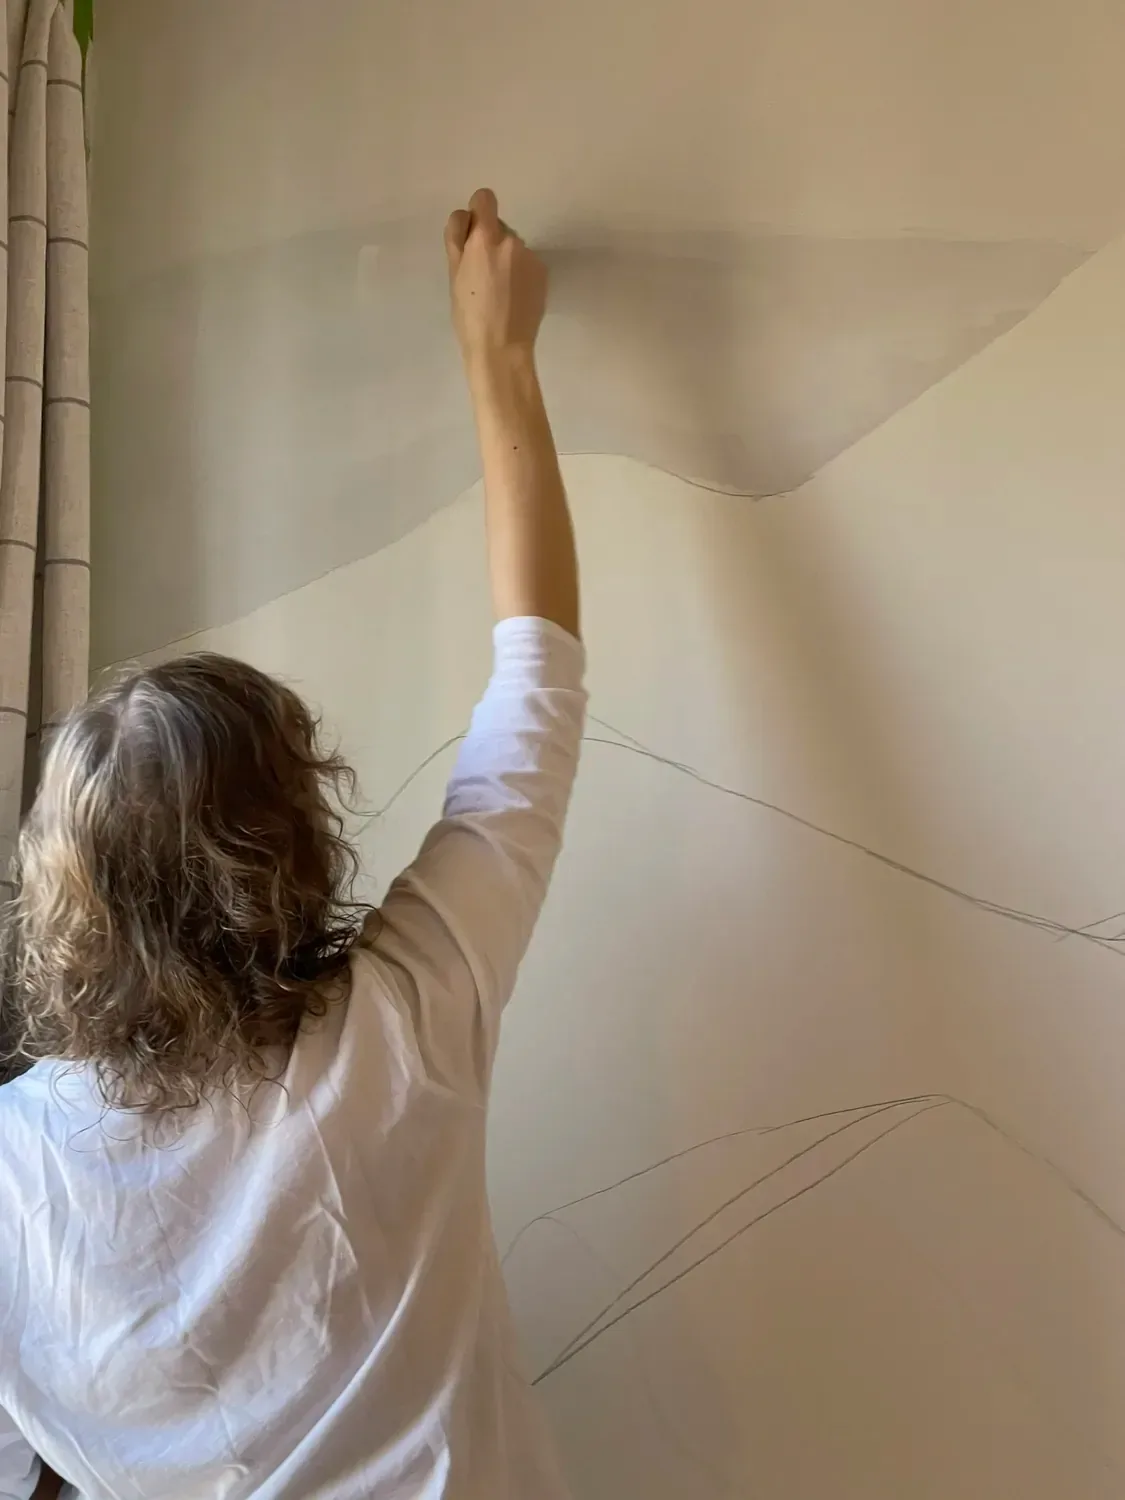
To create a subtle effect don’t overdo on adding dark paint. 1 teaspoon to a cup of paint is enough.
4. Create foggy mountains effect with spay paint
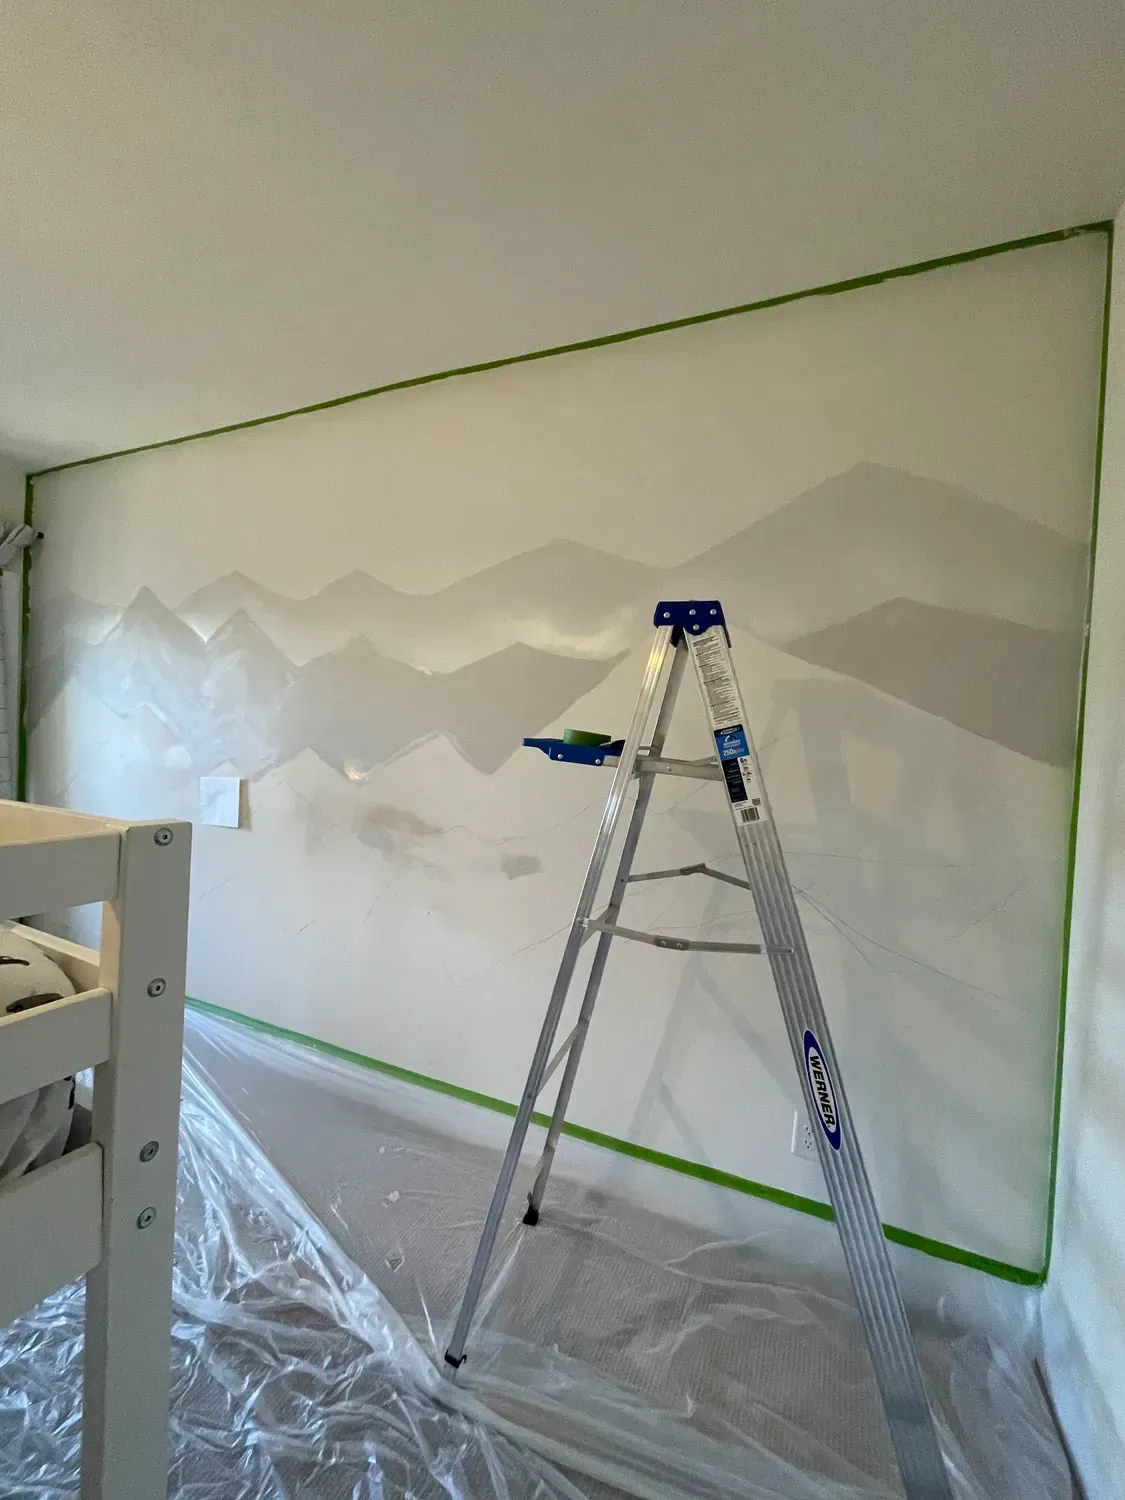
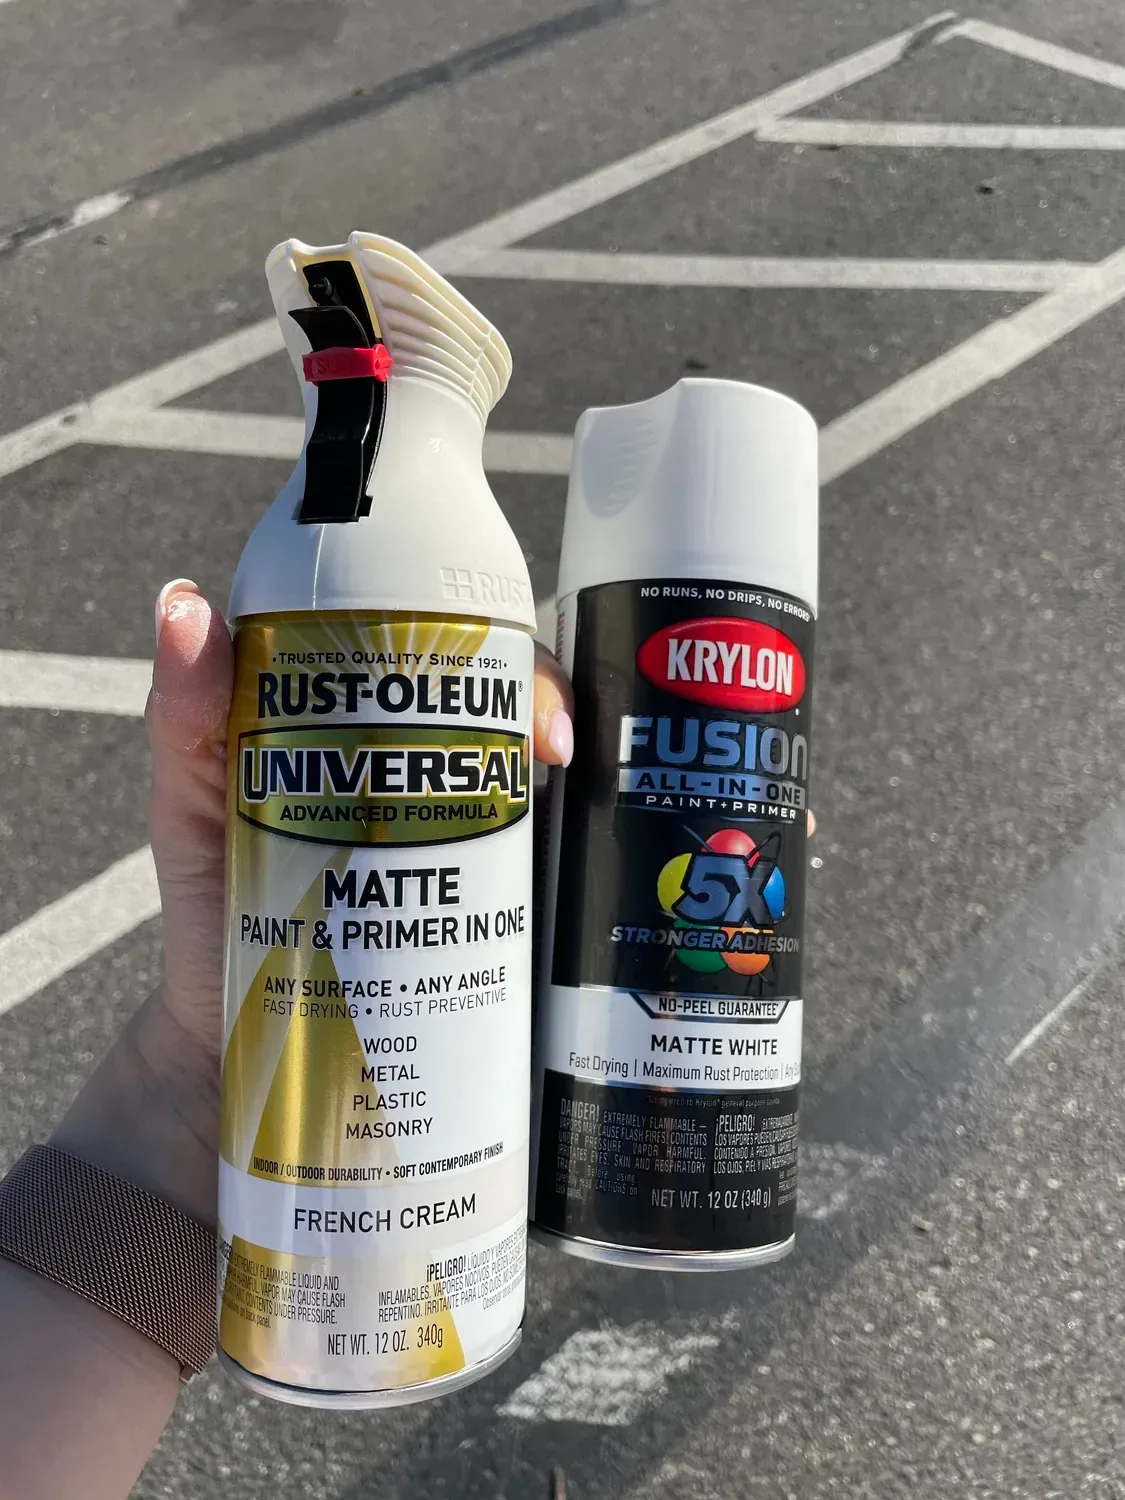
This is a very simple and cool way to add a foggy mountain effect using spray paint. After you are done painting each layer go and spray the bottom of the layer with white/french white paint (I used both).
French cream matte spray paint
5. Create the bottom layer.
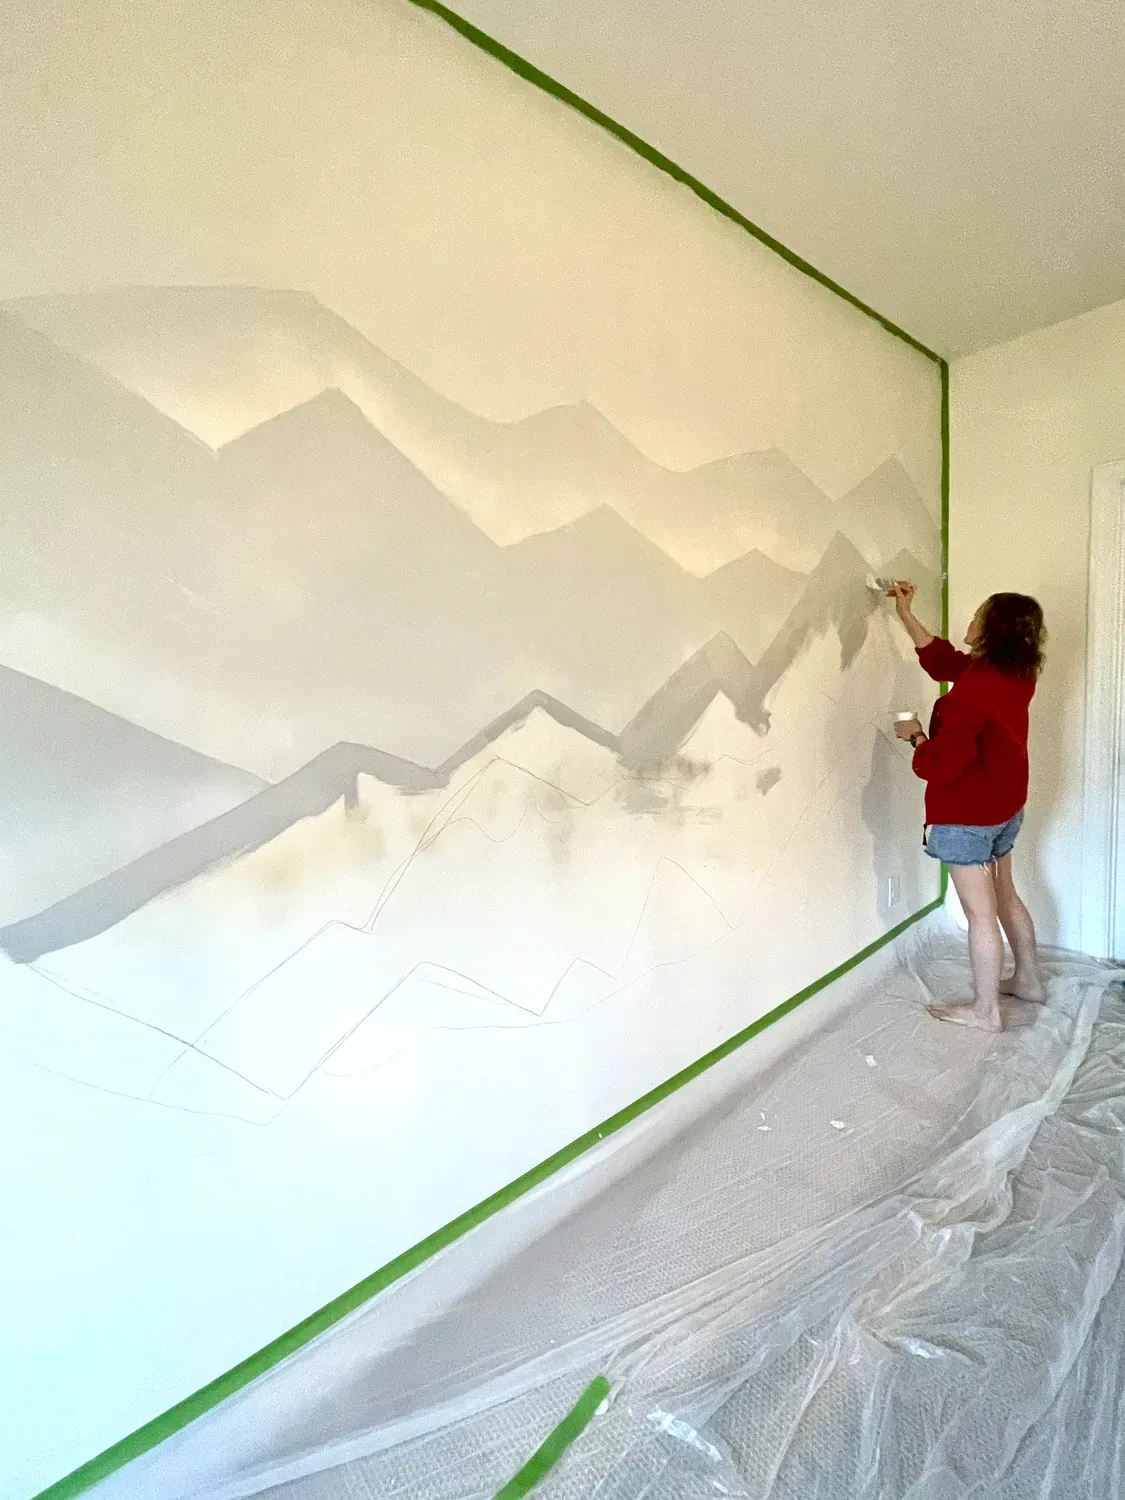
To create a contrast, I added more dark paint to the one before the last layer and used the original black paint on the bottom layer. That gave it more definition and created the 3D effect.
Birdcage Bamboo and Rattan Kids Ceiling Light link
Plaid Blackout Window Curtain, Living Room and Bedroom Drape with Rod Pocket Tabs
Pin for later
Conclusion
This project took 6- 8 hours to complete, but it was a relatively simple project and totally worth the time to bring the majestic mountain scene into my son’s room.
For more beginner-level DIY to create an accent wall check out this post: Create a bedroom accent wall using wall molding